DIRECTIONS
TO ASSEMBLE:
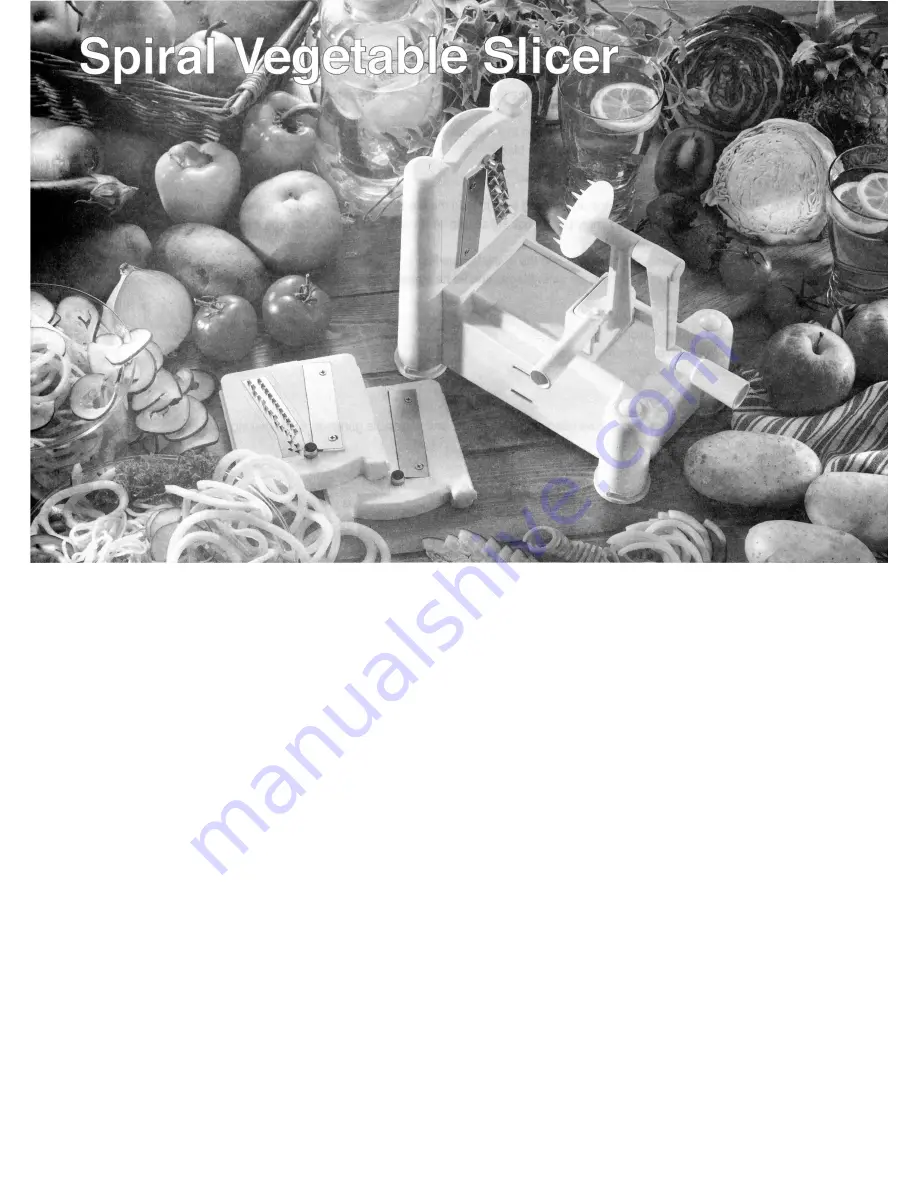
The crank handle and the wheel with prongs are not mounted to the slicer upon shipment and must be attached to prepare
the unit for use. To do so,
•
Disassemble the crank handle and the wheel with prongs by gently turning the crank handle counter-clockwise.
•
Insert the metal pin through the opening in the upright part of the sliding plate, with the prongs facing the blade plate.
•
Screw the crank handle back onto the pin firmly but gently.
TO OPERATE:
•
Secure the vegetable slicer to a smooth working surface by pressing down on the four corners with suction feet.
•
Hold the blade plate by the top rounded edge and snap into place by pushing down with the raised side of the blade
facing the prongs.
•
Attach one side of the vegetable or fruit to the small circular corer on the blade plate and gently press the
prongs onto the opposite end.
•
Using the bottom lever handle on the sliding plate, push the vegetable or fruit forward while simultaneously turning the
crank, making sure pressure is applied to the lever handle.
Note: slicer is shipped with a blade already in place, which may sometimes cause plate to jam. To remove, firmly pull the blade
plate straight up until it snaps out of the slicer.
(WARNING! The blade and the plastic casing are one unit and cannot be separated.
They do not require adjustment and should not be touched directly, as the blades are very sharp.)
GETTING
CREATIVE:
•
The slicer comes with three blades. The blade with the smallest holes (shredder blade) creates thin
spaghetti-like continuous cuts. The blade with the larger holes (chipper blade) creates medium-thick
continuous cuts, and the straight blade creates ribbon-like cuts.
•
To make continuous spiral cuts and curly fries, attach the vegetable or fruit to the circular corer on the blade
plate and gently press the prongs onto the opposite end. Crank as usual using the shredder or chipper blade.


