Knight Installation Instructions
3DTALK Knight
Страница 1: ...Knight Installation Instructions 3DTALK Knight...
Страница 2: ...iption 3 1 2 Notice 3 2 Product profile 4 2 1 Product Appearance 4 2 2 Product data 15 3 Installing 17 3 1 Feeding filament 18 3 2Adjusting 21 3 2 1 Adjusting of the extruder 21 3 2 2 Adjusting of pri...
Страница 3: ...n carefully before using this product out of the box All rights reserved All rights reserved This document is subject to change without prior notice 1 2 Notice please read the following tips carefully...
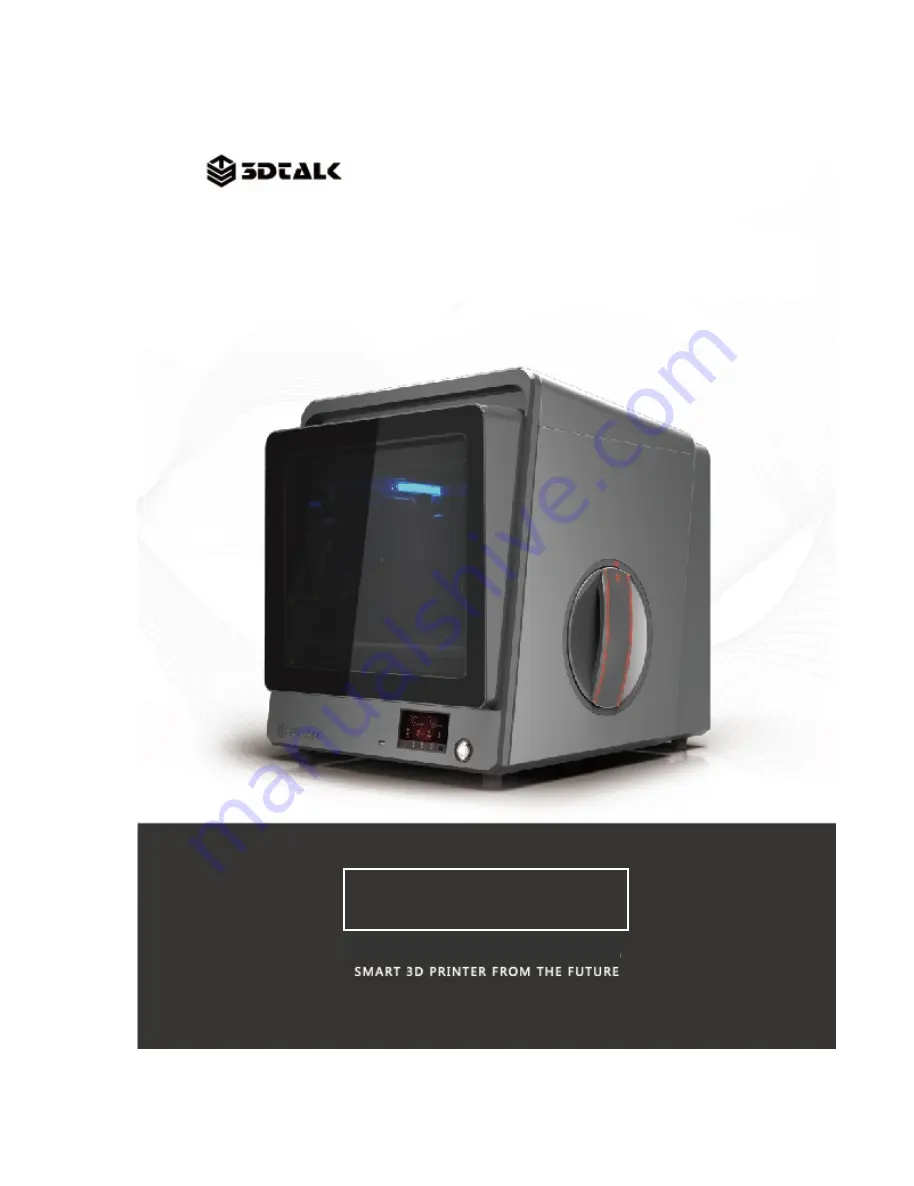
Страница 4: ...Jiangsu Ouring 3D Technology Co Ltd 4 1 2 3 6 5 4 7 2 Product Profile 2 1 Product appearance Front 1 USB connector 2 Touch screen 3 Power button 4 Right magazine 5 Front door 6 cover 7 Left magazine...
Страница 5: ...Jiangsu Ouring 3D Technology Co Ltd 5 1 2 3 4 Side Back 1 cover 2 front door 3 magazine 4 casing 1 back panel 2 fan 3 DC220V 50Hz Power port 4 Net port 1 2 3 4...
Страница 6: ...Jiangsu Ouring 3D Technology Co Ltd 6 1 2 4 3 Inner Structure Inner sight 1 extruder 2 right magazine 3 printing plate 4 left magazine water tank for cooling 2 heating part 1 2...
Страница 7: ...Jiangsu Ouring 3D Technology Co Ltd 7 extruder sketch 1 right feeding tube 2 cooling fan 3 cooling air flue 4 right extruder 5 left extruder 6 adjusting part 7 left feeding tube 6 5 4 3 2 1 7...
Страница 8: ...Jiangsu Ouring 3D Technology Co Ltd 8 coordinates sketch X Z Y...
Страница 9: ...temperature printing plate real time temperature white temperature Target printing plate temperature set by the software red temperature heating room real time temperature white temperature Target hea...
Страница 10: ...documen t The model document installed in the machine the document printed in this machine will be stored in the local Document U disk documen t Inset the U disk into this machine the document stored...
Страница 11: ...Jiangsu Ouring 3D Technology Co Ltd 11 pause Press this button when printing to pause Press it again to continuing printing Stop Stop the printing interface Set the language adjusting the plate...
Страница 12: ...Jiangsu Ouring 3D Technology Co Ltd 12 Changing the filaments changing the connection initialize settings Update of software and hardware Basic information of machine APP high class interface...
Страница 13: ...axis and plate moving manually fan Control the switch of fan manually Heating Plate Check out if the plate can be heated normally It can be heated before printing Electrical machinery power off It ca...
Страница 14: ...Jiangsu Ouring 3D Technology Co Ltd 14 Bottle of Feeding water X 1 Glue stick X 1 Notice Please refer to the actual accessories for the accessories in the list of random accessories...
Страница 15: ...stant of edge warping Homothermal room heating plate Max temperature of room cooling Fan cooling water cooling Intelligent controlling APP remote controlling High class function Reminder of filaments...
Страница 16: ...connection International plug Knight material ABS PLA Wood PETG Bronze DuPont Hytrel 4100 Environmental requirements Ambient temperature 15 C 30 C Relative humidity 20 to 50 Avoid moving the machine...
Страница 17: ...ut the printing platform attach the random matte paper to the smoother surface of the platform and place the platform on the platform bracket of the equipment with the matte cardboard facing up Printi...
Страница 18: ...d the end of the material wire If the hair is deformed or damaged at the end of the material please cut off the wire By reducing the feed resistance during the feed the front end of the filament can b...
Страница 19: ...figure of the feeding nozzle is continuously pressed and the material wire exposed by the material pipe is inserted into the blue hole and the send is released The wire handle allows the wire feeder i...
Страница 20: ...erface select L and R to select the in out nozzle L means left nozzle R means right nozzle After selecting the nozzle set the appropriate feed temperature COMBO feed temperature 240 C by clicking and...
Страница 21: ...Platform leveling function After the level of the platform is calibrated the printing operation can be started Nozzle calibration platform leveling use range Nozzle calibration and Platform leveling...
Страница 22: ...olling the button When the nozzle just touches the platform click Start Calibration When the device interface displays The nozzle calibration is successful click Make sure the nozzle calibration is co...
Страница 23: ...ise When the leveling device indicator lights up stop turning the knob and click Next 2 on the device interface situation 2 When the nozzle stops at this point and the leveling device indicator is not...
Страница 24: ...e heat in each motor in the equipment The water pump is added as follows Feeding water steps 1 4 1 Rotate the closing nut of the water reservoir counterclockwise 2 Find the King Kettle in the Start up...
Страница 25: ...ine in the water reservoir is maintained by inverting the aqueous solution For the 2 3 position when the water line is stable up and down please tighten the closed nut note In the process of adding wa...
Страница 26: ...nnectio n Select the model connection according to the model padding Normal padding zigzag Padding density Suggestion 25 Extruder diameter 0 4mm Support shape Normal zigzag Support density Suggestion...
Страница 27: ...trusion head preparati on Before printing the model please apply the matching printing glue on the surface of the platform that is in contact with the model in advance to ensure that the model sticks...
Страница 28: ...perature without the room heating temperature Temperat ure of the plate 40 50 no heating Extruder Set 190 210 Model connectio n Select the model connection according to the model padding Normal paddin...