

OPTO 22
• 800-321-6786 • 1-951-695-3000 • www.opto22.com • [email protected]
© 2013-2021 Opto 22. All rights reserved. Dimensions and specifications are subject to change. Brand or product names used herein are trademarks or registered trademarks of their respective companies or organizations.
PAGE 1
TECHNICAL NOTE
Form 2041-210120
PCI-AC51 ADAPTER CARD QUICK START
Use this Quick Start to install the PCI-AC51 adapter card and the
Pamux® Systems Software Development Kit
(SDK), a free download
from the Opto 22 website.
For additional hardware and software information, see Opto 22
form 1459, the
PCI-AC51 and PCIe-AC51 User’s Guide
. This guide is
included in the SDK (or can be downloaded separately) and contains
full instructions for installing and using the card and the SDK.
Installing the Adapter Card
You can install the PCI-AC51 adapter card into any PCI expansion slot
on your computer.
Note the power requirements
in the
Specifications table in Opto 22 form 1459, the
CAUTION: Do not scratch this card or other cards in the computer, as
scratching may irreversibly damage the card or other devices.
1.
Turn off the computer. Remove the power cord and the
computer’s cover.
The power cord must be removed, as a spike may cause the
computer to boot.
2.
Before handling the card, discharge static electricity by touching
the computer’s metal chassis.
3.
Install the card in the expansion slot. Verify that the card is
properly seated in the motherboard socket. Secure the card to
the chassis.
4.
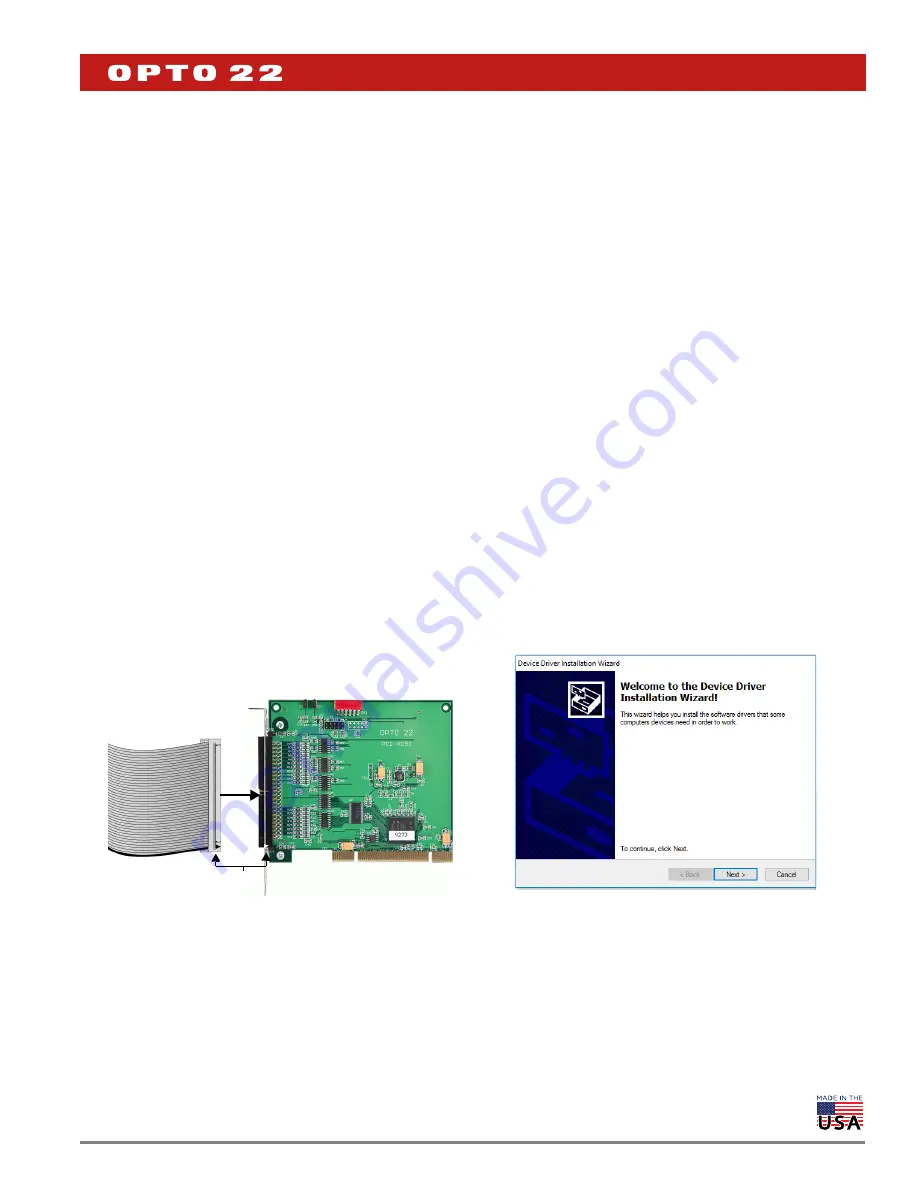
Attach the cable to the adapter card.
5.
Connect the other end of the cable to the I/O mounting rack. See
form 0726, the
, for more information.
6.
Reinstall the power cord.
7.
Turn on the computer. The first time you start the computer after
you have installed the card, the BIOS automatically performs
configuration.
If a “Found New Hardware” message appears, simply click Cancel. The
Pamux Systems SDK setup program will install the device driver
automatically.
Installing the SDK
The SDK includes sample applications with source code, Windows
drivers, and user documentation.
NOTE: If you are using an unsupported operating system or a non-PC
hardware platform, you will need to write your own driver. For more
information, see the
PCI-AC51 and PCIe-AC51 User's Guide
TIP: To ensure reliable control operations, disable Sleep and Hibernation
modes (by setting both sleep and hibernation time durations to “never”) in
your operating system’s Power settings.
1.
To start the Pamux Systems SDK setup,
download the SDK from
our website
, and double-click the installer.
NOTE: If Windows Security dialog boxes appear, click the appropriate
buttons (for example, Yes, Open, Run, or Install) to continue.
2.
Follow the Setup Wizard’s prompts to accept the License
Agreement and select the location where the SDK will be
installed. Note that if the SDK is already installed, the Setup
Wizard prompts you to uninstall it before continuing.
3.
On the Device Driver Installation Wizard screen, click Next to
install the driver.
After the driver is installed, this screen appears:
Pin 1
Example: PCI-AC51


