background image

User Guide

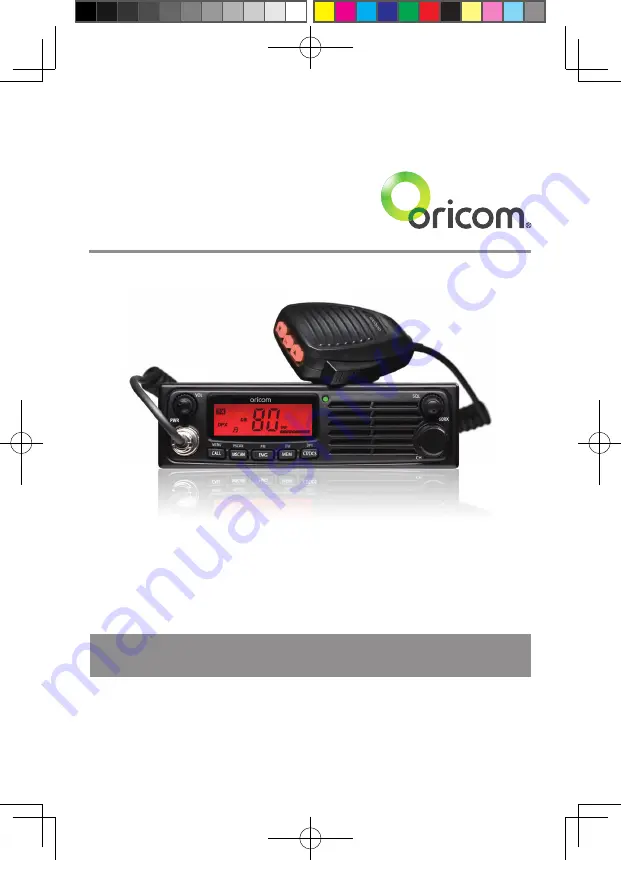
80 Channel UHF CB Radio - Oricom UHF088

Keep this user guide for future reference. Always retain your 

proof of purchase in case of warranty service and register your 

product on line at: AUSTRALIA: www.oricom.com.au

UHF088-UG.indd   1

2012-2-8   15:44:40

Downloaded from www.cbradio.nl

Содержание UHF088

Страница 1: ...HF088 Keep this user guide for future reference Always retain your proof of purchase in case of warranty service and register your product on line at AUSTRALIA www oricom com au UHF088 UG indd 1 2012...

Страница 2: ...e transition phase When a new narrowband radio receives a transmission from an older wideband radio the speech may sound loud and distorted simply adjust your radio volume for the best listening perfo...

Страница 3: ...nnel 9 Transmitting 10 To Transmit 10 CTCSS Continuous Tone Coded Squelch System 10 DCS Digitally Coded Squelch 11 Receive Transmit Indicator 11 Time Out Timer ToT 11 Duplex Operation 12 Emergency Cha...

Страница 4: ...include fueling areas such as below deck on boats fuel or chemical transfer or storage facilities areas where the air contains chemicals or particles such as grain dust or metal powders and any other...

Страница 5: ...y 3 Rotary squelch control 4 60 Channel Rx Selector switch 5 Microphone connector 6 Menu Call Button 7 P SC Priority Scan M SC Memory Scan 8 PRI Primary EMG Emergency Channel 9 DW Dual Watch MEM Memor...

Страница 6: ...a Connection 2 3 5mm external jack for optional 8 ohm speaker 3 Power Supply Connection Microphone 1 Push to talk switch PTT 2 Select Up 3 Select Down 4 Instant Channel 1 2 4 3 Controls and Connectors...

Страница 7: ...specialist or Auto electrician When installing the radio avoid mounting it close to heaters or air conditioners Never press the PTT or CALL button before connecting the antenna to the radio Wiring Me...

Страница 8: ...socket using a PL259 coaxial connector not supplied 2 To obtain maximum performance from the radio select a high quality antenna and mount it in a good location Never press the PTT or CALL button befo...

Страница 9: ...ortable level Rotate the Power Switch counter clockwise until it click to turn off the power Squelch To adjust the level of squelch use the rotary SQL control Turning the control clockwise reduces the...

Страница 10: ...ed with the best clarity hold the microphone 5 to 7 cm from your mouth talk at a normal level do not shout CTCSS Continuous Tone Coded Squelch System Your UHF088 has 38 CTCSS codes to minimise interfe...

Страница 11: ...by Receive Transmit Indicator The LED indictor will illuminate green when the unit is receiving a signal when transmitting it will illuminate red When in standby the LED is out Time Out Timer ToT Aust...

Страница 12: ...nel 2 Channel 32 Channel 2 Channel 32 Repeater Station The Repeater Access function can be set from channel 1 to 8 and 41 to 48 used by local repeater stations When activated your radio will receive t...

Страница 13: ...4625 477 2125 CH72 43 476 4875 477 2375 CH73 44 476 5125 477 2625 CH74 45 467 5375 477 2875 CH75 46 476 5625 477 3125 CH76 47 476 5875 477 3375 CH77 48 476 6125 477 3625 CH78 To Turn Duplex DPX ON 1...

Страница 14: ...tton on the Microphone To Select the Primary Channel 1 Select the desired primary channel using the channel control including any CTCSS or DCS code 2 Press the PRI button on the unit or press and hold...

Страница 15: ...isplayed on the LCD if the channel is in memory To start a Memory Scan 1 Press the M SC button the scan will start M SC will be displayed on the LCD display To stop a Memory Scan 1 Press the M SC butt...

Страница 16: ...ht You can reduce the brightness of the LCD backlight to be more comfortable while driving at night 1 Press and hold the MENU button for 2 seconds the display will show Light 2 Rotate the CH control t...

Страница 17: ...the PTT switch 1 Press and hold the MENU button for 2 seconds the display will show Light 2 Press the MENU button again three times the display will show bEEP 3 Rotate the CH control to select betwee...

Страница 18: ...s the 60Rx button the display will show channel 41 To select a different channel use the Channel control 2 Press the PRI button the 450 in the frequency display will start blinking use the Channel con...

Страница 19: ...476 9250 41 476 4375 61 02 476 4500 476 4500 22 476 9500 476 9500 42 476 4625 62 03 476 4750 476 4750 23 476 9750 476 9750 43 476 4875 63 04 476 5000 476 5000 24 477 0000 477 0000 44 476 5125 64 477 0...

Страница 20: ...are used for mobile reception and channels 31 38 for mobile transmission They may also ________________________________________________________________________________________________________________...

Страница 21: ...22 141 3 3 74 4 23 146 2 4 77 0 24 151 4 5 79 7 25 156 7 6 82 5 26 162 2 7 85 4 27 167 9 8 88 5 28 173 8 9 91 5 29 179 9 10 94 8 30 186 2 11 97 4 31 192 8 12 100 0 32 203 5 13 103 5 33 210 7 14 107 2...

Страница 22: ...adance 50 Ohms Operating Volts Nominal 13 8 VDC Operating Volts Range 10 15 VDC Over Voltage Protection Diode and voltage regulator Over Current Protection 2 Amp fuse Reverse Polarity Protection Serie...

Страница 23: ...0dBM for 12dB SINAD Selectivity 3 75kHz min 3dB to 15kHz max 40dB Intermodulation Immunity 70dB Spurious Immunity 70dB Audio Output Power 3 Watts Maximum RX Audio Signal de emphasis 6dB per octave 300...

Страница 24: ...fter reviewing the resources above or would like to purchase replacement parts or accessories please call our Customer Support Team Our dedicated local support team are more likely to be able to help...

Страница 25: ...s not qualify for return this warranty does not apply to your product Products that are authorised to be returned to Oricom in Australia must include all of the following A completed Return Authorisat...

Страница 26: ...es or conditions express or implied including as to acceptable quality and fitness for a particular purpose except as stated in this Warranty Any implied warranties that may be imposed by law are limi...

Страница 27: ...where possible repair and if not replace the faulty product or part thereof All component parts removed under this Warranty become the property of Oricom In the unlikely event that your Oricom produc...

Страница 28: ...liable for any claim made by a third party or made by you on behalf of a third party This limitation of liability applies whether damages are sought or a claim made under this Warranty or as a tort cl...

Страница 29: ...UHF088 UG indd 29 2012 2 8 15 44 50...

Страница 30: ...ia Email support oricom com au Phone 1300 889 785 Monday to Friday 8am to 6pm AEST Web www oricom com au Fax 02 4574 8898 Contact details for Oricom support and warranty claims in New Zealand Email su...

Отзывы: