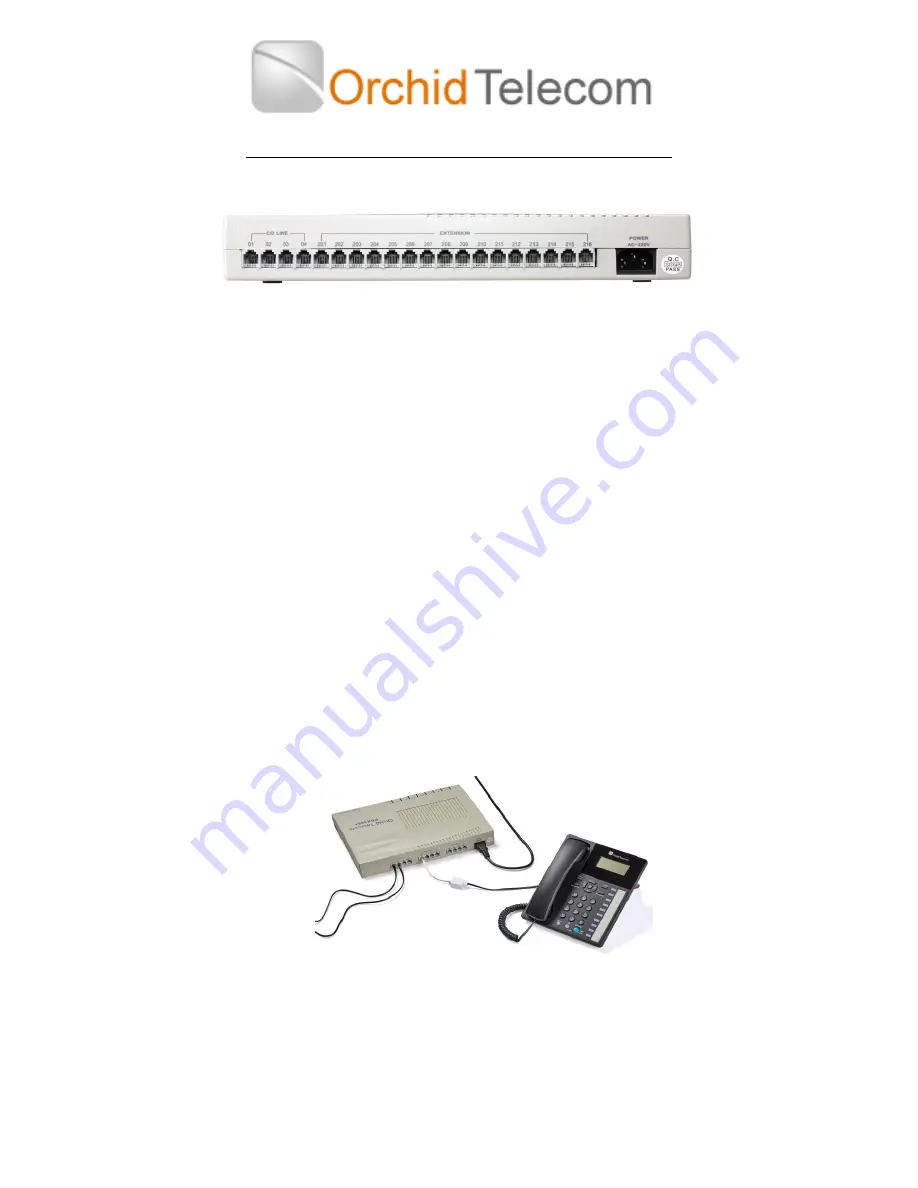
Quick Start User Guide for your Orchid with Corded Telephones
You will need:
1 x
1 x Power Cable (Supplied with the )
4 x Black Line Cords (Supplied with the )
Corded Telephones with curly cords and their own Line cords (please use those supplied
with the telephone)
**White Extension Cables (available from your supplier)
**If your location is CAT 5 cabled you will need Patch panel leads instead – see guide on how
to install in Cat 5 location.
Installation and Set up
1.
Locate the near your main incoming telephone sockets and a mains power
socket
2.
Using the black line cords supplied with the PBX, connect the incoming telephone
sockets to the Line sockets, marked CO Line 01 to 04, on the PBX – If you have less
than 4 lines see over the page.
3.
Connect the mains power lead to a mains socket. Switch the mains power on at the
wall socket and then switch on the PBX via the rocker switch on the side of the unit.
4.
Once on a red LED will light up on the front of the box
5.
Locate the phones around the office where you want them, then connect to the
PBX extension sockets numbered 201 to 216 using the white extension cables and
the black telephone cables.
System Programming
Before you can program the system you must have a phone plugged into the first extension
socket 201
The Factory Default Password is
* * 01 1234 #
(Refer to the disc to change).
Programming can only be done on Extension 201
If Programming is successful you will hear voice confirmation (denoted as a Beep in
the instructions below)


