


155
VGA+HDMI2: It is for dual-screen operation. Please select from the dropdown list according to your
actual situation. Click Apply button, system needs to restart to activate new setup. For example,
32+4 means for VGA, system max supports 32-window split and for HDMI2, system max supports
4-window split.
Please note this function is for some series only.
Color mode: Please select from the dropdown list. It is to set video color mode.
Transparency: Here is for you to adjust menu transparency. The higher the value is, the better
transparent the menu is.
Channel name: Here is for you to modify channel name. System max support 25-digit (The value
may vary due to different series). Please note all your modification here only applies to NVR local
end. You need to open web or client end to refresh channel name.
Time display: You can select to display time or not when system is playback.
Channel display: You can select to channel name or not when system is playback.
Image enhance: Check the box; you can optimize the margin of the preview video.
Original scale: Check the box here to select a corresponding channel; it can restore video original
scale.
Click OK button to save current setup.
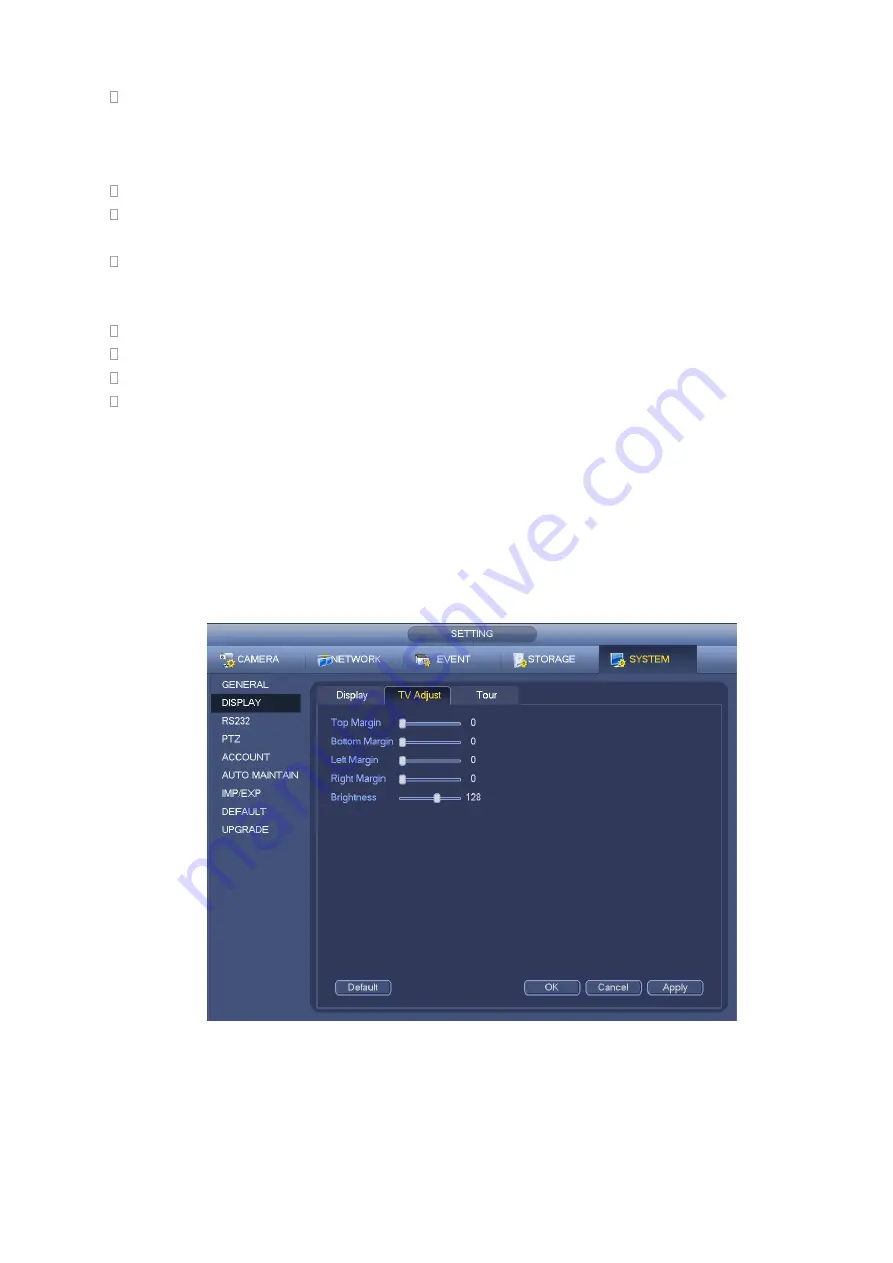
4.7.4.3 TV adjust
Note
Some series product supports TV adjust function. This function is disabled by default.
From Main Menu->Setting->System->Display->TV adjust; you can go to the following interface. See
Figure 4-38. Here you can set margins and brightness.
Figure 4-39
4.7.5
Preview Tour Parameters
Set preview display mode, channel display sequence and tour setup.
Содержание NV432P16-4K
Страница 1: ...Network Video Recorder User s Manual V 2 7 0...
Страница 42: ...109 VIEDEO OUT Video output port CVBS output...
Страница 74: ...141 Figure 4 19 Click smart add button you can see device enables DHCP function See Figure 4 20 Figure 4 20...
Страница 129: ...236 Figure 4 89 Figure 4 90...
Страница 130: ...237 Figure 4 91 Figure 4 92...
Страница 145: ...252 Figure 4 110 Figure 4 111...
Страница 146: ...253 Figure 4 112 Figure 4 113...
Страница 147: ...254 Figure 4 114 Figure 4 115...
Страница 149: ...256 Figure 4 117 Figure 4 118...
Страница 176: ...283 Figure 4 148 In Figure 4 148 click one HDD item the S M A R T interface is shown as in Figure 4 149 Figure 4 149...
Страница 241: ...348 Figure 5 55 Figure 5 56...
Страница 242: ...349 Figure 5 57 Figure 5 58 Figure 5 59...
Страница 253: ...360 Figure 5 73 Figure 5 74...


