S
CAN QUANTITY DEMO
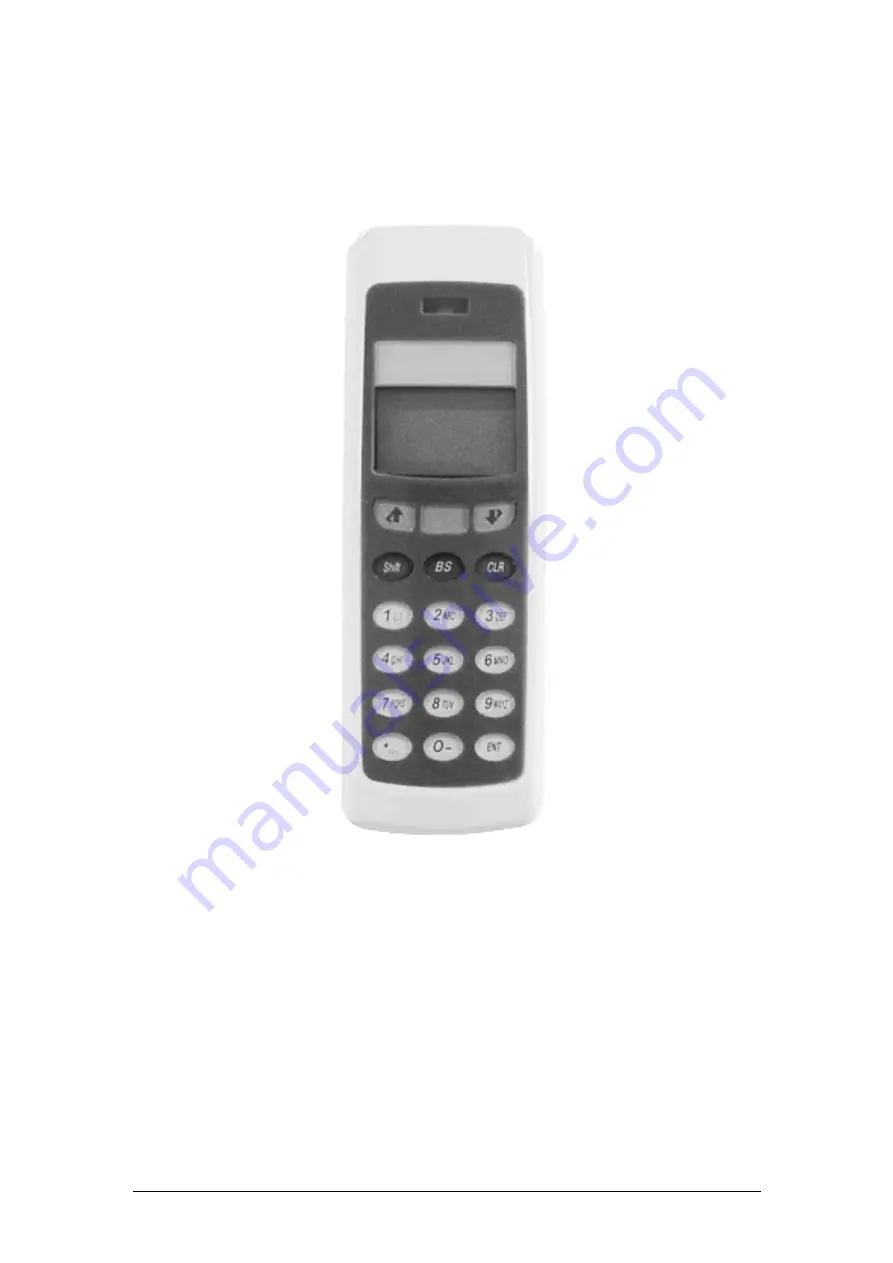
OPL9728
OPTICON
Scan quantity demo application
description
Version LFD24390
for OPL9728
Страница 1: ...SCAN QUANTITY DEMO OPL9728 OPTICON Scan quantity demo application description Version LFD24390 for OPL9728 ...
Страница 2: ...e for any direct indirect consequential or incidental damages arising out of use or inability to use both the hardware and software even if Opticon has been informed about the possibility of such damages All Opticon products are warranted for a period of one year after purchase covering defects in physical media and physical documentation The liability of Opticon is limited to replacement of defec...
Страница 3: ...contents TABLE OF CONTENTS 3 1 KEYS 4 2 THE MENU STRUCTURE 5 2 1 Scan Labels 6 2 2 Scroll data 8 2 3 System menu 9 2 4 Delete data 14 2 5 Send data 15 2 6 Version 16 3 DATA FORMAT 17 4 BATTERY 18 4 1 Battery charging 18 4 2 Battery near empty 19 4 3 Battery empty 19 ...
Страница 4: ...he OPL9728 has full numeric keypad with some additional control keys The Q1 key Up key or with shift left key The Trigger key The Q2 key Down key or with shift right key While holding the shift key and pressing a numeric key the alpha representative value is displayed on the screen ...
Страница 5: ...e menu is also possible by pressing the numeric equivalent of the menu item Below is the schematic representation of the menu that is displayed in the OPL9728 1 Scan labels 2 Scroll data 3 System menu 3 1 back 3 2 Barcode 3 2 1 back 3 2 2 16 enable barcode types 3 3 Communicate 3 3 1 back 3 3 2 Baudrate 3 3 2 1 back 3 3 2 2 8 select baudrate 3 3 3 Protocol 3 3 3 1 back 3 3 3 2 3 select protocol 3 ...
Страница 6: ...ress any of the numeric keys To enter the input data press the ENT key To return to the main menu the key or the CLR key can be pressed Data in display after scanning or entering a barcode The total value is the found quantity in the database If the entered data does not exist in the database the total value is 0 The value within the rectangle is the default value Any numeric input smaller then 4 ...
Страница 7: ...y the application returns to the scan barcode Shown on screen is now the previous scanned barcode with the quantity in the database Pressing the Q2 key will open a special menu item that can perform some operations on the previous scanned barcode will return to the scan barcode menu deletes this record item from the database By pressing the button the quantity that is stored in the database can be...
Страница 8: ...ne When is pressed the record will not be deleted 2 2 Scroll data When no data is available the option select will result in a message that there is no data on the RAM disk When selecting this menu item it is possible to scroll through the inputted data To navigate through the inputted data use the and keys When pressing the and the first record in the database is displayed and will display the la...
Страница 9: ...submenu where special terminal options can be viewed or set The navigation of this menu is the same as navigating the main menu The system menu consist of 8 items back Barcodes Communicate Battery volt Memory Date time Standby time Backlight When the back menu item is selected the application returns to the main menu ...
Страница 10: ...PL9728 More barcodes can be enabled at the same time Checked enabling barcode Unchecked disabling barcode Supported barcode types are Code 39 EAN UPC Interleaved 2 of 5 Industrial 2 of 5 Codabar Code 93 Code 128 MSI plessey Telepen UK plessey IATA Scode Matrix 2of5 All Addons By enabling all addons the addons for all supported barcode types are enabled ...
Страница 11: ...udrate the previous baudrate is disabled The protocol menu enables the protocol that will be used to send data There are two protocols available The No protocol sending data from the database as flat ascii The NetO protocol sending data to the PC by the NetO protocol Checked protocol enabled Unchecked protocol disabled By selecting a new protocol the previous selected protocol is disabled The batt...
Страница 12: ...l data is stored RAM disk is full data is not stored The date time menu item shows the current day date and time Use button BACK to return to the system menu Use button SET to change the time and date Use button and to navigate Use button to change the value where the cursor is positioned When the cursor is placed under the E of End the new time and date can be saved If the newly entered time or d...
Страница 13: ...l turn the terminal back on The backlight menu controls the way the OPL9728 uses the backlight The Baclight menu options are OFF ON and AUTO When the auto option is selected then when a key is pressed the backlight of the display will stay on for 10 seconds Checked selected backlight item Unchecked unselected backlight item By selecting a new backlight item the previous selected item is unselected...
Страница 14: ...s possible to delete the inputted data The default screen when delete data is selected and data is available This screen will also appear when a successful send data data transmission occurs When cancel is selected the database is not removed from the RAM disk Use button or to switch between delete and cancel When the delete option is selected the database is removed from the RAM disk and the appl...
Страница 15: ...hat can not be changed are Parity None Databits 8 Stopbits 1 When the transmit data message appears on the display put the OPL9728 in the cradle and then press a key On the PC needs to run an application to receive the database After a successful transmission a message appears to delete the database See delete data for more infromation Transmission error during transfer protocol If this message ap...
Страница 16: ...SCAN QUANTITY DEMO APPLICATION PAGE 16 SCAN QUANTITY DEMO OPL9728 OPTICON 2 6 Version Selection the version menu item the current software version is shown The software version of this application ...
Страница 17: ...with spaces Quantity 7 characters left padded with spaces 6 numeric and 1 sign bit Time stamp 8 characters format HH MM SS Date stamp 10 characters format DD MM YYYY The fields in record are separated by a comma and all records end with a CR LF character A Complete record looks like this Barcode Quantity Time Date CR LF The maximum amount of record that can be placed in this terminal is almost 650...
Страница 18: ...ally determined During charging the OPL9728 shows one of the images on the left Also the RED led on the terminal will emit When the battery is fully charged the led will be GREEN and the image on the left will be shown The voltage meter shows the voltage on the contacts of the battery Note When sending data transmission battery will also be charged The led will emit RED or GREEN but the charging i...
Страница 19: ...sage has been alerted and operation was continued the battery empty message could be alerted This message indicates that the battery needs to be recharged it is not possible to continue operation without recharging the battery When the OPL9728 has been placed in the cradle the battery charging image appears When the OPL9728 is picked from the cradle and the battery is not charged enough the batter...