


© 2014, 2015, 2018 OPEX
®
Corporation
All rights reserved. This document is provided by OPEX for use by their customers, partners, and dealers. No portion
of these materials may be reproduced, published, or stored in a database or retrieval system, other than for its in-
tended use without the express, written permission of OPEX Corporation.
March 15, 2018
Document Revision 18-01
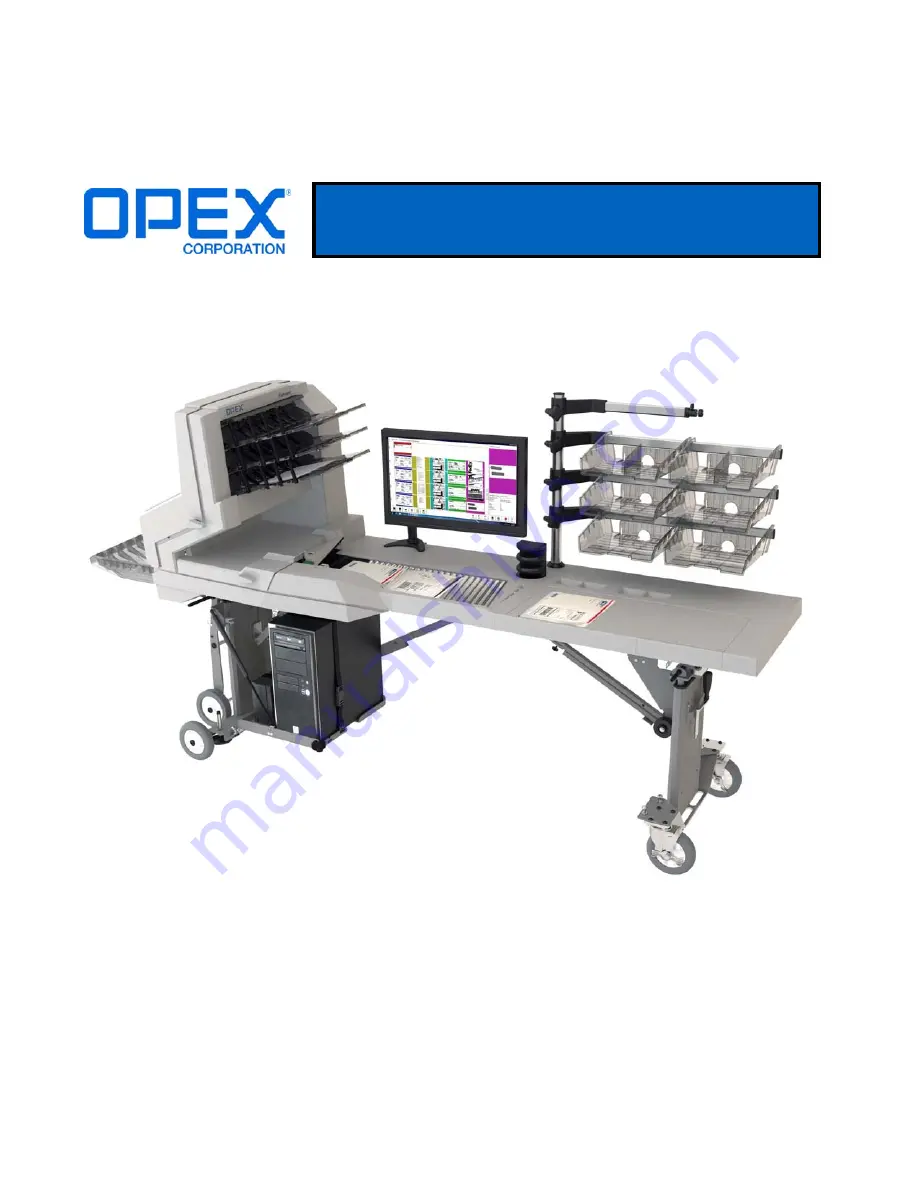
Falcon Transportable Manual
Содержание Falcon Transportable
Страница 8: ...8 Overview Falcon Transportable Manual OPEX Corporation...
Страница 9: ...Falcon Transportable Manual Breakdown Remove Secondary Items 10 Collapse the Frame 11...
Страница 22: ...22 On site Travel Falcon Transportable Manual OPEX Corporation...
Страница 30: ...30 Loading into a Vehicle Falcon Transportable Manual OPEX Corporation...
Страница 31: ...Falcon Transportable Manual Unloading Removal from the Vehicle 32...
Страница 36: ...36 Unloading Falcon Transportable Manual OPEX Corporation...
Страница 44: ...44 On Site Setup Falcon Transportable Manual OPEX Corporation...


