7 |
P a g e
Hardware Setup
Connecting your Antenna
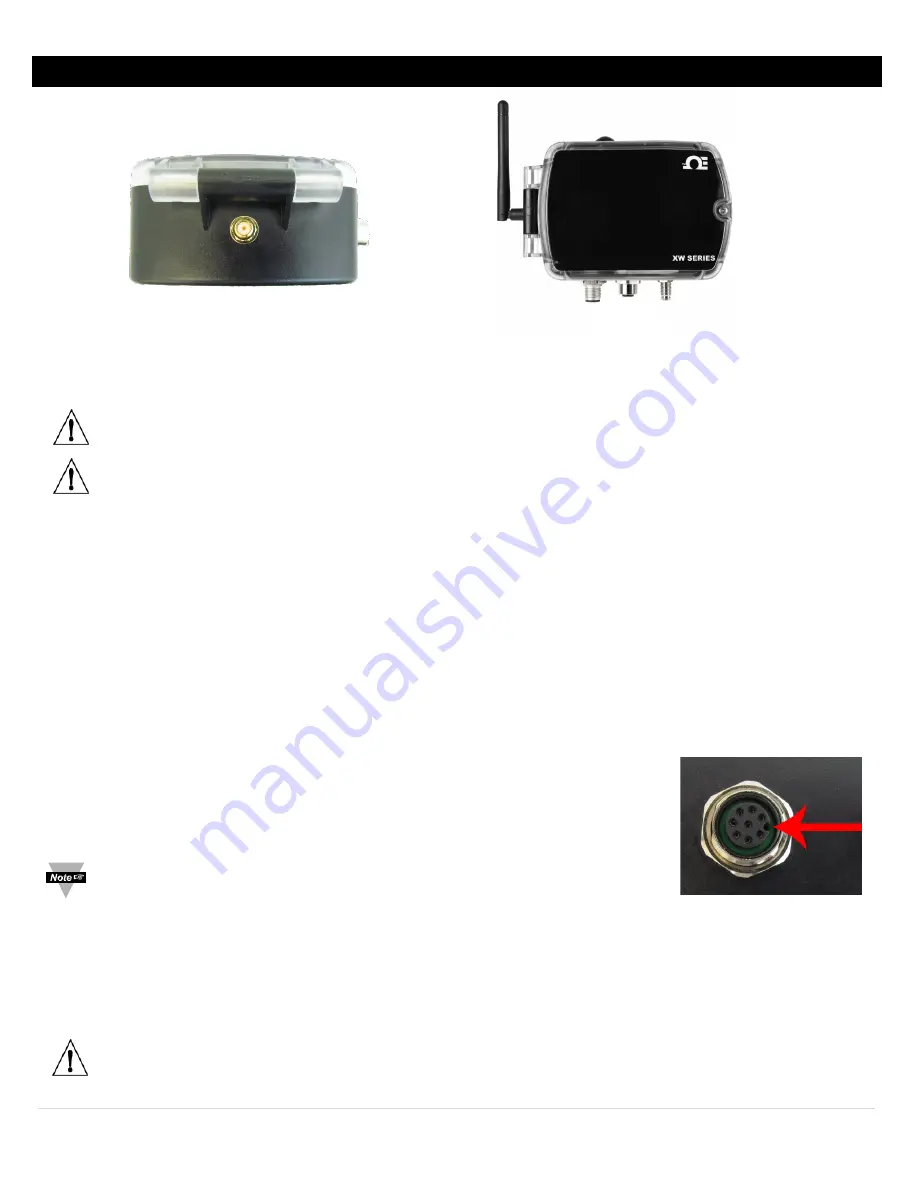
The XW Transmitter comes with a 2.4 GHz Antenna.
Step 1:
Line up the supplied 2.4 GHz antenna with the receiving connector on the XW Transmitter. See
Figure 2
.
Step 2:
Turn the plastic knurl on the antenna in a clockwise direction. See
Figure 3
for result.
Important:
Hand tighten the antenna onto the XW Transmitter.
Important:
Before powering up the XW Transmitter ensure the supplied antenna is properly installed. Running the
XW Transmitter without an antenna, or with an unapproved antenna, may cause damage to the device and/or
cause operation outside of regulatory compliance. Omega Engineering accepts no liability and issues no warranty
for devices operated improperly.
Connecting your Sensors
The XW Transmitter works with a wide variety of sensors. Most sensors come packaged in a probe and each probe is suited
to different applications. Some probes may contain multiple sensors. The XW Transmitter automatically detects connected
sensors on power up and transmits that data to the SYNC configuration software.
For a complete list of sensors compatible with the XW Transmitter, please visit the Omega website.
Probe Installation
8-pin digital probes, including Omega Smart Probes, can be plugged in at this point. Digital I/O or Analog connections should
be made after the XW Transmitter is setup. To install or change a probe, follow these directions:
Step 1:
Ensure the XW Transmitter is powered OFF.
Step 2:
Take note of the Key Position on the XW Transmitter. See
Figure 4
. Align this key
with the keyway in the mating connector on the XW Transmitter.
Note:
The keyway locations in this manual assume the device is standing in the
position displayed in
Figure 4
.
Step 3:
Turn the metal knurl of the probe in a clockwise direction while leaving the probe body stationary. Ensure that the
probe or interconnecting cable is inserted to the base of the knurl to maintain a NEMA 4 rating on the XW Transmitter.
Step 4:
To remove the probe, grasp the plastic knurl only and turn it in a counter clockwise direction. Do NOT rotate the
probe body.
Caution:
Do not rotate the body of the probe or the cable. Do not use pliers, vice grips or other tools on probes.
Hand-tighten and hand-loosen only.
Figure 2
Figure 3
Figure 4


