Ceramic Cooktop
Instruction Manual / Installation Manual
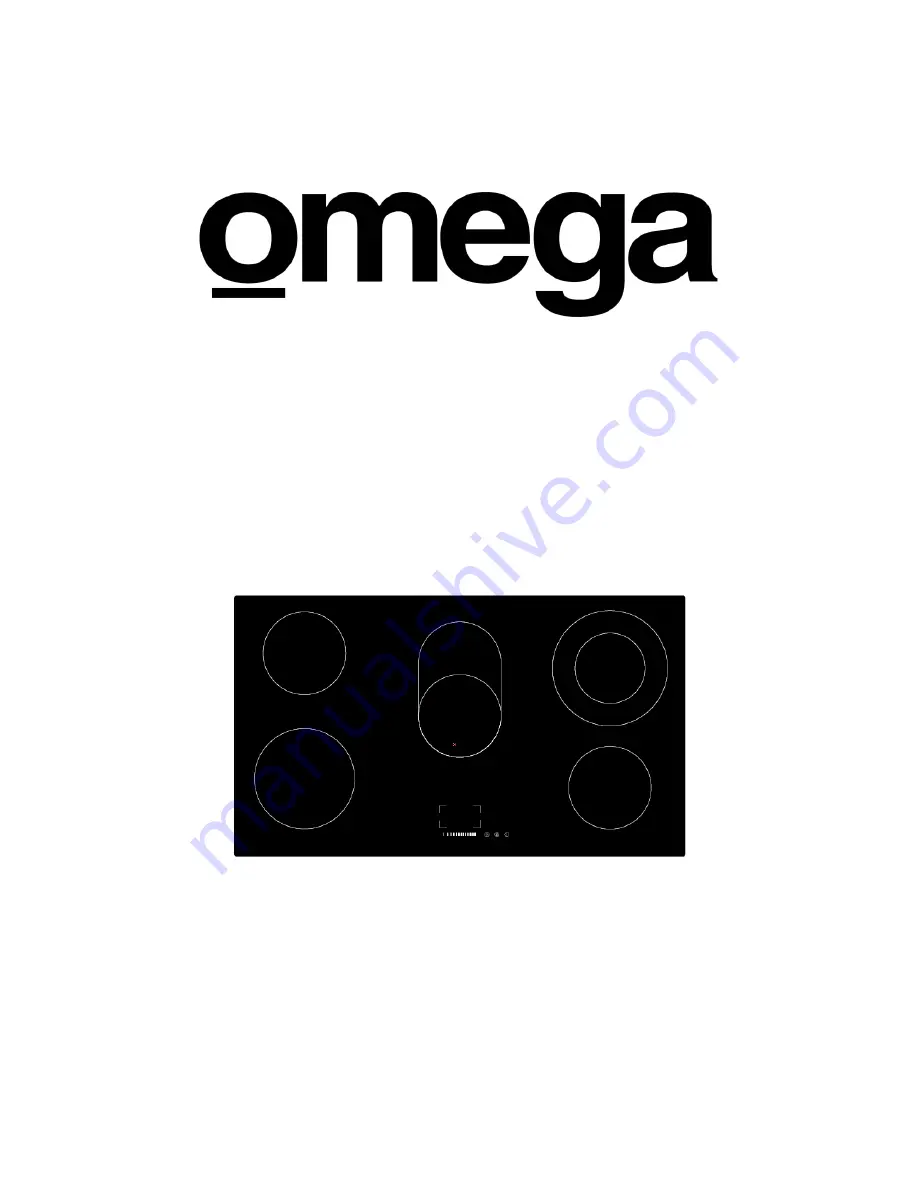
OC90TZ
Congratulations
Enjoy your new ceramic cooktop
Страница 1: ...Ceramic Cooktop Instruction Manual Installation Manual OC90TZ Congratulations Enjoy your new ceramic cooktop...
Страница 2: ......
Страница 3: ...n 8 3 Operation of Product 8 3 1 Touch Controls 8 3 2 Choosing the right Cookware 8 3 3 How to use 9 3 3 1 Start cooking 9 3 3 2 Finish cooking 10 3 3 3 Locking the Controls 10 3 3 4 Using the Double...
Страница 4: ...care panel edges are sharp Failure to use caution could result in injury or cuts 1 2 3 Important safety instructions Read these instructions carefully before installing or using this appliance No com...
Страница 5: ...mps must consult with their doctor or implant manufacturer before using this appliance to make sure that their implants will not be affected by the electromagnetic field Failure to follow this advice...
Страница 6: ...to follow this advice can result in scalding Do not store items of interest to children in cabinets above the appliance Children climbing on the cooktop could be seriously injured This appliance is no...
Страница 7: ...oking on a hob with fat or oil can be dangerous and may result in fire NEVER try to extinguish a fire with water but switch off the appliance and then cover flame e g with a lid or a fire blanket WARN...
Страница 8: ...igh to moderate and low with ease 2 4 Before using your New Ceramic Hob Read this guide taking special note of the Safety Warnings section Remove any protective film that may still be on your ceramic...
Страница 9: ...Controls The controls respond to touch so you don t need to apply any pressure Use the ball of your finger not its tip You will hear a beep each time a touch is registered Make sure the controls are...
Страница 10: ...e pan on the cooking zone that you wish to use Make sure the bottom of the pan and the surface of the cooking zones are clean and dry Touching the heating zone selection control and an indicator next...
Страница 11: ...e used as an energy saving function if you want to heat further pans use the hotplate that is still hot 3 3 3 Locking the Controls You can lock the controls to prevent unintended use for example child...
Страница 12: ...ual zone function is activated and power level shows 6 and alternately Deactivate the Dual zone Press the heating zone selection control of the dual zone the power level indicator will flash Press and...
Страница 13: ...set is 95 minutes When the time is set it will begin to count down immediately The display will show the remaining time Buzzer will beep for 30 seconds and the timer indicator shows when the setting...
Страница 14: ...art from step 1 3 3 6 Over Temperature Protection A temperature sensor equipped can monitor the temperature inside the ceramic hob When an excessive temperature is monitored the ceramic hob will stop...
Страница 15: ...ked it is the firmer it feels the more well done it will be 5 Leave the steak to rest on a warm plate for a few minutes to allow it to relax and become tender before serving 4 1 3 For stir frying 1 Ch...
Страница 16: ...scraper suitable for Ceramic glass cooktops but beware of hot cooking zone surfaces 1 Switch the power to the cooktop off at the wall 2 Hold the blade or utensil at a 30 angle and scrape the soiling o...
Страница 17: ...all of your finger when touching the controls The glass is being scratched Rough edged cookware Unsuitable abrasive scourer or cleaning products being used Use cookware with flat and smooth bases See...
Страница 18: ...the cupboard above the hotplate should be at least 760mm A mm B mm C mm D E 650mm 50 mini 20 mini Air intake Air exit 5mm 8 2 Before locating the fixing brackets The unit should be placed on a stable...
Страница 19: ...ting the hob to the mains power supply The power supply should be connected in compliance with the relevant standard or a single pole circuit breaker The method of connection is shown below 1 If the c...
Страница 20: ...ed of in the wrong way The symbol on the product indicates that it may not be treated as normal household waste It should be taken to a collection point for the recycling of electrical and electronic...
Страница 21: ...y labour cost of service or repair SERVICE AREA The provision of service under Our Warranty is limited by the boundary territory area of the nearest service centre Travelling cost incurred for service...