28 - English
Using Ethertalk
Mac 10.5 (Leopard)
Note
The procedure below uses Model MC561 as an
example.
1
Make sure that your machine and the Mac are
turned on and connected.
2
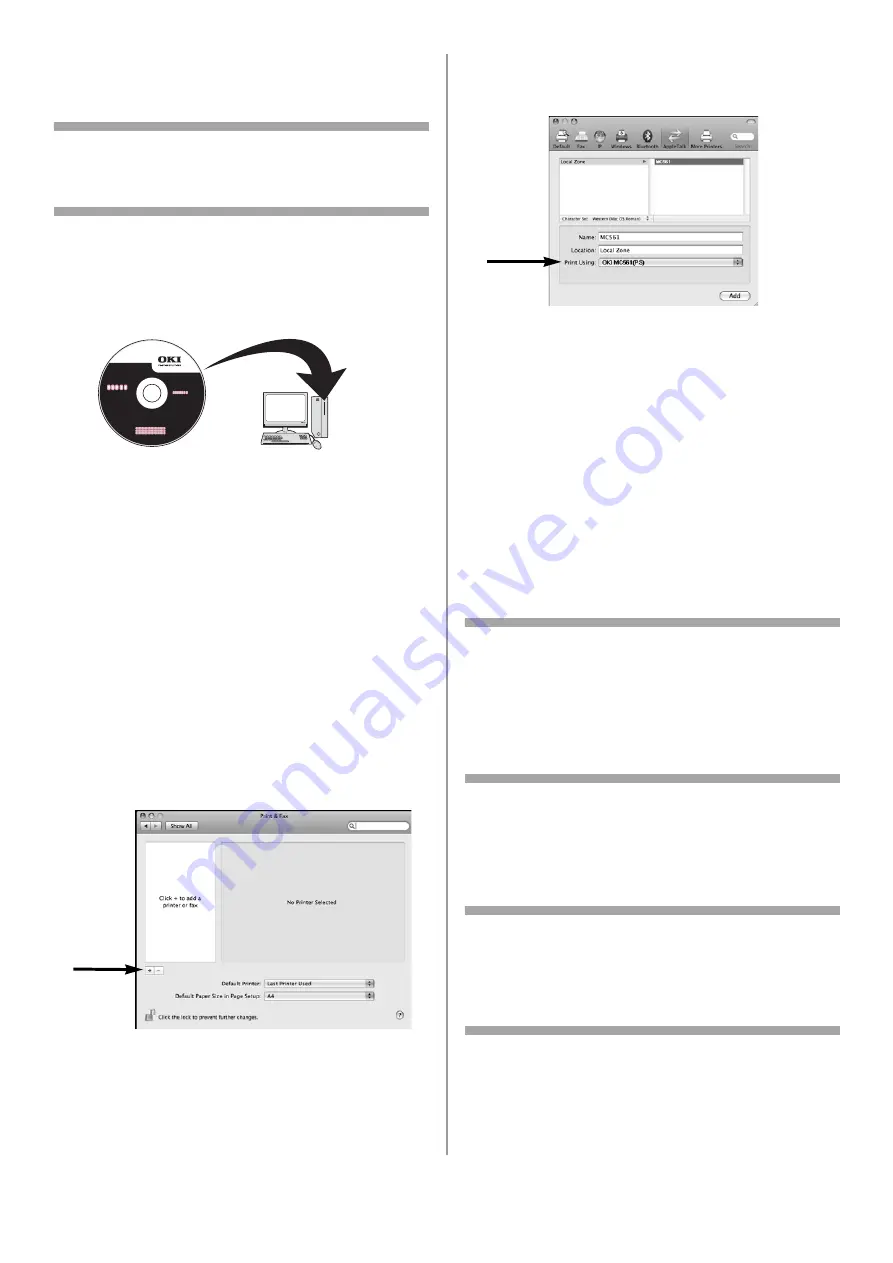
Insert the DVD supplied with your machine
into the computer.
3
Double-click the [OKI] icon.
4
Double-click the [Driver] folder, then the
[Printer] folder.
5
Double-click [Installer for MacOSX].
6
Enter the administrator’s name and password,
and then click [OK].
7
Follow the instructions displayed on the
screen to complete the installation.
8
Remove the DVD from the computer.
9
From the Apple menu, select [System
Preferences].
10
Click [Print & Fax].
11
Click [+].
12
Click [AppleTalk].
13
Select the name of your machine and then
check that the name of your machine is
displayed in [Print Using].
14
Click [Add].
15
If the [Installable Options] window appears,
click [Continue] unless you have already
installed options. If you have installed
options, configure each option before clicking
[Continue].
16
Check that your machine is displayed under
[Printers].
17
Check that the name of your machine is
displayed in [Kind] and then close [Print &
Fax].
The installation is complete.
Note
The name of your machine may not be displayed
if the printer driver does not read the PPD file
correctly.
In this case, click [
-
] to remove your machine
from [
Print & Fax
] and then redo the procedure
from step 10.
Using Bonjour (Rendezvous)
Mac 10.3.9 to 10.4.11
Note
The procedure below uses Mac OS X 10.4.11 and
Model MC561 as an example. The actual
procedure may differ somewhat depending on the
operating system.
1
Make sure that your machine and the Mac are
turned on and connected.
2
From the Apple menu, select [System
Preferences].


