ES9160 MFP / ES9170 MFP
© 2012 OKI DATA CORPORATION All rights reserved
DISASSEMBLY AND REPLACEMENT
4 - 94
4.10.8
Reverse sensor (S23)
Notes:
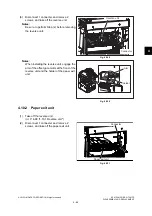
When installing the solenoid, check if the
solenoid is installed at the center of the
scale. (The scale is longer in the center.).
Fig. 4-264
(1)
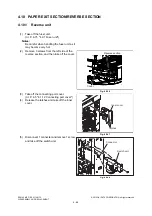
Take off the reverse unit.
(
P. 4-88 "4.10.1 Reverse unit")
(2)
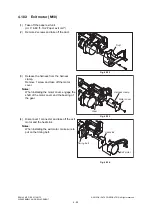
Remove 3 screws and take off the plate.
Notes:
When installing, engage the slit of the
reverse gate solenoid and the lever of the
gate.
Fig. 4-265
(3)
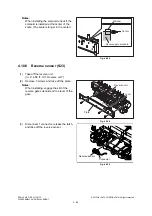
Disconnect 1 connector, release the latch,
and take off the reverse sensor.
Fig. 4-266
Reverse gate solenoid
Window
Center
Reverse unit
Lever
Plate
Slit
Reverse sensor
Connector
Содержание ES9160
Страница 12: ......
Страница 24: ...ES9160 MFP ES9170 MFP 2012 OKI DATA CORPORATION All rights reserved FEATURES 1 2...
Страница 114: ...ES9160 MFP ES9170 MFP 2012 OKI DATA CORPORATION All rights reserved OUTLINE OF THE MACHINE 3 76...
Страница 252: ...ES9160 MFP ES9170 MFP 2012 OKI DATA CORPORATION All rights reserved DISASSEMBLY AND REPLACEMENT 4 138...
Страница 308: ...ES9160 MFP ES9170 MFP 2012 OKI DATA CORPORATION All rights reserved SELF DIAGNOSIS MODES 5 56...
Страница 832: ...ES9160 MFP ES9170 MFP 2012 OKI DATA CORPORATION All rights reserved REMOTE SERVICE 10 38...
Страница 916: ...ES9160 MFP ES9170 MFP 2012 OKI DATA CORPORATION All rights reserved BACKUP FUNCTION 12 8 4 Turn the power OFF...
Страница 920: ...ES9160 MFP ES9170 MFP 2012 OKI DATA CORPORATION All rights reserved BACKUP FUNCTION 12 12...
Страница 922: ...ES9160 MFP ES9170 MFP 2012 OKI DATA CORPORATION All rights reserved WIRE HARNESS CONNECTION DIAGRAMS 13 2...
Страница 1086: ......
Страница 1087: ......

