ES9160 MFP / ES9170 MFP
© 2012 OKI DATA CORPORATION All rights reserved
DISASSEMBLY AND REPLACEMENT
4 - 6
4.1.13
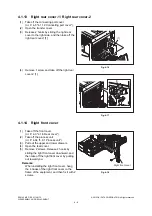
Right rear cover-1 / Right rear cover-2
4.1.14
Right front cover
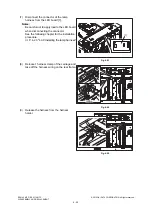
(1)
Take off the connecting port cover.
(
P. 4-5 "4.1.12 Connecting port cover").
(2)
Open the transfer cover.
(3)
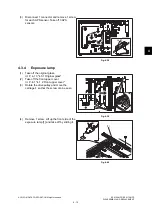
Release 2 hooks by sliding the right rear
cover to the right side, and then take off the
right rear cover-1[1].
Fig. 4-16
(4)
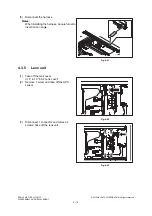
Remove 1 screw and take off the right rear
cover-2 [1].
Fig. 4-17
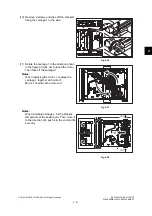
(1)
Take off the front cover.
(
(2)
Take off the process unit.
(
P. 4-64 "4.8.1 Process unit").
(3)
Pull out the upper and lower drawers.
(4)
Open the feed cover.
(5)
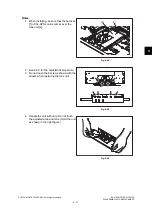
Remove 2 screws. Release 4 hooks by
sliding the right front cover downward, and
then take off the right front cover by pulling
out toward you.
Remarks:
When installing the right front cover, hang
the 4 hooks of the right front cover on the
frame of the equipment, and then fix it with 2
screws.
Fig. 4-18
[1]
[1]
Right front cover
Содержание ES9160
Страница 12: ......
Страница 24: ...ES9160 MFP ES9170 MFP 2012 OKI DATA CORPORATION All rights reserved FEATURES 1 2...
Страница 114: ...ES9160 MFP ES9170 MFP 2012 OKI DATA CORPORATION All rights reserved OUTLINE OF THE MACHINE 3 76...
Страница 252: ...ES9160 MFP ES9170 MFP 2012 OKI DATA CORPORATION All rights reserved DISASSEMBLY AND REPLACEMENT 4 138...
Страница 308: ...ES9160 MFP ES9170 MFP 2012 OKI DATA CORPORATION All rights reserved SELF DIAGNOSIS MODES 5 56...
Страница 832: ...ES9160 MFP ES9170 MFP 2012 OKI DATA CORPORATION All rights reserved REMOTE SERVICE 10 38...
Страница 916: ...ES9160 MFP ES9170 MFP 2012 OKI DATA CORPORATION All rights reserved BACKUP FUNCTION 12 8 4 Turn the power OFF...
Страница 920: ...ES9160 MFP ES9170 MFP 2012 OKI DATA CORPORATION All rights reserved BACKUP FUNCTION 12 12...
Страница 922: ...ES9160 MFP ES9170 MFP 2012 OKI DATA CORPORATION All rights reserved WIRE HARNESS CONNECTION DIAGRAMS 13 2...
Страница 1086: ......
Страница 1087: ......

