OS2 Upgrade Kit Installation Guide
Install OS2 Upgrade Kits in Allegro
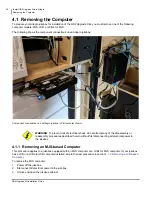
Removing the Computer
38
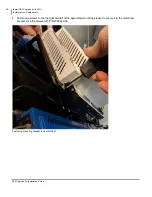
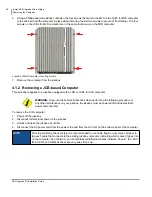
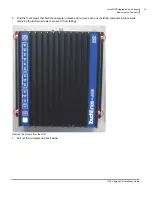
6. Using a Phillips-head screwdriver, unfasten the four screws that secure the MJS or the JCB
+
for MJS computer
to the cabinet (hold the computer in place while removing the last two screws to prevent it from falling). The four
screws on the JCB
+
for MJS computer are in the same location as on the MJS computer.
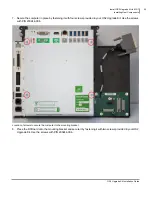
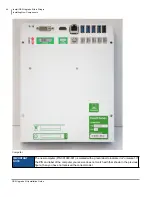
Location of MJS computer mounting screws
7. Remove the computer from the jukebox
4.1.2 Removing a JCB-based Computer
This procedure applies to a jukebox equipped with a JCB or JCB
+
for JCB computer.
To remove the JCB computer:
1. Power off the jukebox.
2. Disconnect all electrical power to the jukebox.
3. Unlock and open the jukebox front door.
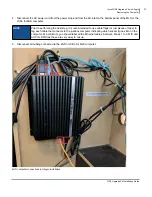
4. Disconnect the AC power cord from the power strip and from the AC inlet on the bottom panel of the computer.
WARNING:
To prevent risk of electrical shock when performing the following procedure or
any other maintenance on your jukebox, the jukebox must be powered off and its electrical
power disconnected.
NOTE
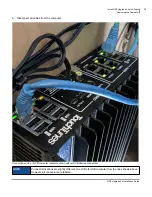
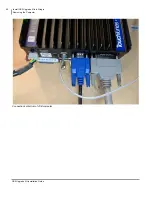
Prior to performing the next step, it is recommended to use cable flags (or just pieces of tape) to
tag each cable that connects to the existing jukebox computer, indicating which socket it goes into
on the computer. At a minimum, you should label all Ethernet cables (network, Zones 1 to 3, MIC
IN, AUX IN, and DMX) as these are very easy to mix up.
Содержание TouchTunes Allegro
Страница 1: ...OS2 Upgrade Kit Installation Guide MX 1 Allegro...
Страница 2: ......
Страница 16: ...OS2 Upgrade Kit Installation Guide Prepare to Install OS2 Upgrade Kits Workflow 10...
Страница 40: ...OS2 Upgrade Kit Installation Guide Install OS2 Upgrade Kit in MX 1 Installing New Components 34...
Страница 81: ......
Страница 82: ......
Страница 84: ...OS2 Upgrade Kit Installation Guide 901107 001 Rev 01...


