Using Objet Studio
5–4
DOC-00500 Rev. F
If
the
Preview
check
box
is
selected,
the
object
is
displayed
in
the
dialog
box,
as
shown
in
5. Select
any
of
the
following
options,
as
required:
•
Units
—Choose
millimeters
or
inches
for
the
object’s
units
of
measure.
•
Number of copies
—Choose
how
many
copies
of
this
object
to
place
on
the
build
tray.
•
Arrange models
—Select
this
check
box
to
automatically
position
objects
on
the
build
tray
for
efficient
model
building.
Note:
The 3-D file contains the object's proportions, but not its units of
measure. Therefore, make sure to correctly select either
millimeters
or
inches
when inserting an object. Otherwise, the size of the object on the
build tray will be either much too large or much too small.
6. Click
Open
.
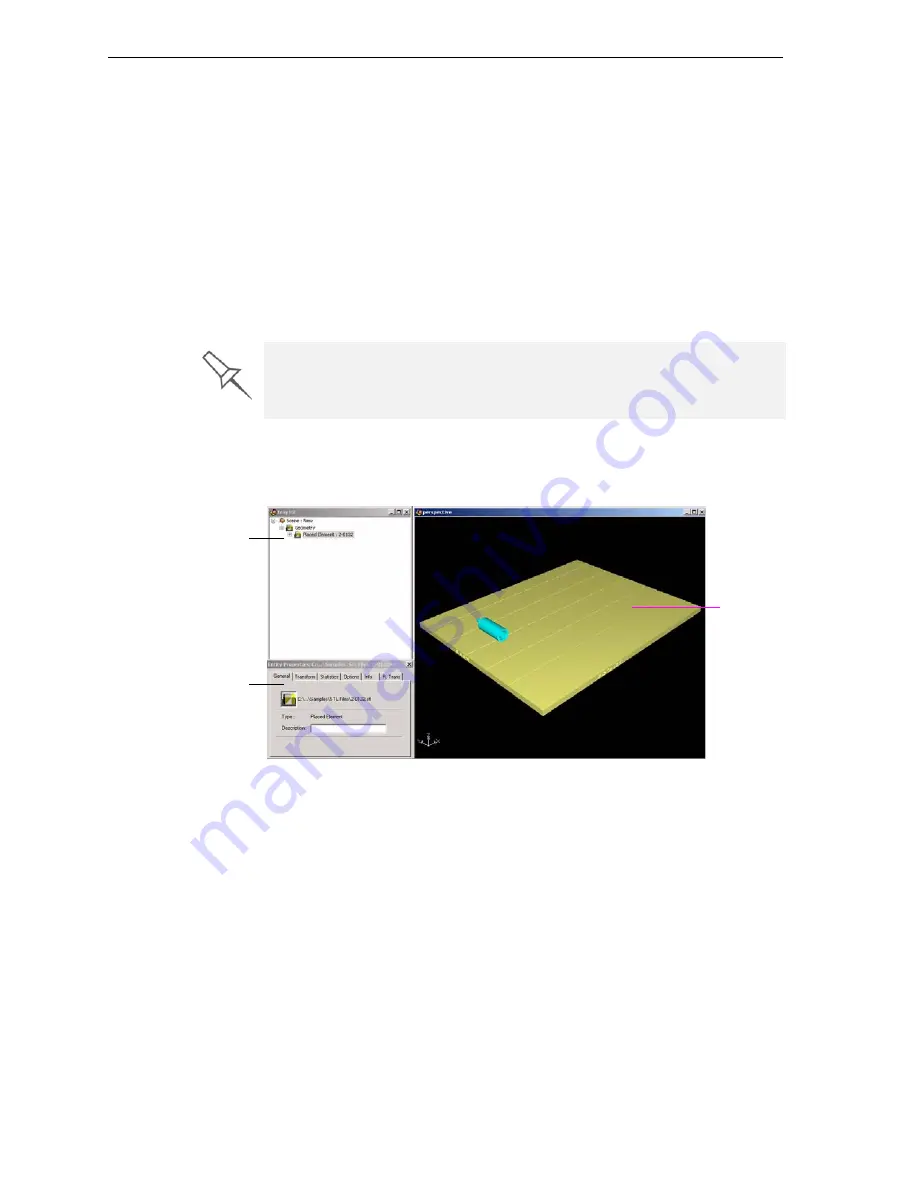
Objet
Studio
places
the
object
on
the
build
tray,
and
in
the
list
in
the
hierarchy
pane.
Figure 5-5: Default screen layout
You
can
place
additional
objects
on
the
build
tray
by
repeating
this
procedure.
The
Extents
values displayed at the bottom of the dialog box represent the
maximum dimensions of the object on each axis. These dimensions
correspond to the virtual “bounding box” surrounding the object (see
figure 5-24 on page 18).
Hierarchy
pane
Build tray
Object
properties
Содержание Eden350
Страница 1: ...User Guide English Eden500V 350V 350 3 D Printer System...
Страница 2: ......
Страница 8: ......
Страница 12: ......
Страница 20: ......
Страница 28: ......
Страница 29: ...DOC 00500 Rev F 4 1 Installing Objet Software How to Install Software for the Eden 3 D Printing System 2...
Страница 34: ......
Страница 126: ......
Страница 130: ......


