Job No.
Instruction Manual
NZ Made
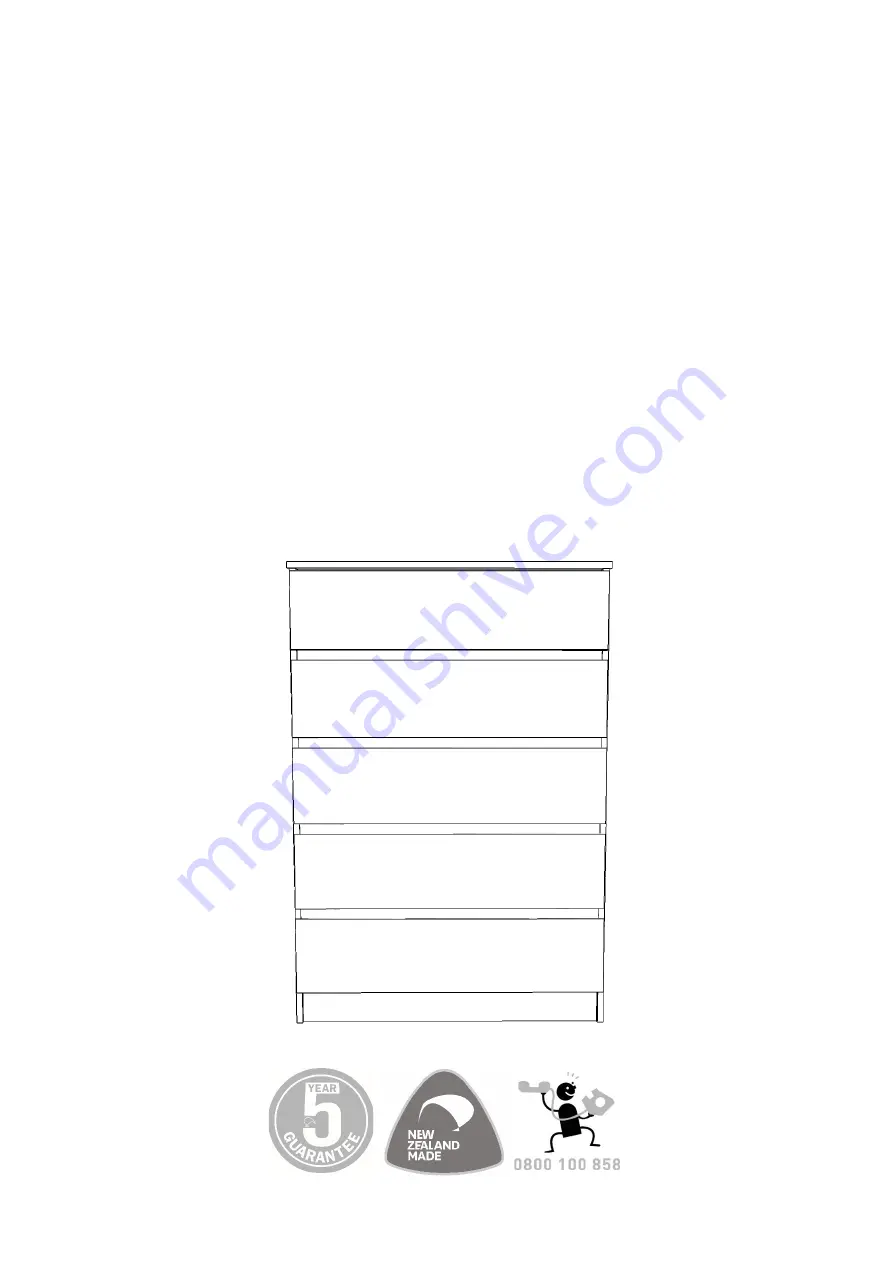
EdEN 5 Drawer Tallboy
C o n g r a t u l a t I o n s on t h e p u r c h a s e
of y o u r
……
.
Страница 1: ...Job No Instruction Manual NZ Made EdEN 5 Drawer Tallboy C o n g r a t u l a t I o n s on t h e p u r c h a s e of y o u r ...
Страница 2: ... nz or call the manufacturers direct on 0800 100 858 WHERE TO ASSEMBLE YOUR Cabinet Assemble your Tallboy on a clean and smooth surface free of anything which may damage the finished surfaces A clean carpeted floor is ideal If assembling on a workbench or table we suggest you cover it with the carton the Tallboy was packaged in Warning Never leave hardware parts where children can reach them Small...
Страница 3: ...shed on both sides Green mark 1 RH End 1123 x 378 x 15mm Finished on both sides Red mark 1 Back Panel 698 x 339 x 4 Plain MDF 1 Toeboard 738 x 80 x 15 Finished on one side 4 Drawer Rails 738 x 50 x 15mm Finished on one side 2 Back Rails 738 x 80 x 15mm Plain MDF DRAW PARTS 5 LH Drawer Sides 340 x 135 x 12 Plain MDF Green mark 5 RH Drawer Sides 340 x 135 x 12 Plain MDF Red mark 5 Drawer Fronts 764 ...
Страница 4: ...EMBLY CODE PICTURE CABINET HARDWARE 18 Connecting Bolts H1 18 15mm Cams H2 18 Large Dowels H15 20 Drawer Slide Screws H4 5 Metal Drawer Slide sets H21 4 Nail on glide feet H37 5 Pan head Screw H7 1 Safety strap 2 Washer DRAWER HARDWARE 15 Connecting Bolts H1 15 12mm Cams H3 10 Large Dowels H15 20 Small Screws H6 25 Gold Screws H9 ...
Страница 5: ...together with adhesive tape Each set comprises of 4 components Undo the tape on one set at a time and separate the parts LEFT HAND PART DL RIGHT HAND PART DR The Drawer Slide components shown above are attached to the drawer They have the letters DL or DR stamped on them to indicate left hand or right hand components Put these parts aside for attaching to the drawer later on LEFT HAND PART CL RIGH...
Страница 6: ...awer Slide Screws Use the holes as indicated in the diagram below each slide requires two screws Ensure that the end of the Slide with the wheel faces towards the finished edge of the LH End Insert two H2 Large Cams as shown in diagram Ensure the arrow on the top of the Cam points towards the top edge of the End Push two H15 Dowels into the top edge of the End Screw five H1 Connecting Bolts into t...
Страница 7: ... Screws Use the holes as indicated in the diagram below each slide requires two screws Ensure that the end of the Slide with the wheel faces towards the finished edge of the LH End Insert two H2 Large Cams as shown in diagram Ensure the arrow on the top of the Cam points towards the top edge of the End Push two H15 Dowels into the top edge of the End Screw five H1 Connecting Bolts into the holes i...
Страница 8: ...f the Top Make sure that the Strap is positioned so that the tail end falls through the hole in the edge of the Top as shown below STEP 4 RAILS AND TOEBOARDS Your pack will contain 4 x Drawer Rails 1 x Toeboard 2 x Back Rails To distinguish the difference between the various boards please see the parts list on page three if this instruction booklet Install two H2 Cams into each piece as indicated ...
Страница 9: ... floor is ideal for this Position the Drawer Rails and Toeboard and Back Rails over the Connecting Bolts installed in the End take note of the drawing below to get them in the correct place Ensure the finished surface of the Toeboard faces towards the Front Edge of the unit so the cams cannot be seen when the unit is completed Make sure the Large Cams face towards the top of the End Tighten all th...
Страница 10: ...urniture co nz or call 0800 100 858 STEP 6 ATTACH RH END Fit the RH End to the Rails and Toeboards as shown in the drawing below Lock the RH End to the Rails and Toeboards by tightening all the Cams in the Rails and Toeboards in a clockwise direction RH End LH End ...
Страница 11: ... TO ENDS Fit it the Top onto the E nds as shown below The Connecting Bolts in the Top will fit into the Cams in the Ends Turn all four Cams in a clockwise direction to lock the Top to the Ends Tap the 4 x Nail on Furniture Glides into the end of the Ends Space them about 20mm in from the edge Nail on Furniture Glides ...
Страница 12: ...0 858 STEP 8 BACK PANEL Slide the Back Panel into place between the two grooves in the Ends This will fit into the groove in the Top Screw the Back Panel to the Brace Rail as shown below using the H7 Panhead Screws and the pre drilled holes Carefully stand the Tallboy upright H7 Panhead Screws ...
Страница 13: ...ts and are therefore assembled the same way STEP 9 INSTALL HARDWARE DRAWERS Install the hardware in the drawer parts as shown below NOTE Be sure that the arrow on the Small Cam points to the end of the drawer side nearest it H15 H3 H1 H15 Dowel DRAWER FRONT H1 Connecting Bolt RH DRAWER SIDE LH DRAWER SIDE H1 Connecting Bolt H3 Cam H3 Cam H3 Cam H15 Dowel H1 Connecting Bolt DRAWER BOTTOM SUPPORT ...
Страница 14: ...lled in the Drawer Front Turn the Small Cams clockwise to lock the Drawer Sides in place Slide the Drawer Bottom into place in the grooves in the Drawer Sides and Drawer Front STEP 11 ATTACH DRAWER BACK Fit the Drawer Back into place between the Drawer Sides The groove in the Drawer Back will fit over the end of the Drawer Bottom Secure the Drawer Sides to the Drawer Back with five H9 Screws as sh...
Страница 15: ...the ends of the slides without the wheels are hard up against the back of the Drawer Front as shown Each slide requires two screws STEP 13 ATTACH HANDLES AND FIT DRAWERS INTO CABINET Fit the drawers into the cabinet Start with the top drawers and work your way down Angle the drawer slightly to ensure that the wheel at the back of the drawer slide goes behind the front wheel on the cabinet slide Th...
Страница 16: ... stud If you cannot locate a stud use a wall anchor appropriate for your wall Please note This is a precautionary measure The use of tip over restrains may only reduce but not eliminate the risk of tip over Compac Furniture can take no responsibility CONGRATULATIONS YOUR EDEN 5 Drawer Tallboy IS NOW COMPLETE THANK YOU FOR SUPPORTING NEW ZEALAND MADE FURNITURE Top Wall Use a screw suitable for your...