ENGLISH
GREAT BRITAIN • CUSTOMER SERVICE
tel. 0845 300 9799 e-mail: [email protected] internet: www.clasohlson.com/uk
Ver
. 20140107
Solar Garden Lantern
Art.no 36-4787
Model HJ-8445
Please read the entire instruction manual before use and save
it for future reference. We reserve the right for any errors in text
or images and for making any necessary technical changes to
this document. If you should have any questions concerning
technical problems please contact our Customer Services.
Safety
• Do not use the lantern in an environment where it could be
exposed to gas, steam or dust.
• Only an HR6 NiMH rechargeable battery should be used.
• This product must not be modified or adapted in any way.
• Do not use any sharp metal tools or other objects that can
scratch the lantern’s glass surfaces.
• Only let a qualified technician perform repairs, using only
original spare parts.
• Do not let children play with the product.
Care and maintenance
Clean the product by wiping it with a soft, damp cloth.
Never use solvents or abrasive cleaning agents.
Disposal
This product should be disposed of in accordance with local
regulations. If you are unsure about how to dispose of this
product contact your local authority.
Specifications
Height above ground
60 cm
Lantern size
Width 14.5 cm, height 23 cm
Charging time
Approx. 8–10 hours in direct sunlight
Operating time
Approx. 8 hours when fully charged
Battery
HR6 NiMH 300 mAh
Product description
• Hanging solar garden lantern.
• Warm white LED which emits a realistic glow.
• Ground spike with hook included.
• Comes with rechargeable battery.
• Power switch.
• Lights automatically at dusk.
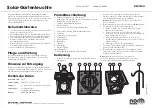
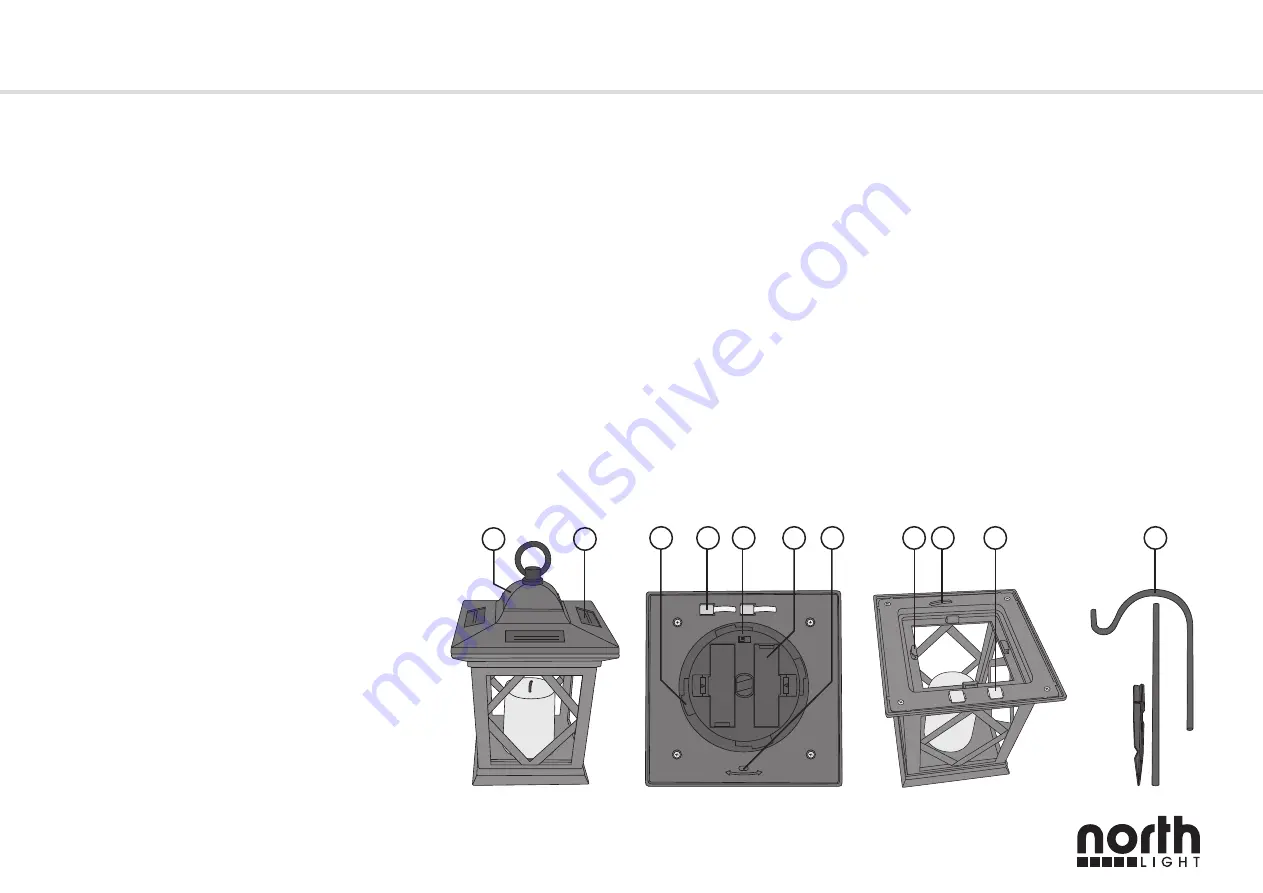
1. Lid with solar panels, battery and hanging ring
2. Solar panels
3. Locking tab sockets
4. Terminals
5. Power switch
6. Battery compartment
7. Threading pin
8. Locking tabs
9. Thread hole
10. Terminals
11. 2-piece ground spike assembly and separate spike tip
Operation
1. Twist the lantern’s lid (1) anticlockwise and lift it up.
2. The bottom of the lid contains the battery compartment (6)
and the power switch (5). Remove the protective plastic film
covering the battery by pulling the protruding tab.
Note:
This model has only one functional battery compartment,
which is on the side of the power switch’s off position.
3. Turn on the light by placing the power switch in
the
ON
position.
4. Place the lid (1) on by:
a. Lining up the lid with the threading pin (7) directly over
the thread hole (9).
b. Thread the pin into the hole, turn until the locking tabs (8)
fall into their corresponding sockets (3).
c. Continue to turn the lid until the locking tabs lock into
place and that the lid is in-line with the lantern housing.
d. Screw the hanging ring securely onto the lantern.
5. Assemble the 2-piece ground spike (11), insert the spike
tip and press in securely.
6. Place the ground spike assembly in a place where it can
receive adequate sunlight. Insert the hook into the ground
spike and hang the lantern on the hook.
Note:
If you want the lantern to shine straight away, it is better
to charge the battery in a separate battery charger first.
ON
OFF
2
3
4
5
6
7
8
9
10
11
1


