Copyright
©
2020 Nortek Security & Control
15
14
Copyright
©
2020 Nortek Security & Control
Z-Wave Setup
This section details steps to include the thermostat into Z-Wave network after installation and initial
setup have been completed.
Note:
Before adding the thermostat to a Z-Wave Network, check to make sure it does not already
belong to one by viewing the Node ID (ZNID) located in the thermostat INFO screen. An installed
thermostat would show a Node ID number. Consult your controller’s user manual for details on
removing a device from a Z-Wave network.
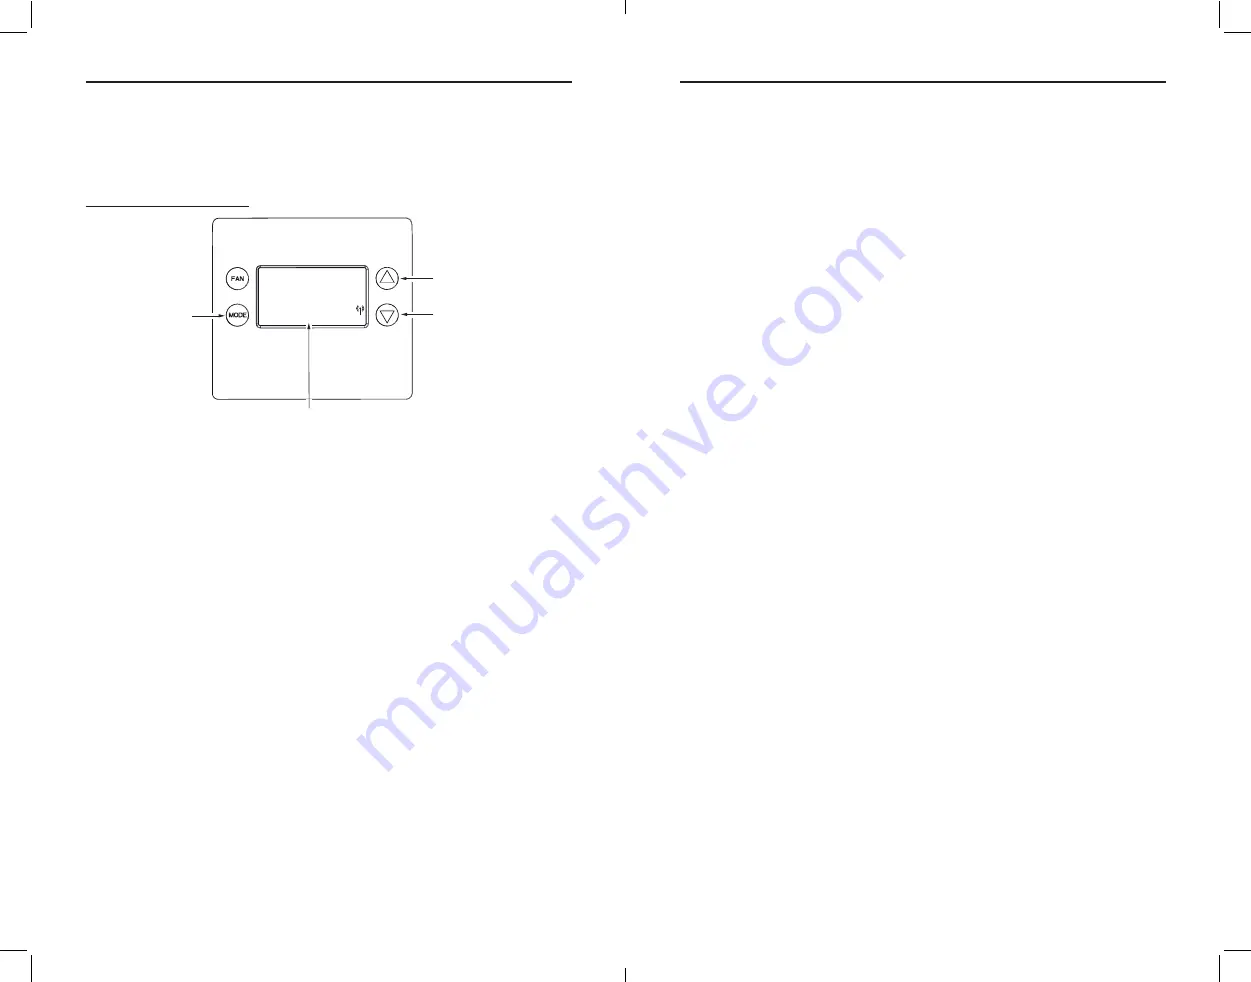
Figure 16.
Z-Wave Menu Setup
General Programming Procedure
(for controllers supporting the thermostat device class):
Note:
This thermostat supports S0, S2 unauthorized and S2 authorized Inclusion Modes. If you use
the S2 authorized Inclusion Mode, you will need S2 QR code or pin code, which is printed under the
faceplate above the LCD screen. To access the QR code, you'll need to remove the faceplate.
1. Set your primary controller to Include, add or Install mode, to add the thermostat as a node on
your network (see your controller’s user manual for detailed instructions).
2. Touch any button to take the thermostat out of sleep mode.
3.
Touch and hold
MODE
button for 5 seconds.
SETUP
will be displayed in the status display line.
4.
Scroll to “Z-Wave” using
buttons. Touch
FAN (Select)
.
5. When prompted by your Z-Wave controller, select
YES
in the Z-Wave Install screen.
6.
Touch
FAN (Select)
to add thermostat to network.
7. The display line should flash
WAIT
and then
SUCCESS
if Z-Wave connection is made.
8.
If Z-Wave does not connect to controller,
WAIT
, then
FAIL
will flash in status display line.
9. If thermostat fails to connect, repeat Steps three (3) through (7) to re-try connecting.
Your controller will indicate the thermostat was successfully added to its network (see your
controller’s user manual for details). Also, you can check if the thermostat was successfully added
to the network by checking the ZHID (Home ID) and ZNID (Node ID) located in the thermostat INFO
screen.
For other specific tasks, such as adding the thermostat to Scenes or Groups or deleting the thermostat
from an existing network, refer to the Z-Wave controller instructions.
Removing from a Z-Wave Network
To remove the thermostat from the network, use the following steps.
1. Set your primary controller to exclude or remove mode to remove the thermostat as a node on
your network (see your controller’s user manual for detailed instructions).
2. Touch any button to take the thermostat out of sleep mode.
3.
Touch and hold the
MODE
button for 5 seconds.
SETUP
will be displayed in the status display line.
5.
Scroll to “Z-Wave” using
buttons. Touch
FAN (Select)
.
6. When prompted by your Z-Wave controller, select
YES
in the Z-Wave exclude screen.
7.
Touch
FAN (Select)
to remove thermostat to network.
8. The display line should flash
WAIT
then
SUCCESS
if the thermostat is removed from the network.
9. If the removal operation is not successful,
WAIT
will flash, then
FAIL
will flash in status display
line. Repeat Steps three (3) through (7) to re-try.
SmartStart
This Thermostat is
SmartStart
enabled and can be pre-included into to a Z-Wave network by using
a
SmartStart
controller to scan the Z-Wave QR Code shown on the thermostat. No further action is
required and the
SmartStart
thermostat is added automatically within ten minutes after powering on
in the vicinity of the network.
To add 2GIG-ST1 to the Z-Wave network using
SmartStart
:
1. Set the Z-Wave controller in Security S2 Authenticated “Add Mode”
2. Key in the thermostat DSK to the controller.
3. Power on the device.
4. Wait for the inclusion process to complete.
Note:
The S2 DSK string, pin code, and QR code are printed on a label above the LCD screen under
the faceplate.
Note:
If power to the thermostat is removed and reapplied, please allow at least 15 minutes before
the power is reapplied to the thermostat to ensure successful SmartStart inclusion process.
TOUCH THE
▲▼
BUTTONS TO CHANGE
TO THE DESIRED MENU
ITEM, THEN TOUCH
FAN (Select)
TOUCH AND HOLD
FOR 5 SECONDS
MENU CHOICES ARE DISPLAYED IN THE
STATUS DISPLAY LINE
Select
Done
ZWAVE


