6. Patches: What is a Patch?
NORD MODULAR G2 V1.1
Page 36
6. P
6. P
6. P
6. P
A
A
A
AT
T
T
TC
C
C
CH
H
H
HE
E
E
ES
S
S
S
W
W
W
W
H
H
H
HA
A
A
AT
T
T
T
IIIIS
S
S
S
A
A
A
A
P
P
P
P
A
A
A
AT
T
T
TC
C
C
CH
H
H
H
?
?
?
?
In the Nord Modular G2 system, a Patch is always the base for a sound (and/or control application). A
Patch is a configuration of modules which are connected with virtual cables to generate and/or process
sound. A Patch can also be used only to control things, for example other instruments via MIDI. To put
it simple: no Patch - no action! A Patch can contain up to eight different Variations. A Variation is a com-
plete setup of Patch parameter settings. Read more about Variations on
.
C
C
C
C
R
R
R
RE
E
E
EA
A
A
AT
T
T
TIIIIN
N
N
NG
G
G
G
Y
Y
Y
YO
O
O
OU
U
U
UR
R
R
R
F
F
F
FIIIIR
R
R
RS
S
S
ST
T
T
T
P
P
P
P
A
A
A
AT
T
T
TC
C
C
CH
H
H
H
When you want to create new Patches in the Nord Modular G2 system you always have to do this in the
Editor on the computer. Open the Editor on your computer. In this first example we will create a basic
subtractive synthesis Patch. Make sure the Editor has established contact with the synthesizer. If it hasn’t,
please see
“Launching the Editor” on page 24
.
1. Select File|New.
2. An empty Patch window is opened. The Patch window automatically “connects” to the focused Slot
in the synth. The Patch window is divided into two sections: the Voice Area, at the top of the Patch
window split bar, and the FX Area at the bottom of the Patch window. The difference between these
areas will be explained later in this example. We will begin using the upper section, the Voice Area.
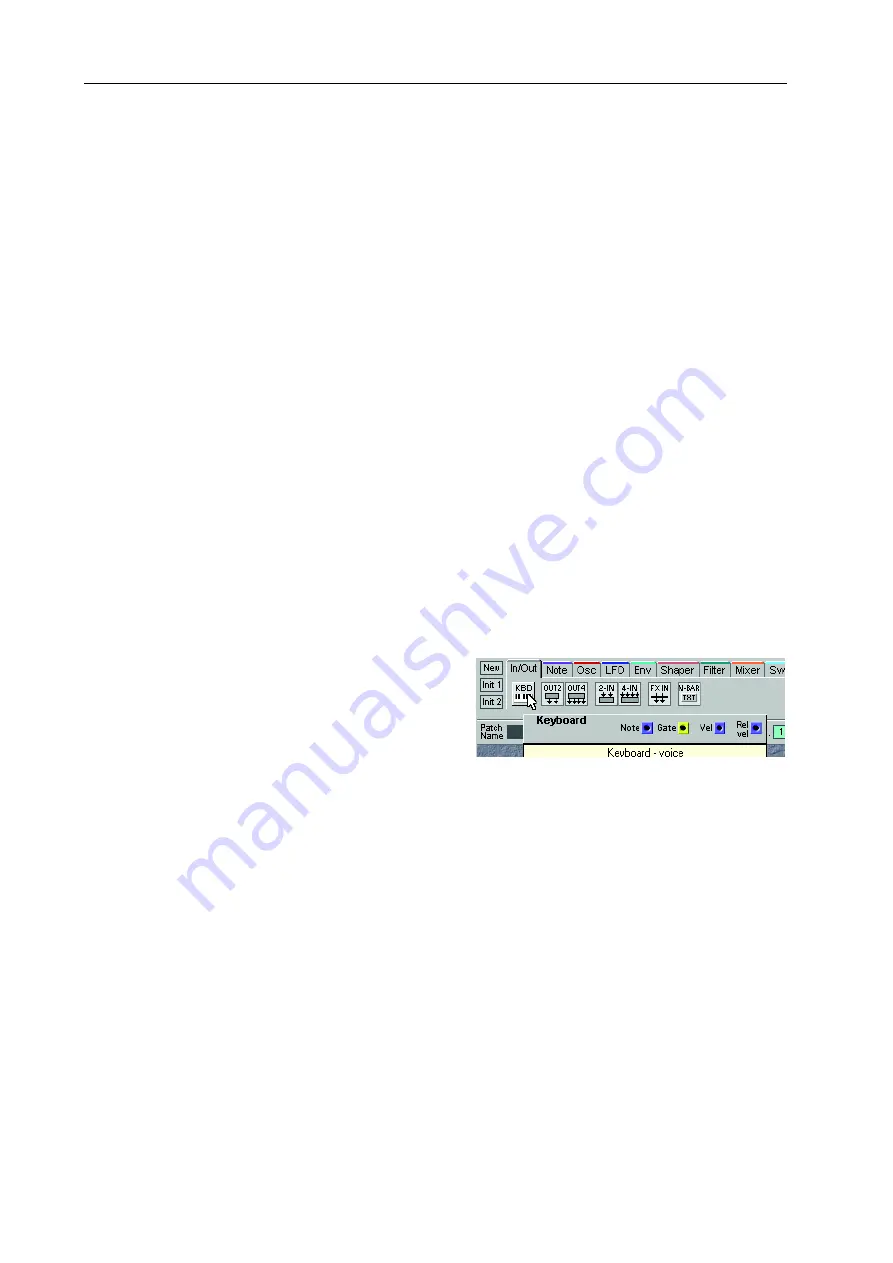
3. Locate the Module tabs in the upper left part of
the Patch window (In/Out, Note, Osc, LFO etc.).
Select the In/Out tab. A preview of the module
appears when you place the cursor over a module
icon.
4. Click-drag one ‘Keyboard’ module and one ‘2-Out’ module to the (upper) Voice Area. As you will
notice, the modules will self-align when placed near each other. It doesn’t matter where in the Voice
Area you put your modules, but a good idea is to place them in a “natural” flow so it becomes easier
to follow the signal paths visually.
5. Click on the Osc tab, and click-drag one ‘OscB’ module to the Voice Area.
6. Click on the Env tab and click-drag one ‘EnvADSR’ to the Voice Area.


