


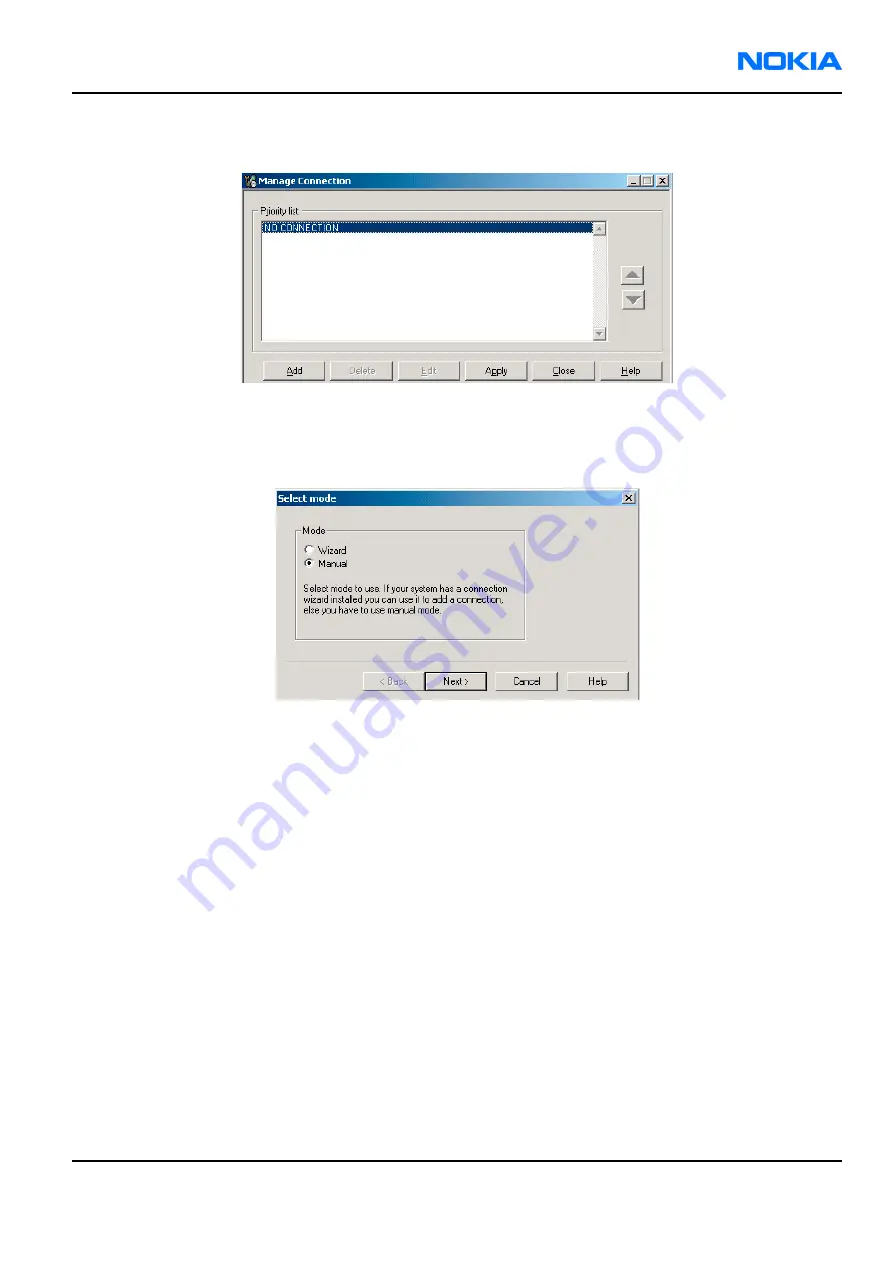
3. To add a new connection, click Add, and select if you want to create it manually or by using the Connection
Wizard.
In the following dialogs you are asked to select settings for the connection. If you use the Wizard, connect
the tools and a phone to your PC and the wizard will automatically try to configure the correct connection.
4. Select Manual mode, and click Next to continue.
Figure 18 Select mode: Manual
i
For an FPS-10 flash prommer with a USB Connection, choose the following connection settings
• Media: FPS-10 USB
• Device Index: 0
• Serial Num: See Serial No from the label attached to the bottom of your FPS-10
• Active Media: USB
ii For an FPS-10 flash prommer with a LAN connection, choose the following connection settings
• Media: FPS-10 TCP/IP
• Net Serv Name: Select “Scan”. Choose your own FPS-10 device based on the correct MAC address. See
Serial No from the label attached to the bottom of your FPS-10.
• Port Num: Use default value, click “Next”.
• Protocol Family: Use default value, click “Next”.
• Socket Type: Use default value, click “Next”.
• TX Buffer Size: Use default value, click “Next”.
• RX Buffer Size: Use default value, click “Next”.
Note:
When the phone is connected to a PC for the first time, allow the PC to install the USB device
drivers first.
Please note that this may take some time to complete.
RM-57/58
Service Software Instructions
Nokia Customer Care
Issue 1
Company Confidential
Page 3–17
Copyright ©2005 Nokia. All Rights Reserved.
Содержание RM-57
Страница 327: ...9 System Module Nokia Customer Care Issue 1 Company Confidential Page 9 1 Copyright 2005 Nokia All Rights Reserved ...
Страница 377: ...10 Schematics Nokia Customer Care Issue 1 Company Confidential Page 10 1 Copyright 2005 Nokia All Rights Reserved ...
Страница 391: ...www s manuals com ...


