- 12 -
3.3
Basic Scanning
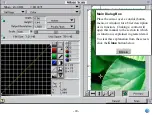
This section gives a brief description of the standard acquisition
procedure after the Main dialog box is displayed. The individual
buttons and menus are explained in detail in the following
chapters.
Choosing the Scanner
Nikon Scan will automatically detect which scanners are
connected and will display the Main dialog items and menus
appropriate for the scanner you select. The Main dialog box
items will vary slightly, depending on the selected scanner.
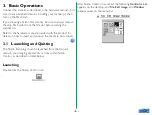
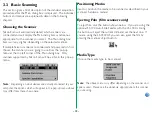
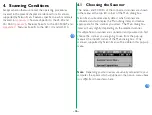
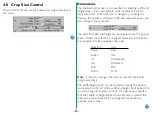
If multiple Nikon scanners are connected and powered on, first
choose the scanner you are going to use from the pop-up
menu at the top left corner of the Main dialog box. Only
scanners supported by Nikon Scan will be visible in this pop-up
menu.
Note:
Depending on what devices are actually connected to your
computer, the options which will appear in the pop-up menu above
may differ from those shown here.
Positioning Media
Insert or position the media to be scanned as described in your
scanner’s hardware manual.
Ejecting Film (film scanners only)
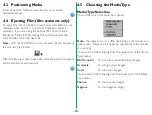
To eject film, click the button shown below. If you are using the
optional SF-100 Auto Slide Feeder with the LS-1000, clicking
this button will eject the current slide and set the next one. If
you are using the LS-4500AF, you can also eject the film by
pressing the scanner’s Eject button.
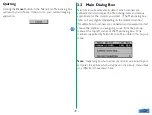
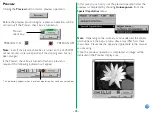
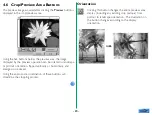
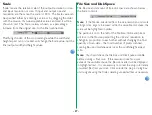
Media Type
Choose the media type to be scanned.
Note:
The above menu may differ depending on the scanner and
options used. Please see the appendix appropriate to the scanner
you are using.

