34
| SmartNA-X Administration | SmartNA-X 1G/10G Modular
SmartNA-X
™
1G/10G User Guide 1.4
©
2015 Network Critical Solutions Limited
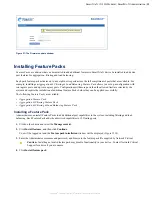
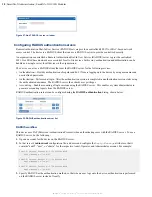
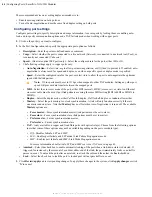
Figure 22: Saved configurations dialog
Configuring system security
This section describes various aspects of security and access control. The system handles various types of security
including, user access control, user authentication, and transaction accounting.
Managing public host keys
SmartNA-X includes a default RSA public host key to verify that the host key presented during an SSH connection is in
fact SmartNA-X’s.
The first time you connect to SmartNA-X with an SSH client, the client will warn you that the host keys are not in your
local cache and show you the actual host key presented by SmartNA-X. Your client will most likely give you the option of
trusting the key, adding it to your local cache (see the following example output).
The authenticity of host '192.168.254.100' can't be established.
RSA key fingerprint is 9a:30:7b:95:ec:b4:fe:53:e1:a4:42:69:4f:15:5c:1a.
Are you sure you want to continue connecting (yes/no)?
yes
Warning: Permanently added '192.168.254.100' (RSA) to the list of known hosts.
Once you’ve trusted the key, your client will alert you during connection if a different key is presented.
You may also upload your own public key certificates to replace the default public-key.
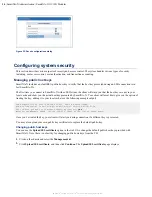
Changing public host keys
You can use the
Upload SSL certificate
option in the web UI to change the default public host keys provided with
SmartNA-X. Note, there is no facility for changing public hosts keys from the CLI.
1.
Click on the chassis and select the
Management
tab.
2.
Click
Upload SSL certificate
, and then click
Continue
. The
Upload SSL certificate
page displays.


