Chapter 2: Diagnostics and Maintenance
|
19
ReadyNAS 4200 Hardware Manual
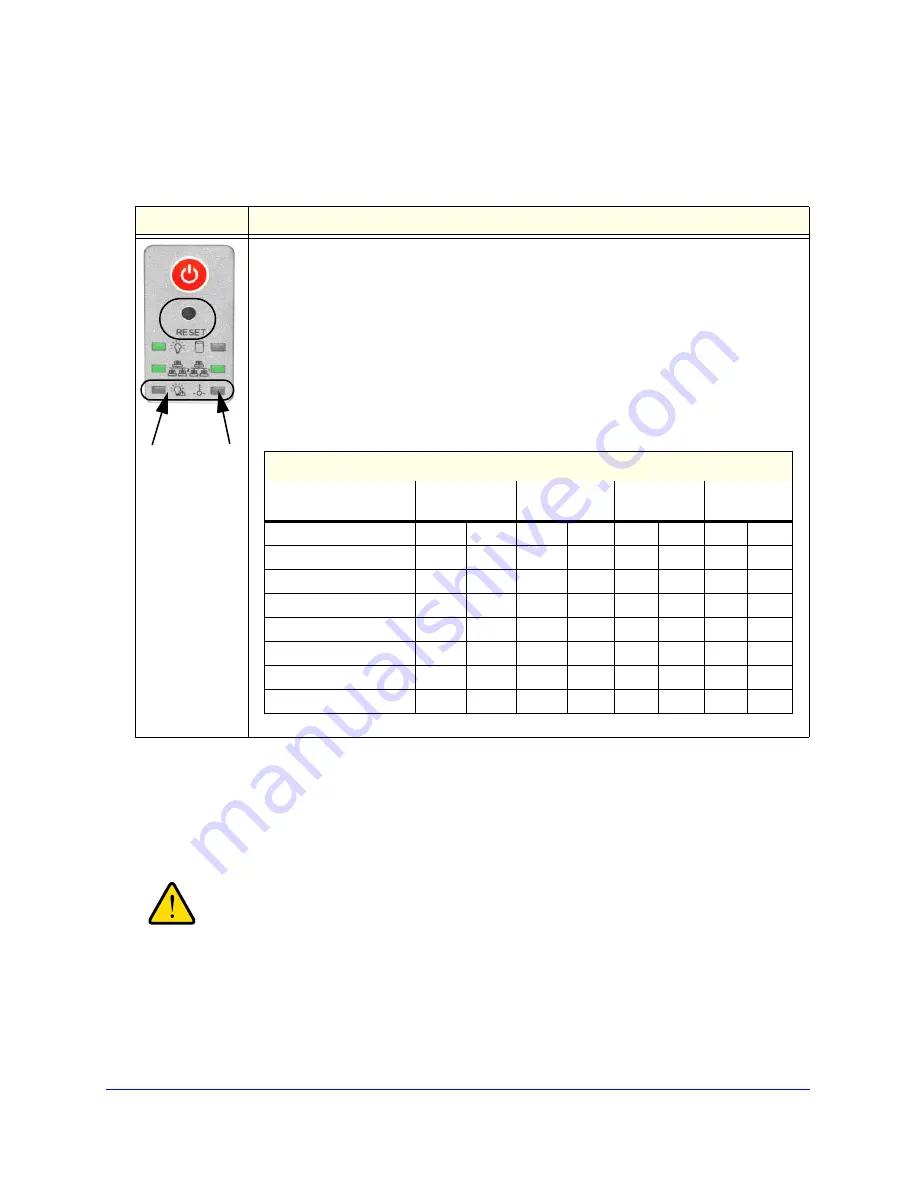
Understanding the System Diagnostics Boot Menu
This section introduces the system diagnostics boot menu.
1.
Boot Menu Enabled
: Use the
Reset
button to scroll through the menu to select an
option within 3 seconds. After 3 seconds the boot menu defaults to Normal Boot.
2.
Normal Boot
: Perform a normal boot.
3.
Factory Default
: Reset the ReadyNAS back to its Factory Default state, erasing all data on
the disks. This option can be used to change between X-RAID2 and Flex-RAID mode.
WARNING!
This process reinstalls the firmware and resets all disk configurations,
wiping out any data
you might have on the unit.
Control Panel
Selecting Boot Menu Options
To select a boot menu option:.
1. Enable the boot menu by using a paper clip to hold in the
Reset
button while powering
the unit on. Keep pressing Reset for up to 1 minute until both the red LEDs at the bottom
are lit.
2. Press the
Reset
button within 2 seconds to step through the
Boot Menu
options. The
system presents the blink pattern of the selected boot menu option, and holds the display
of the final LEDs in the pattern (either off on, or on on), and waits for you to confirm the
selection.
3. Press and hold the
Reset
button for 3 seconds to confirm the selection.
The system confirms the selection by blinking both LEDs twice, then proceeds.
Red
Power
LED
Red
Fan
LED
Boot Menu Sequence
Red Power LED and Red Fan LED Blink Patterns
LED Legend:
Off Off
On On
Off On
Boot Menu Enabled
1. Normal Boot
2. Factory Default
3. OS Reinstall
4. Tech Support
5. Skip Volume Check
6. Memory Test
7. Factory Test


