The ping history pane shows the current and historical ping times for the server. The
pane shows the average ping time, indicated by the dotted line, and the current
ping time, indicated by a white arrow at the right.
You can select a time span from the Slider Timespan menu to the right below the
ping history pane and move the slider below the pane to view a specific period
within the selected time span. Doing so lets you compare the pings to the specific
server over time.
Manage the Ping Heatmap Settings
You can manage the Ping Heatmap settings such as whether detected server clusters
are expanded on the map and whether manual pings are saved.
Fore information about pinging game servers, see Ping Game Servers for a Specific
Game on page 75.
To manage the Ping Heatmap settings:
1. Launch a web browser from a computer or mobile device that is connected to the
router network.
2. Enter http://www.routerlogin.net.
A login window opens.
3. Enter the router admin user name and password.
The user name is admin. The password is the one that you specified the first time
that you logged in. The user name and password are case-sensitive.
The Dashboard displays.
4. Select Ping Heatmap.
The page that displays shows a world map.
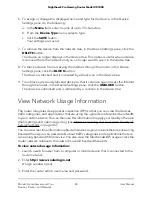
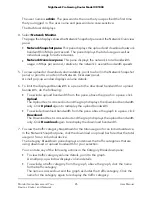
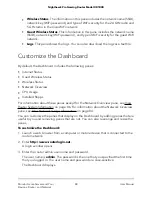
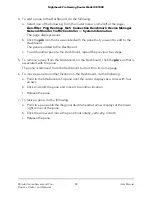
5. Click the Ping Heatmap menu icon.
The Options pane displays.
6. Configure the following general settings:
•
Ping Cluster Default. By default, clusters of servers are expanded on the map
so that individual servers are displayed. To disable this option so that clusters
are displayed on the map, click the Ping Cluster Default button so that the button
displays as a white circle.
•
Save Manual Pings. By default, the router saves manual pings that you add
through clicking the PING AGAIN button on the Ping Heatmap page. To disable
this option so that manual pings are not saved, click the Save Manual Pings
button so that the button displays as a white circle.
User Manual
82
Monitor Game Servers and Your
Devices, Router, and Network
Nighthawk Pro Gaming Router Model XR1000


