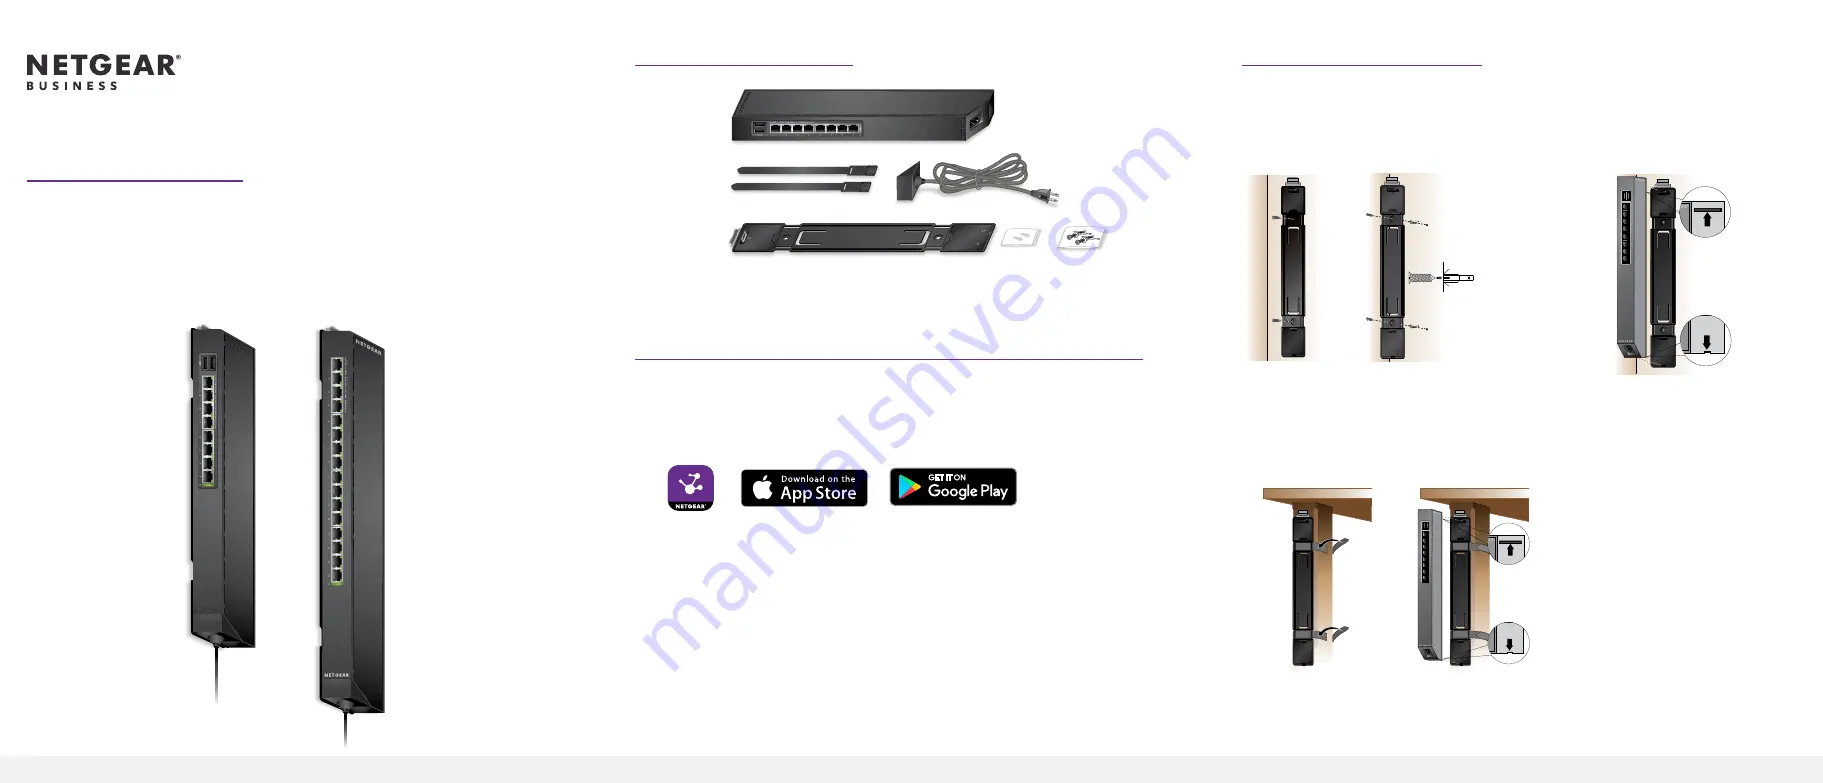
Installation Guide
8-Port and 16-Port Gigabit Ethernet
Smart Managed Plus Click Switch
Model GSS108E and GSS116E
Package Contents
Ethernet cables not included.
1. Register with the NETGEAR Insight App
Use the NETGEAR Insight app to register your switch, activate your warranty, and
access support.
1. On your iOS or Android mobile device or tablet, visit the app store, search
for NETGEAR Insight, and download the latest version of the app.
2. Open the NETGEAR Insight app.
3. If you did not set up a NETGEAR account, tap
Create NETGEAR Account
and
follow the onscreen instructions.
4. Enter the email address and password for your account and tap
LOG IN
.
5. Tap
+
in the upper right corner.
6. Enter the serial number located on the bottom of the switch, or use the
camera on your mobile device or tablet to scan the serial number bar code.
7. Tap
Go
.
8. Follow the onscreen instructions to add your switch to a network location.
The switch is registered and added to your account.
Click switch
Bracket with wall-mount screw kit
Power cord
(varies by region)
Cable retention
straps (2)
Drywall
mount
screw kit
2. Mount the Switch
Peel the plastic cover off the adhesive squares on the rear of the bracket. This
helps hold the bracket in place during mounting.
Wall Mount the Switch
Strap Mount the Switch
1
OR
3
2
Note:
For drywall, use
the plastic anchors
and fold the wings in
before inserting an
anchor into a wall.
Wall mount to
a stud (or solid
surface)
2
3
1
Note:
For more information about mounting, see the hardware installation guide
which you can download from
https://www.netgear.com/support/
.
Drywall
mount


