Get Started
14
AC750 Dual Band WiFi Range
Extender
14.
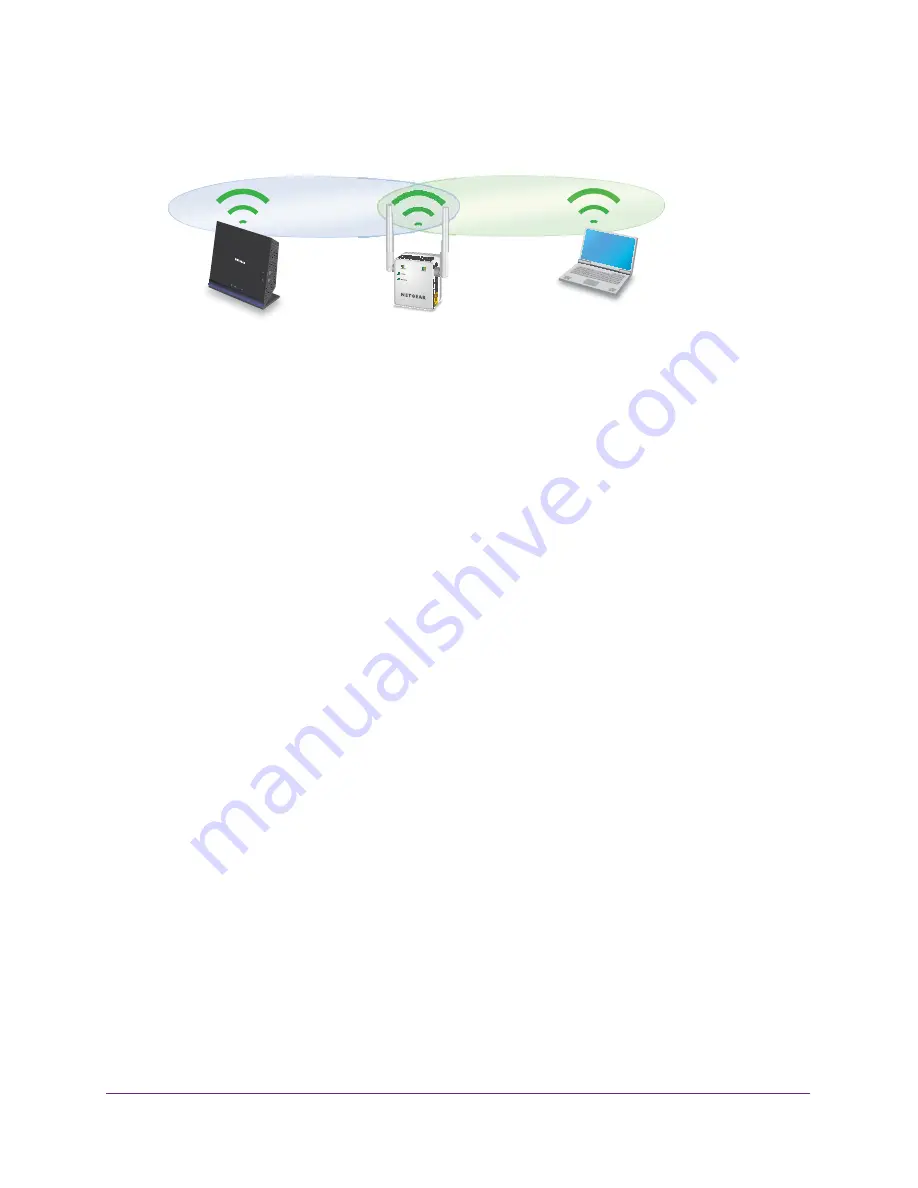
Unplug the extender and move it to a location that is about halfway between your router and
the area with a poor router WiFi signal.
The location that you choose must be within the range of your existing WiFi router
network.
15.
Plug the extender into an electrical outlet and wait for the Power LED to light green.
If the Power LED does not light, press the
Power On/Off
button.
16.
Use the Router Link LED to help you choose a spot where the extender-to-router connection
is optimal.
17.
If the Router Link LED doesn’t light amber or green, plug the extender into an outlet closer
to the router and try again.
Keep moving the extender to outlets closer to the router until the Router Link LED lights
amber or green.
18.
Reconnect your computer or WiFi device to the new extended WiFi network.
19.
Test the extended WiFi range by moving your computer or WiFi device to the area with a
poor router WiFi signal:
a.
Leave your computer or WiFi device in the area with a poor router WiFi signal and
return to the extender.
b.
Check the Device Link LED on the extender:
•
If the Device Link LED is solid green or amber, your extended WiFi network
reaches the area with a poor router WiFi signal and your network setup is
complete.
•
If the Device Link LED is red, your extended WiFi network does not reach the area
with a poor router WiFi signal.
You must move the computer or WiFi device closer to the extender until the
Device Link LED turns solid green or amber.
Find the Best Location
If the WiFi signal is weak, the first time you join the extender network, the Router Link LED or
Device Link LED is amber or red. If this happens, adjust the position of the extender:
•
If the Router Link LED is amber or red, move the extender closer to the router.
•
If the Device Link LED is amber or red, move the computer or WiFi device closer to the
extender.


