26
27
Assigning subject to groups
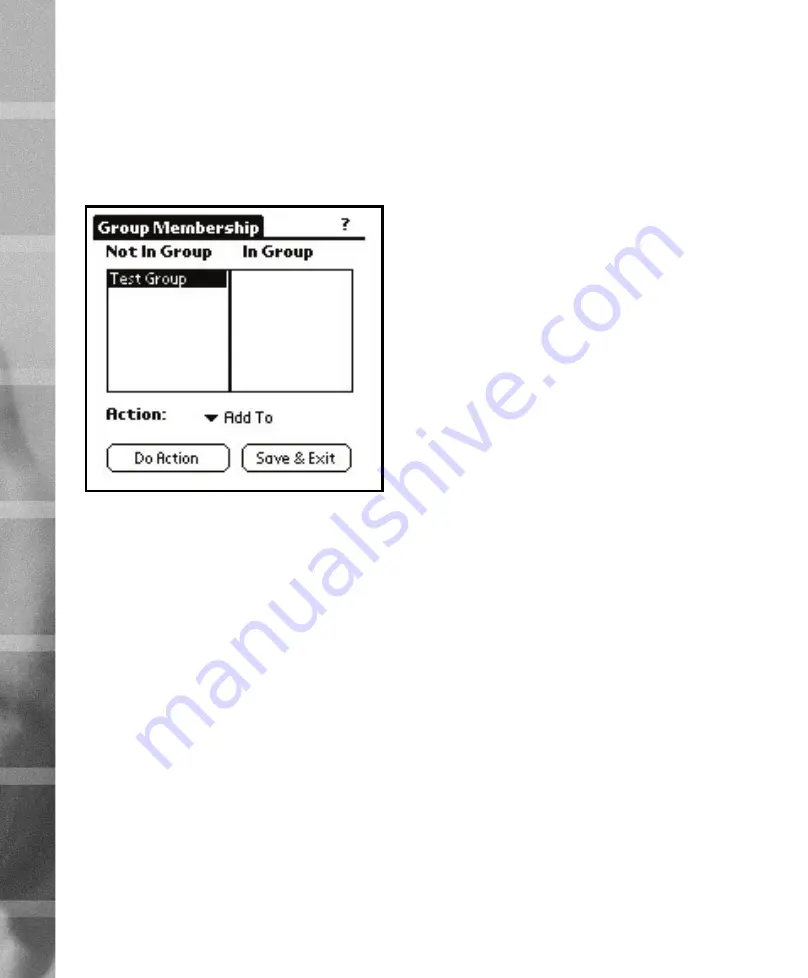
The assignment of a subject to test groups is made in the
Edit
Groups
view shown in Figure 44. Choose the
Edit Groups
ac-
tion from the action selector of the
Edit Subject
view and tap
the
Do Action
button.
The
Edit Groups
view is similar to the
Edit Members
view, de-
scribed in chapter 6.1
Selecting group members
. The left list
shows the groups that do not contain the subject as a member
and the right list views the groups that have the subject as a
member. To add the subject to a group, select the group from
the
Not In Group
list and tap the
Do Action
button. To remove
a subject from a group, select the group from the
In Group
list
and tap the
Do Action
button.
When you’re satisfied with the group associations, tap
Save &
Exit
twice to save changes made to the subject and to return
to the
Subject Manager
.
Subject manager actions
To remove an existing subject, select the subject from the list,
choose the
Remove Subject
action from the action selector
and tap the
Do Action
button. A confirmation dialog will be
shown before the subject is actually removed. If the subject
has performed test actions, you will be queried for the remov-
al of these actions.
The
Edit Subject
action allows you to edit the properties of ex-
isting subjects. For example if you have obtained two sub-
Figure 44
Edit Groups
view
jects with the same name from the
Powertimer Analyzer
, you
can use the
Edit Subject
view to change the middle initial of
the other subject. Also if you need to measure and adjust the
weight (or height in case of children) of the subjects before
starting tests, it can be done via the
Edit Subject
view.
The
Show Test Results
action enters the
Result Viewer
and fil-
ters test actions using the subject that is selected from the sub-
jects list. Chapter 4 explains the usage of the
Result Viewer
.
SU
B
JE
C
T A
N
D G
R
O
U
P M
A
N
A
G
EM
EN
T
6


