background image

This instruction manual is very important. Please read
this manual carefully and completely before connecting,
operating or adjusting the VCR in order to ensure the
best performance. This instruction manual gives instruc-
tions on the effective use of your VCR. Please check
this manual before you call for help, so you may save
the cost of unnecessary service.

Only video cassettes marked “VHS” can be used with
this video cassette recorder.
VHS High Quality technology is incorporated into VCRs
marked “HQ”. This VCR is compatible with the conventional
VHS.

l

Features ............................................................2

l

Controls and Components ................................3

l

On-Screen Display ............................................6

l

Remote Control Unit..........................................7

l

Inserting and Removing Video Cassettes .........9

l

VCR & TV Connection ....................................10

l

Antenna Connection ........................................11

l

On-Screen Menu Programming ......................13

l

Setting the Clock .............................................14

l

Setting the Reception Channels  ....................16

l

Playing Back Video Cassettes ........................24

l

Searching for Particular Scenes......................25

l

Special Playback .............................................26

l

Convenient Features .......................................28

l

Recording TV Programmes.............................30

l

Quick Start Recording (QSR)..........................32

l

Timer Recording Using the On-Screen 
Display.............................................................33

l

Dubbing Tapes ................................................38

l

Audio Track System ........................................40

l

Simulcast Recording and Playback..................41

l

Receiving Stereo or Bilingual Broadcasts.......44

l

Before Requesting Service .............................47

l

General Notes .................................................49

l

Specifications ..................................................50

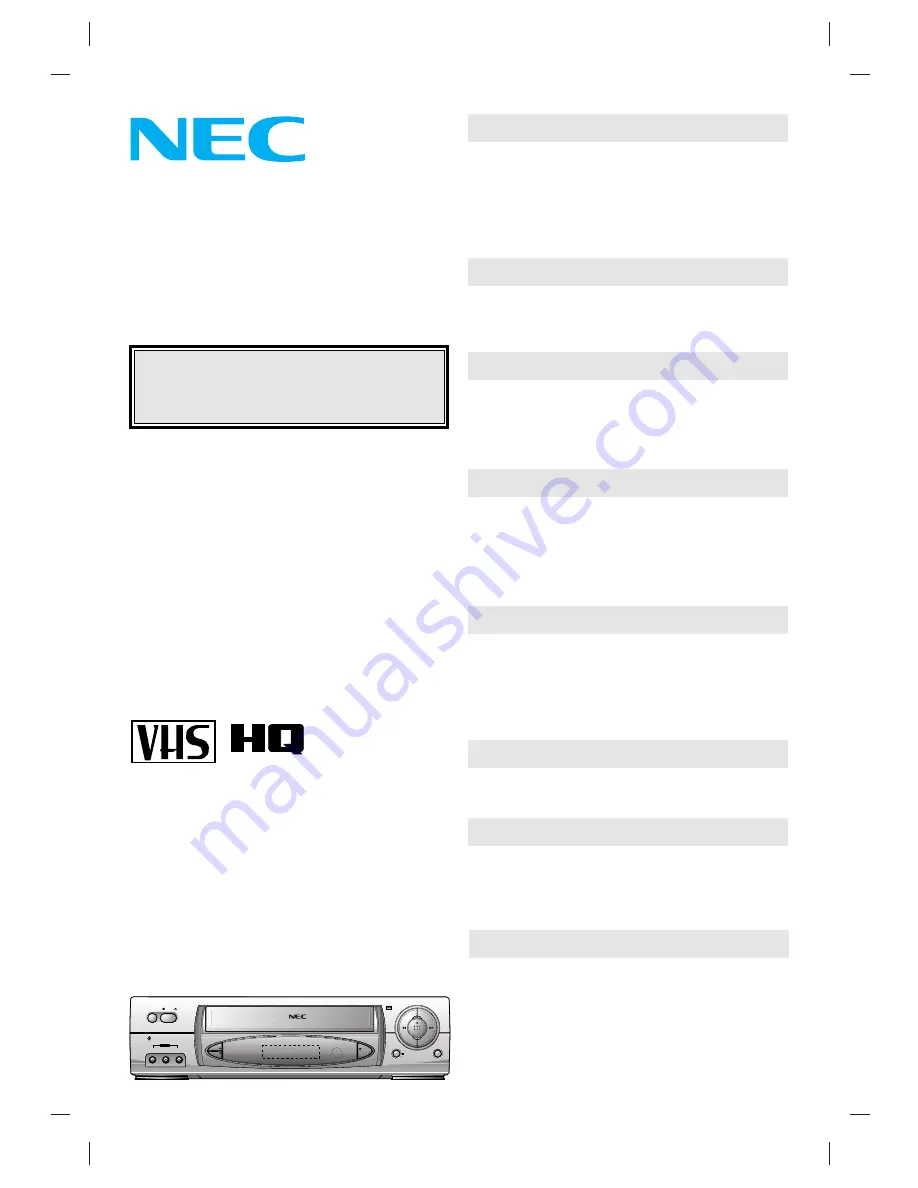
PAL 

VH-602

User’s Manual

IMPORTANT

Please forward your warranty card to NEC
Australia Pty Ltd.

Getting Started

Connections

Setting

Playback

Recording

Editing

Audio Sound System

Important Information

Hi-Fi

Video Cassette Recorder

REC

/QSR

CH

P/STILL

VIDEO IN L-AUDIO IN-R

OPERATE

STOP/

OPR

AV2

EJECT

NTSC PLAYBACK   LONG PLAY & REC   Easy Graphic MENU

        6

HEAD

 Hi-Fi 

STEREO

VH-602

Child - Lock System 

PAL

CC920TW NA2AN

Содержание VH-602

Страница 1: ...1 l On Screen Menu Programming 13 l Setting the Clock 14 l Setting the Reception Channels 16 l Playing Back Video Cassettes 24 l Searching for Particular Scenes 25 l Special Playback 26 l Convenient F...

Страница 2: ...cannot be operated manually To return to manual operation press the OPERATE button once TIMER indicator goes off STOP EJECT BUTTON Press this button to stop or eject the tape CASSETTE COMPARTMENT Ins...

Страница 3: ...em PAL 1 OPERATE Button PLAY Button 4 REW Button 6 FF Button 2 STOP EJECT Button 3 Cassette Compartment 5 10 Multi Function Display Remote Sensor Window 7 P STILL Button 11 9 CH Buttons 8 REC QSR Butt...

Страница 4: ...tape in the VCR 2 REC Appears when the VCR is in Recording mode 3 Switchable Display Clock QSR Quick Start Recording off time Channel number AV AV1 AV2 SC Simulcast Current tape mode 4 Timer Appears w...

Страница 5: ...Indicator 5 PLAYBACK PLAY BACKWARD RECORD PAUSE REWIND REVERSE SEARCH STILL PLAYBACK RECORD FAST FORWARD FAST FORWARD SEARCH SLOW MOTION 3X PLAY BACKWARD 2X PLAY REC REC I I I I I I I I I I I I I I I...

Страница 6: ...and the remaining tape length will also appear on the TV screen After three seconds OSD will disappear If OK button is pressed twice in quick succession the clock display will remain on the TV screen...

Страница 7: ...y need new batteries 7 BATTERY REPLACEMENT Remove the battery compartment lid by sliding it forward Remove the flat batteries Load new AAA batteries taking care to align their polarities and as indica...

Страница 8: ...the rear panel Press three times AV2 will appear on the Multi Function Display AV2 is selected to record or view signals from AUDIO IN L R VIDEO IN on the front panel Press four times AV2 will disappe...

Страница 9: ...CT The cassette compartment will open and the cassette will be partially ejected Carefully remove the cassette from the VCR It is not recommended to leave the cassette in the VCR when not in use Accid...

Страница 10: ...10 AERIAL RF OUT VIDEO OUT IN AV1 OUT R AUDIO L IN Aerial To AUDIO OUT R L terminals Stereo TV Coaxial cable supplied To RF OUT To AUDIO IN R L terminals To VIDEO IN To VIDEO IN terminal To VIDEO OUT...

Страница 11: ...ial cable from your TV set and plug it into the AERIAL terminal on your VCR Using the coaxial cable supplied connect the aerial terminal on your TV set to the RF OUT terminal on your VCR AERIAL RF OUT...

Страница 12: ...creen NOTE Refer to your TV user s manual when tuning the video channel 6 If channel 68 is already occupied on your TV set or the picture is distorted you can change the transmitted channel of the vid...

Страница 13: ...r TV System see p 31 6 ABC OSD This function is used to select the language Press D D E E to select from English Russian Deutsch Fran ais and Polish or vice versa 7 DR This feature is used to check a...

Страница 14: ...CURSOR F F G G to clear the entry then enter the correct number again 14 PROCEDURE 1 Turn on the power of both the VCR and the TV 2 Make sure that the TV is set to the VCR output channel 3 Aim the re...

Страница 15: ...te control Enter 2 more for the minutes e g 1530 for 15 30 i MM HH DD YY MM 30 15 1 2 TIME DATE 7 Set the date by pressing the number buttons to enter 6 digits day month and year in order For example...

Страница 16: ...is used to add more channels to the existing factory preset channels Auto channel tuning ACMS is used to reset and reprogram the reception channels NOTE Entering ACMS will automatically delete all ex...

Страница 17: ...a menu or manually change a channel name Press OK button once the following station name list will appear on the TV screen 1 If the station name required is on the menu use the CURSOR D D E E buttons...

Страница 18: ...can be repeated from step 3 Press i to end manual channel tuning 1 Enter the first letter of the station name by pressing the CURSOR D D and E E buttons repeatedly 2 Now move the cursor with CURSOR G...

Страница 19: ...MS ACMS OK i OK 3 Press OK to start automatic channel search Pr 12 ACMS S E i Auto Channel Tuning Important This VCR has the following channels preset when it is shipped from the factory It must be no...

Страница 20: ...TV Station table menu appears on the TV screen MOVE DELETE OK i 01 C03 08 PR 01 02 C02 02 PR 02 03 C11 01 PR 03 04 C40 03 PR 04 05 C02 01 PR 05 06 07 08 PR NOTE AUTO SEARCH will stop if all channels a...

Страница 21: ...you want to delete MOVE DELETE OK i 01 C22 08 PR 01 02 C32 02 PR 02 03 C31 01 PR 03 04 C40 03 PR 04 05 C52 01 PR 05 06 07 08 PR 4 Press CURSOR F F to delete the channel The station will be cleared To...

Страница 22: ...and press i MOVE DELETE OK i 01 C03 08 PR 01 02 C02 02 PR 02 03 C11 01 PR 03 04 C40 03 PR 04 05 C02 01 PR 05 06 07 08 PR 3 NOTE When changing the program order start with the highest transferred chan...

Страница 23: ...ple PR No 04 and press OK The selected station will be moved to the new programme number Move other stations if you wish by repeating steps 3 to 4 MOVE DELETE OK i 01 C22 08 PR 01 02 C32 02 PR 02 03 C...

Страница 24: ...CR will stop and start rewinding automatically When the rewinding finishes the cassette tape will be partially ejected and the power of the VCR will be turned off automatically Automatic Playback If y...

Страница 25: ...the search buttons REW or FF to search for a particular section of the tape The indicator REW or CUE will appear on the TV screen and on the Multi Function Display When the desired point in the tape h...

Страница 26: ...playback press PLAY During normal playback or still playback slow motion shuttle control can be acti vated by pressing CURSOR F F G G The playback speed will be changed as below 7 x play 3 x play play...

Страница 27: ...ture quality NOTES Auto Tracking will function during playback If the quality of the recording is poor or if the tape is damaged the automatic tracking may not function correctly In such cases you hav...

Страница 28: ...D LOCK button again Tape Counter The tape counter shows you the relative positions of programmes on a tape If you set the counter to 0 00 00 you can see the counter reading from 0 00 00 during playbac...

Страница 29: ...OK to set the counter mode The tape counter display will appear on the TV screen Before playback or recording press CLEAR to zero the counter The 0 00 00 indicator will appear on the TV screen OK CLEA...

Страница 30: ...t up and the channel position number and the clock indicator will also appear Select the desired channel by pressing CURSOR D D E E When recording from another source via AUDIO IN L R VIDEO IN in the...

Страница 31: ...colour standard you can play back a tape in PAL B G and SECAM B G During playback your VCR detects the colour system automatically Press i Press F F or G G to select SYSTEM Press OK Press D D or E E r...

Страница 32: ...Start Recording will appear on the Multi Function Display Each time the REC QSR button is pressed the recording time will extend in steps of 30 minutes up to a maximum of 9 hours Cancelling Quick Star...

Страница 33: ...n menu will revert to the TV screen automatically MENU i 1 Turn on the VCR and set the TV to the video channel 2 Press i on the remote control The following menu will appear on the TV screen NOTE The...

Страница 34: ...efore entering the day Now press CURSOR F F G G to select recording type then select it with OK Daily event For recording up to 7 programmes which are broadcast at the same time from Monday to Friday...

Страница 35: ...LP SP SP SP SP SP SP 00 14 00 i PR DATE TIME PR 01 15 13 LP SP SP SP SP SP SP 00 14 00 OK i DELETE MENU i OPERATE 9 Additional programmes can now be entered by repeating steps 3 to 8 10 Press i to re...

Страница 36: ...E PR 01 15 13 LP SP SP SP SP SP SP 00 14 00 OK i DELETE MENU i 1 Press i OK 2 Press CURSOR F F G G to select the REC and select it with OK 3 4 Press CURSOR D D E E to select the programme that you wan...

Страница 37: ...iven priority Example Programme 1 is programmed to start at 10 30 and end at 11 30 Programme 2 is programmed to start at 11 00 and end at 12 00 In this case Programme 1 will be recorded in its entiret...

Страница 38: ...Other Dubbing Tapes AERIAL RF OUT VIDEO OUT IN AV1 OUT R AUDIO L IN Aerial To AERIAL TV Coaxial cable supplied To RF OUT To AUDIO OUT R L terminals RECORDING VCR RF OUT AERIAL 32 40 CHANNEL R L AUDIO...

Страница 39: ...CR 5 Start playback on the playing VCR and start recording on the recording VCR NOTES If VH 602 is the recording VCR select the AV mode by pressing AV Unauthorized recording of copyrighted television...

Страница 40: ...io sound are recorded automatically during regular video recording i e it is not necessary to select the AUDIO mode for recording Playing Back Hi Fi Audio Sound Press i and select AUDIO by pressing CU...

Страница 41: ...ation Additional Connections REC QSR CH P STILL VIDEO IN L AUDIO IN R OPERATE STOP OPR AV3 EJECT NTSC PLAYBACK LONG PLAY REC Easy Graphic MENU 6HEAD Hi Fi STEREO VH 602 Child Lock System PAL AERIAL RF...

Страница 42: ...ULCAST SC Adjust the stereo sound quality on your stereo tuner or receiver Other operations are the same as for general recording Simulcast Stereo Playback Connect the VCR and TV If the VCR is connect...

Страница 43: ...mono audio track and VHS Hi Fi tracks Stereo broadcasts are recorded in the same way Simulcast SC position Selects the video signal from the built in tuner TV programme and the audio signal from a uni...

Страница 44: ...y when a bilingual broadcast is being received Stereo Indicator STEREO Display when a stereo broadcast is being received NOTE Depending on the broadcast one or both indicators will display Recording O...

Страница 45: ...illustration Start playback of the tape AERIAL RF OUT VIDEO OUT IN AV1 OUT R AUDIO L IN Aerial To AUDIO OUT R L terminals Stereo TV Coaxial cable supplied To RF OUT To AUDIO IN R L terminals To VIDEO...

Страница 46: ...on OK 4 Press CURSOR F F G G to select AUDIO menu and press OK button 5 Press CURSOR D D E E to select desired audio output mode NOTES If the audio output mode is set to STEREO while playing a pre rec...

Страница 47: ...connection between VCR and aerial correct Has the receiving channel of VCR been tuned correctly Is erasure prevention tab intact Has the recording start end times been set correctly Is the timer recor...

Страница 48: ...ould remain con nected to the mains Cleaning the VCR Wipe off the VCR exterior with a clean dry cloth Never use cleaning fluids chemicals or wax Video Head Cleaning This VCR incorporates an automatic...

Страница 49: ...ically processed cloths etc These could damage the surface finish or cause the coating to peel Use the unit only in a horizontal position Do not place heavy objects on the VCR Keep the unit away from...

Страница 50: ...x D 360 x 94 x 270 14 2 x 3 7 x 10 6 Weight About 3 4Kg 7 5 Ibs Clock 24 hour display type VIDEO Input VIDEO IN RCA type 1 0 Vp p 75 ohms unbalanced Output VIDEO OUT RCA type 1 0 Vp p 75 ohms unbalanc...

Страница 51: ...sland Brisbane 116 Ipswich Road Woollongabba 4102 07 3361 5858 Southport Shop 1 48 Ferry Road Southport 4215 07 5591 3670 South Australia Adelaide 58 Deeds Road North Plympton 5037 08 8294 9477 Wester...

Страница 52: ...P N 3834RP0068N...

Отзывы: