English-46
OIUE 1N: CRECUIOG C SCHEDULE
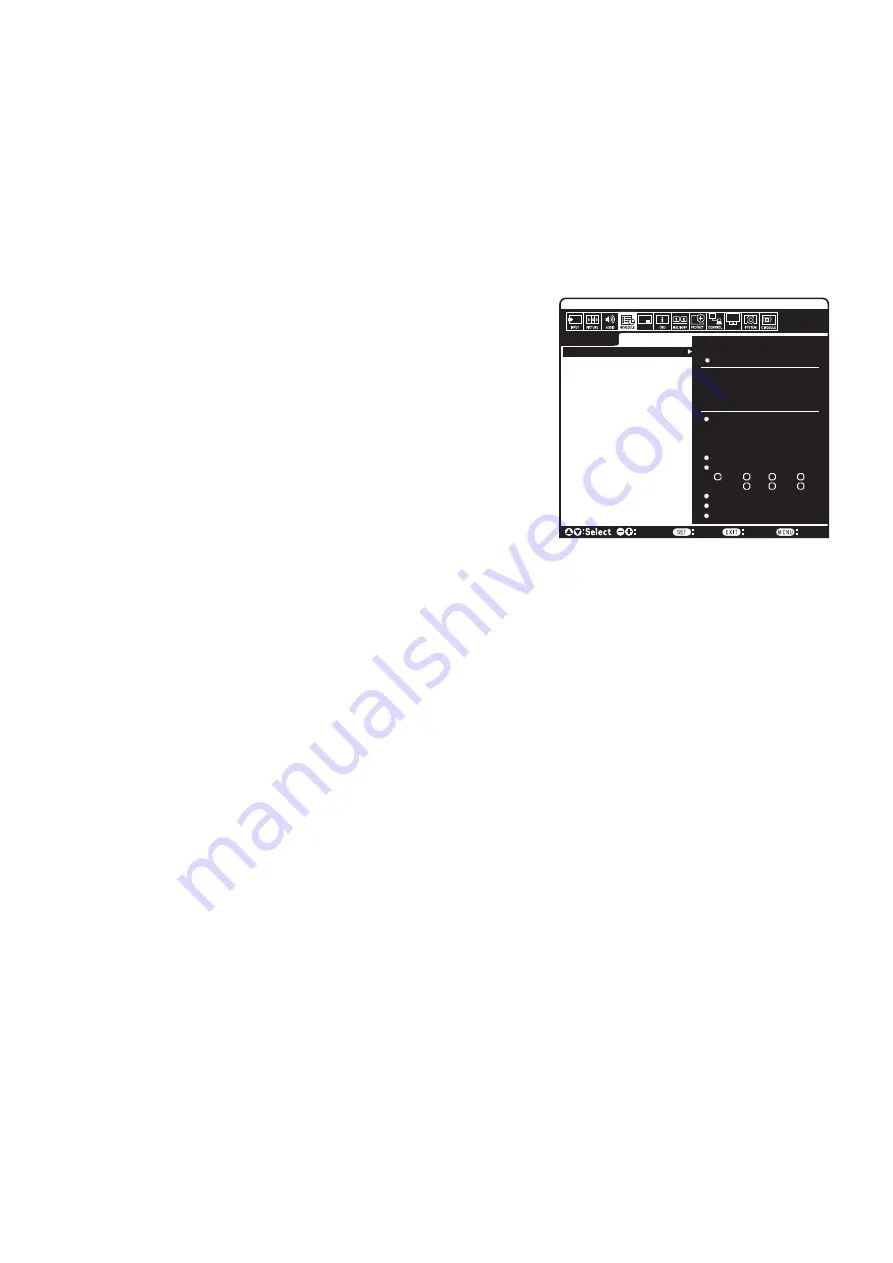
The schedule function allows the monitor to be set to power on or to be on standby at different times. Up to seven different schedules can be
programmed.
To program the schedule:
1. Enter the SCHEDULE menu. Highlight SCHEDULE SETTINGS using the up and down buttons. Press the SET/POINT ZOOM or the + button
to enter the Settings menu. Highlight the desired schedule number and press SET/POINT ZOOM. The box next to the number will turn yellow.
The schedule can now be programmed.
2. Use the down button to highlight the POWER. Use the + and - buttons to set ON. To set power off schedule, set OFF.
3. Use the down button to highlight the TIME. Use the + and - buttons to set the time.
4. Use the up and down arrows to highlight INPUT. Use the + and - buttons to choose the input source. Use the up and down arrows to highlight
PIC. MODE. Use the + and - buttons to choose the picture mode.
5. Use the down button to select DATE, EVERY DAY, EVERY WEEK, WEEKDAY,
WEEKEND or HOLIDAY. Push the SET/POINT ZOOM button on a menu, which is
suitable for the schedule. If the schedule is to be run on a specific day, choose DATE
and press the SET/POINT ZOOM button. If the schedule is to be run every day, choose
EVERY DAY and press the SET/POINT ZOOM button. The circle next to EVERY DAY
will turn yellow. If a weekly schedule is desired, choose the days of the week using the up
and down buttons and pressing SET/POINT ZOOM to select. Then highlight the EVERY
WEEK option and press SET/POINT ZOOM. Please set WEEKDAY, WEEKEND, or
HOLIDAY in the same manner.
The WEEKDAY, WEEKEND and HOLIDAY settings are available under the SCHEDULE
SETTINGS (See
6. After a schedule is programmed, the remaining schedules can then be set. Press MENU
to leave the OSD or press EXIT to go back to the previous menu.
OIUEN:
If schedules are overlapping, the schedule with the highest number will have
priority over the schedule with the lowest number. For example, schedule #7 will have
priority over schedule #1.
If a selected input or picture mode is not available now, the disabled input or picture mode is shown in red.
OIUE 2N:
IMCGE PERSISUEOCE
Please be aware that LCD Technology may experience a phenomenon known as Image Persistence. Image Persistence occurs when a
residual or “ghost” image of a previous image remains visible on the screen. Unlike CRT monitors, LCD monitors’ image persistence is not
permanent, but constant images being displayed for a long period of time should be avoided.
To alleviate image persistence, turn off the monitor’s main power or set it to standby for as long as the previous image was displayed. For
example, if an image was on the monitor for one hour and a residual image remains, the monitor’s main power should be turned off or set it to
standby for one hour to erase the image.
As with all personal display devices, NEC DISPLAY SOLUTIONS recommends displaying moving images and using a moving screen saver at
regular intervals whenever the screen is idle, or turn off the monitor’s main power or set it to standby when not in use.
Please set “SCREEN SAVER”, “DATE &TIME” and “SCHEDULE SETTINGS” functions to further reduce the risk of Image persistence.
For long life use as a Public Display
Image Sticking of LCD Panel
When an LCD panel is operated continuously for long hours, a trace of electric charge remains near the electrode inside the LCD and a
residual or “ghost” image of the previous image may be observed. (Image Persistence)
Image Persistence is not permanent, but when a fixed image is displayed for long period, ionic impurities inside the LCD are accumulated
along the displayed image and may be permanent. (Image Sticking)
Recommendations
To prevent Image Sticking, and for longer life usage of the monitor, the following is recommended.
• Fixed image should not be
reproduced for long period. Change still images after short intervals.
• When not in use, please turn off the monitor via remote control, or use
the Power Management function of the PC, or use the built-in Schedule
Functions.
•
Lower environmental temperatures prolong the lifespan of the monitor.
When a protective surface (glass, acrylic) is installed over the monitor’s screen surface, the monitor’s screen surface is located in an
enclosure, or if the monitors are stacked, utilize the temperature sensors inside the monitor.
To reduce the internal temperature, use the Cooling Fans, Screen Saver, the Power Management function of the PC and Low Brightness.
• Please use “Screen Saver Mode” of monitor.
SCHEDULE:
POWER:
ON
TIME:
04 : 03
DisplayPort1
INPUT:
PIC. MODE:
STANDARD
DisplayPort1
(MON) OCT.26.2015 12:37
SETTINGS:
SCHEDULE SETTINGS
SCHEDULE LIST
HOLIDAY SETTINGS
WEEKEND SETTINGS
DATE & TIME
DAYLIGHT SAVINGS
OFF TIMER
RESET
MONTH:
DAY:
1
Choose
Mark
Return
Close
DATE
YEAR:
JAN
01
2016
MON
TUE
WED
THU
SAT
SUN
FRI
EVERY DAY
EVERY WEEK
HOLIDAY
WEEKDAY
WEEKEND
MULTI-INPUT
OPTION


