NI PCIe-8255R User Manual
10
ni.com
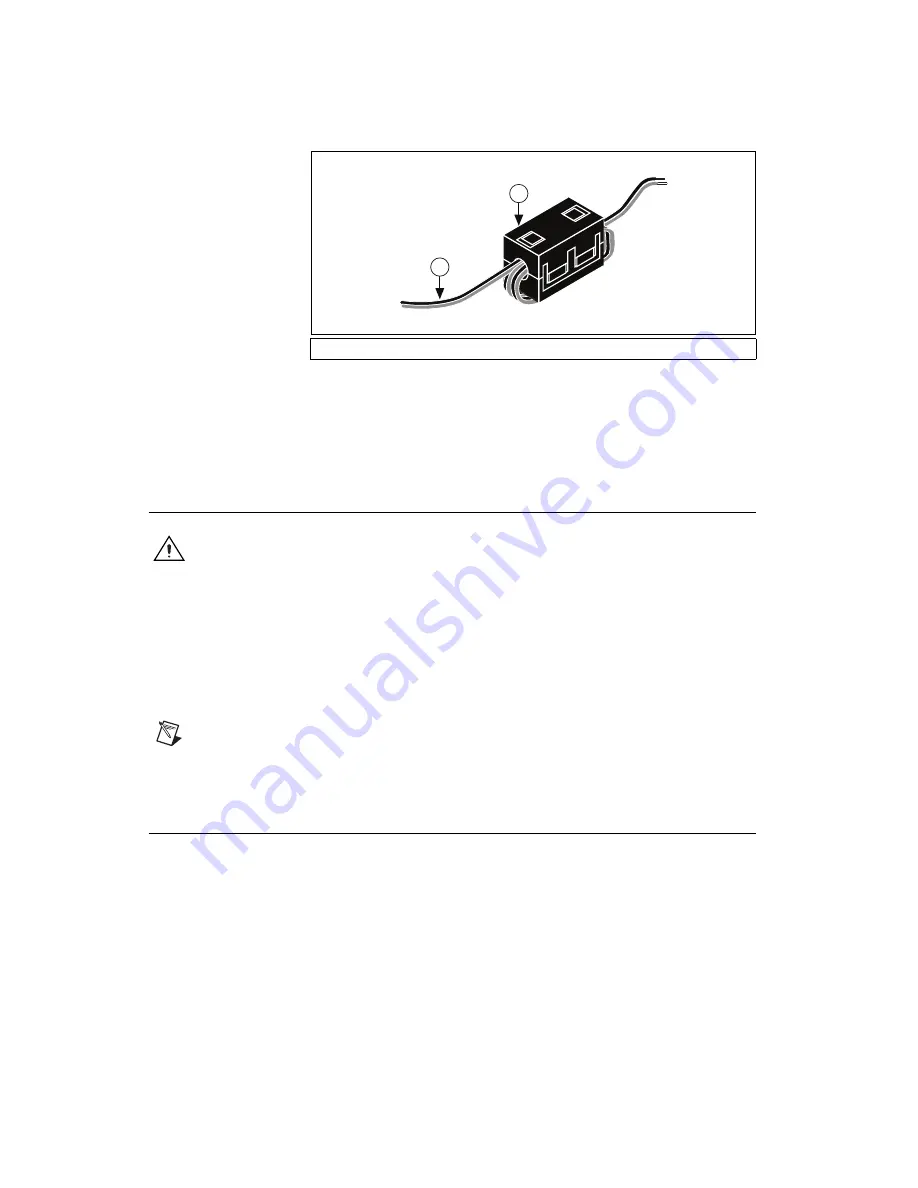
Figure 5.
Closed Ferrite on the Power Supply Cable
4.
Plug the power supply cord into an outlet.
The orange LED on the NI 8255R front panel will illuminate when the
computer is on and an isolated power supply is properly connected.
Configuring the NI 8255R
Caution
Updating your computer to Microsoft Windows XP Service Pack 2 may decrease
the performance of your IEEE 1394 devices. Refer to the NI KnowledgeBase article
3J0A446W or Microsoft Knowledge Base article 885222 for more information.
After you have installed the NI 8255R and powered on your computer,
Windows will recognize the device and assign resources to it. Use
Measurement & Automation Explorer (MAX), the National Instruments
configuration utility, to configure the IEEE 1394 camera connected to the
NI 8255R for acquisition.
Note
You must install NI Vision Acquisition Software 8.2 or later before configuring your
camera in MAX. Refer to the
NI Vision Acquisition Release Notes
for information about
configuring your camera.
Related Documentation
The following documents contain additional information about the
NI 8255R:
•
NI Vision Acquisition Software Release Notes
—This document
contains information about how to install the driver software.
•
LabVIEW Help
—This document contains reference information for
the NI-IMAQ I/O shutdown states VIs, terminal references for the
configurable I/O module on the NI-IMAQ I/O device, and parameter
1
Power Supply Output Cable
2
Ferrite
1
2


