User Manual -
Please read and retain
for future reference
www.hsdonline.co.uk
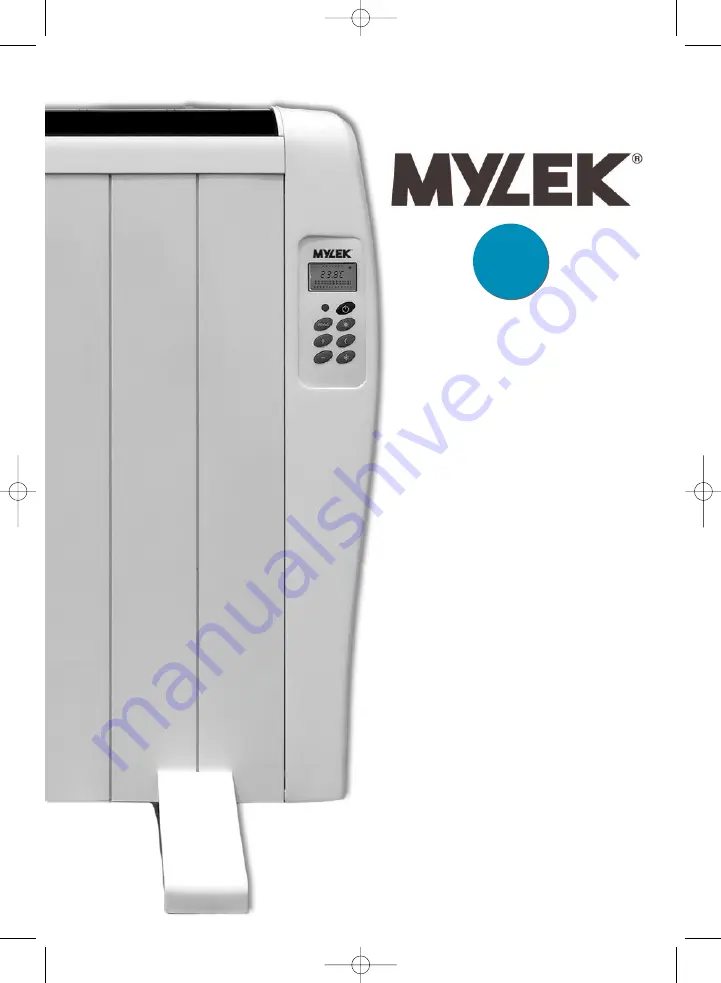
MYRA600WMYRA900W
MYRA1200WMYRA1500W
PROGRAMMABLE TIMER
HEATER
WITH LCD SCREEN
& REMOTE CONTROL
DAY
7
MYLEK_heater_Manual_2018 6/6/18 16:42 Page 1
Страница 1: ...ease read and retain for future reference www hsdonline co uk MYRA600W MYRA900W MYRA1200W MYRA1500W PROGRAMMABLE TIMER HEATER WITH LCD SCREEN REMOTE CONTROL DAY DAY 7 7 MYLEK_heater_Manual_2018 6 6 18...
Страница 2: ...cking Using the heater Manual use Changing the selected temperature Switching off Automatic use programmed 14 FAQ 15 POWER CUTS 15 SAFETY 15 RECOMMENDATIONS 15 MAINTENANCE 16 INFORMATION REQUIREMENT F...
Страница 3: ...o make the use of energy and energy related products more efficient by phasing out inefficient products and making it easier for consumers to find energy information providing guidance to more energy...
Страница 4: ...earth connection The heater must be installed so that the mains plug is always accessible This heater cannot be flush mounted in a wall Always respect the safety distances Figures 3 and 4 A locking s...
Страница 5: ...ew when the heater is switched on for the first time Allow your heater to work in a well ventilated area for two or three hours Before each cold season or if the heater has been switched off for sever...
Страница 6: ...eve correct performance and uniform heat distribution when it is installed on a wall the lower part of the heater must be at a minimum distance of twenty centimetres from the floor and a minimum dista...
Страница 7: ...pending on the heater model Safety distances and installation Models a mm b mm e mm f mm MYRA600W 410 93 140 495 MYRA900W 550 93 280 495 MYRA1200W 690 93 420 495 MYRA1500W 830 93 560 495 3 Open the pa...
Страница 8: ...eter holes with a minimum depth of 60 mm 3 Push the two plugs D into the two holes and secure the two hooks C with the two screws D Figure 6 7 4 Screw the two support brackets A or one support bracket...
Страница 9: ...he heater is fixed to the wall Figure 10 7 Remove the heater and drill two 4 mm diameter holes with a minimum depth of 25 mm at the two marks on the wall 8 Insert the two plugs and secure with the two...
Страница 10: ...the desired temperature for COMFORT MODE ECONOMY MODE OR ANTI FROST MODE To display this temperature press the or button OPERATION Your heater is fitted with a digital daily programmable timer thermo...
Страница 11: ...ing Unlocking The heater controls will automatically lock when no button has been pressed for sixty seconds as a child safety function This operation will occur in both manual and automatic modes The...
Страница 12: ...mmended for long absences from the room and is the ideal temperature for night time Recommended temperature 17 C MANUAL ANTI FREEZING MODE a Press the Anti freezing Mode button Figure 13 b Use the or...
Страница 13: ...g for Monday Use the or buttons to enter the day of the week you want to program as follows 1 Monday 2 Tuesday etc once the day is selected press the PROG button 4 Programming each day of the week Beg...
Страница 14: ...y 2 Repeat all these steps to program each day of the week until Sunday 7 is reached When Sunday is programmed press the PROG button to confirm settings press the PROG button again to show the current...
Страница 15: ...00W 15 20 m2 SAFETY Do NOT cover the heater Do NOT use it to dry clothes If it is covered there will be a serious risk of overheating The unit is fitted with a safety device that will switch it off in...
Страница 16: ...temperature consumption control select one At nominal elmax N A kW heat output At minimum elmin N A kW single stage heat output and no room No heat output temperature control In standby elSB 0 00094 k...
Страница 17: ...select one At nominal elmax N A kW heat output At minimum elmin N A kW single stage heat output and no room No heat output temperature control In standby elSB 0 00094 kW two or more manual stages no...
Страница 18: ...temperature consumption control select one At nominal elmax N A kW heat output At minimum elmin N A kW single stage heat output and no room No heat output temperature control In standby elSB 0 00094 k...
Страница 19: ...l select one At nominal elmax N A kW heat output At minimum elmin N A kW single stage heat output and no room No heat output temperature control In standby elSB 0 00094 kW two or more manual stages no...
Страница 20: ...unsorted municipal waste use separate collection facilities Contact your local council for information regarding the collection systems available If electrical appliances are disposed of in landfills...