6.0 Operation
14
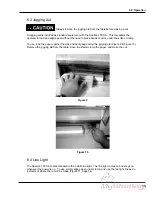
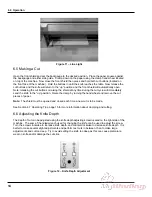
Figure 11 – Line Light
6.5 Making a Cut
Open the front shield and set the backgauge to the desired position. Place the paper square against
the backgauge and either side guide. Clamp down on the paper using the clamp hand wheel located
on top of the machine. Now close the front shield then press and hold both cut buttons (located on
the front face of the machine). Hold the buttons in until the knife reaches the table. Now release the
cut buttons and the knife will return to the “up” position and the front shield will automatically open.
Note: releasing the cut buttons or raising the shield at any time during the cut cycle will immediately
send the knife to the “up” position. Raise the clamp by turning the hand wheel and remove the cut
pieces of paper.
Note:
The shield must be opened and closed each time a new cut is to be made.
See Section 6.7 Operating Tips, page 15 for more information about clamping and cutting.
6.6 Adjusting the Knife Depth
The depth of cut can be adjusted using the knife depth adjusting screw located on the right side of the
machine. The same T-handled wrench used for changing the knife can be used to adjust the screw.
Turn the screw clockwise to increase knife depth, and counterclockwise to decrease knife depth. It is
better to make several slight adjustments and perform test cuts in between, than to make large
adjustments and cut too deep. Try to avoid setting the knife too deep as this can cause premature
wear on knife and/or damage the cut stick.
Figure 12 – Knife Depth Adjustment
Содержание CHALLENGE SPARTAN 150SA
Страница 22: ...7 0 Knife Installation Changing 21 NOTES...
Страница 24: ...9 0 Footprint 23 9 0 Footprint...


