MANUAL DE USUARIO E INSTALACIÓN
HORNO DE ENCASTRE DE 60 CM
MODELOS:
MX-HE2657 y MX-HE2660
ANTES DE SU USO LEA ATENTAMENTE ESTE MANUAL
Страница 1: ...MANUAL DE USUARIO E INSTALACI N HORNO DE ENCASTRE DE 60 CM MODELOS MX HE2657 y MX HE2660 ANTES DE SU USO LEA ATENTAMENTE ESTE MANUAL...
Страница 2: ...roducto se fabrica con materiales reciclables de acuerdo con nuestro Reglamento Nacional sobre Medio Ambiente No elimine los materiales del embalaje junto con los residuos dom sticos o de otro tipo Ll...
Страница 3: ...ue est conectado a una toma de tierra eficaz tal como prev n las normas de seguridad vigentes El fabricante declina cualquier responsabilidad por da os derivados de la falta de toma de tierra de la in...
Страница 4: ...ego NO TRATE NUNCA de sofocar las llamas con agua corte el suministro el ctrico y cubra las llamas con una manta ign fuga o un pa o h medo Cuando el horno est en funcionamiento NUNCA lo deje desatendi...
Страница 5: ...el horno con el cristal de la puerta roto o sin el cristal Coloque la parrilla o la bandeja correctamente en las gu as y compruebe que est n correctamente acopladas antes de colocar los alimentos sob...
Страница 6: ...no de la red el ctrica mediante el interruptor magnetot rmico antes de sustituir la bombilla interior o proceder a desenchufarlo de la red el ctrica No utilice prolongadores utilice nicamente el cable...
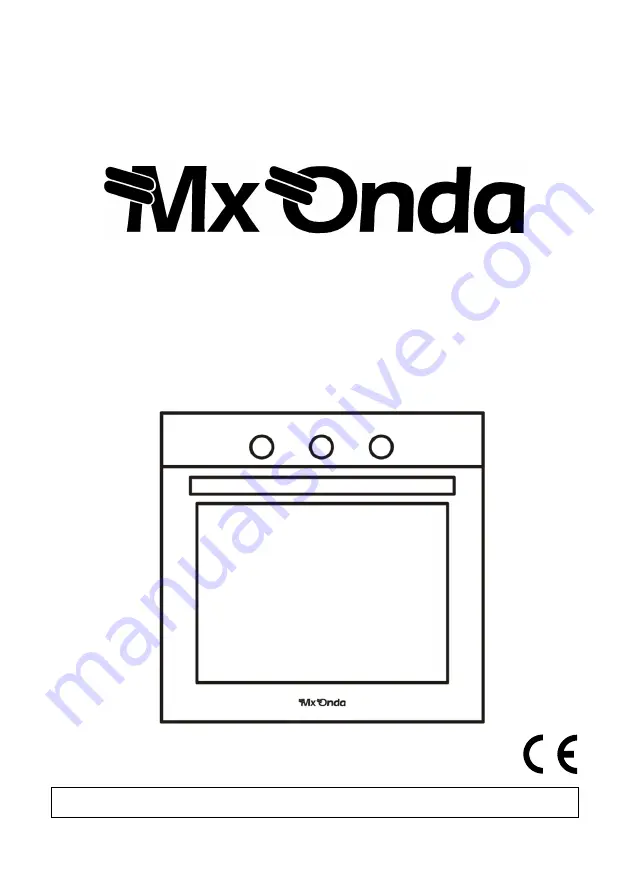
Страница 7: ...anel frontal 2 Bandeja honda opcional 3 Soporte rustepollos opcional 4 Parrilla 5 Bandeja esmaltada 6 Puerta del horno PANEL DE CONTROL 1 Encendido apagado y selector de funciones 2 Temporizador 3 Sel...
Страница 8: ...para que la refrigeraci n sea ptima y eficiente Figura 1 La buena refrigeraci n del horno es imprescindible para un funcionamiento ptimo y duradero Ubicaci n del horno Este horno est dise ado para ser...
Страница 9: ...el horno y o el suelo no arrastre el horno Retire todos los elementos de protecci n embalaje y accesorios del horno Instalaci n debajo de la encimera El mueble ha de tener las dimensiones indicadas e...
Страница 10: ...evado El mueble ha de tener las dimensiones indicadas en la Figura 4 Para obtener una refrigeraci n ptima y eficiente deber dejar un espacio en la parte posterior superior e inferior del mueble tal y...
Страница 11: ...ntes al calor para evitar una deformaci n causada por la radiaci n del calor debe soportar una temperatura m nima de 100 C El mueble donde vaya a ser instalado el horno deber estar nivelado y correcta...
Страница 12: ...co del horno No apriete los tornillos en exceso ya que podr a da ar los soportes de pl stico Una vez fijado el horno al mueble compruebe que este permanece correctamente fijado y no se mueve CONEXI N...
Страница 13: ...y protegida mediante un interruptor magnetot rmico o autom tico de dos polos Si el cable est da ado para ser sustituido o reemplazado la operaci n debe ser realizada por un Servicio T cnico Oficial Mx...
Страница 14: ...asivos y no permita que el horno entre en contacto con agentes vol tiles como gasolina disolventes insecticidas etc FUNCIONAMIENTO DEL HORNO CONTROLES Encendido apagado y selector de funciones El sele...
Страница 15: ...Calor en la parte superior e inferior Convecci n Este modo de funcionamiento es id neo para cocinar pasteles bizcochos lasa a y carnes o pescado Calor en la parte superior Convecci n Este modo de fun...
Страница 16: ...ventana de la puerta del horno para comprobar el proceso Ahorrar tiempo y energ a Distribuya los alimentos por toda la zona de la parrilla o de la bandeja esmaltada para obtener un cocinado uniforme...
Страница 17: ...oceso siguiente Retire todos los accesorios del interior del horno 1 Vierta medio litro de agua en la bandeja esmaltada y col quela en la parte inferior del horno Figura 7 2 Ajuste el selector de temp...
Страница 18: ...a extraer el cristal de la puerta del horno y en funci n del modelo que usted tenga deber proceder como se indica en el punto 1 o en el punto 2 1 Presione los pestillos de pl stico situados a ambos la...
Страница 19: ...Advertencia Antes de cambiar la bombilla desconecte el horno de la red el ctrica enchufe o interruptor magnetot rmico Y aseg rese de que el horno est totalmente fr o Retire la protecci n de cristal g...
Страница 20: ...dican las flechas y separe la parte inferior de las gu as soporte de la pared del horno despu s deslice hacia arriba las gu as soporte y extr igalas Para insertar las gu as soporte preste atenci n a l...
Страница 21: ...mpara 15 a 25 W Dimensiones externas 595 x 587 x 595 mm l a alto Peso aproximado 28 5 Kg Especificaciones t cnicas sujetas a cambio sin previo aviso Este producto cumple con las Directivas Europeas 2...
Страница 22: ...USER AND INSTALLATION MANUAL 60 CM BUILT IN OVEN MODELS MX HE2657 and MX HE2660 BEFORE USE PLEASE READ THIS MANUAL CAREFULLY...
Страница 23: ...n The packaging of this product is manufactured with recyclable materials in accordance with our National Regulation on the Environment Do not dispose of the packaging materials together with househol...
Страница 24: ...l safety of this appliance is guaranteed only if it is connected to an effective earth connection as provided by current safety regulations The manufacturer declines any responsibility for damages der...
Страница 25: ...letely closed after placing food inside In case of fire NEVER TRY to smother the flames with water cut off the electrical supply and cover the flames with a fire blanket or a damp cloth When the oven...
Страница 26: ...s gently pull the plug from the socket Never do it by pulling on the cord Do not use the oven with the door glass broken or without the glass Place the rack or tray correctly on the guides and check t...
Страница 27: ...lectric shock disconnect e the oven from the mains using the thermomagnetic switch before replacing the interior bulb or unplugging it from the mains Do not use extension cords use only the original c...
Страница 28: ...NTROLS AND ELEMENTS 1 Front panel 2 Deep tray optional 3 Chicken roast stand optional 4 Grill 5 Enameled tray 6 Oven door CONTROL PANEL 1 On off and function selector 2 Timer 3 Temperature selector 1...
Страница 29: ...oling Figure 1 Good oven cooling is essential for optimal and long lasting operation Oven location This oven is designed to be installed in furniture openings of 60 cm you must install it leaving a sp...
Страница 30: ...the oven and or the floor do not drag the oven Remove all protection elements packaging and accessories from the oven Installation under the kitchen worktop The furniture must have the dimensions ind...
Страница 31: ...ion in a raised kitchen cabinet The furniture must have the dimensions indicated in Figure 4 For optimal and efficient cooling you should leave a space at the back top and bottom of the cabinet as ind...
Страница 32: ...installed must be heat resistant to avoid deformation caused by heat radiation it must withstand a minimum temperature of 100 C The furniture where the oven is to be installed must be level and correc...
Страница 33: ...rame Do not overtighten the screws as you may damage the plastic brackets Once the oven is attached to the cabinet check that it remains properly attached and does not move ELECTRICAL CONNECTION OF TH...
Страница 34: ...d to be substituted or replaced the operation must be carried out by an Official Mx Onda Technical Service The authorized installer must ensure that the correct electrical connection has been made and...
Страница 35: ...such as gasoline solvents insecticides etc OVEN OPERATION CONTROLS On off and function selector The selector has 8 positions which are indicated in the following table together with the function they...
Страница 36: ...okies Heat at the top and bottom Convection This operating mode is ideal for cooking cakes biscuits lasagna and meat or fish Heat on top Convection This operating mode is ideal for cooking cakes biscu...
Страница 37: ...te the food over the entire grill or enamel pan area for even cooking If the pieces are medium large in the middle of the process you should turn them over and thus obtain a homogeneous result MAINTEN...
Страница 38: ...n and function selector to the position 4 Turn the timer to the 30 minute position 5 At the end of the previously set time open the oven door and remove the fat and solid remains with a slightly damp...
Страница 39: ...oth sides right and left of the profile as shown in Figure 10 then remove the profile by pulling it out as shown in Figure 11 The glass will be free after removing the profile as shown in Figure 12 Pu...
Страница 40: ...way to that described to extract them Replacing the interior light Warning Before changing the light bulb disconnect the oven from the mains plug or magnetothermic switch And make sure the oven is tot...
Страница 41: ...the clips in the direction indicated by the arrows and separate the bottom of the support guides from the oven wall then slide the support guides up and remove them To insert the support guides pay a...
Страница 42: ...5 W External dimensions 595 x 587 x 595 mm l w h Approximate weight 28 5 Kg Technical specifications attached to change without notice This product complies with the European Directives 2014 30 EC EMC...