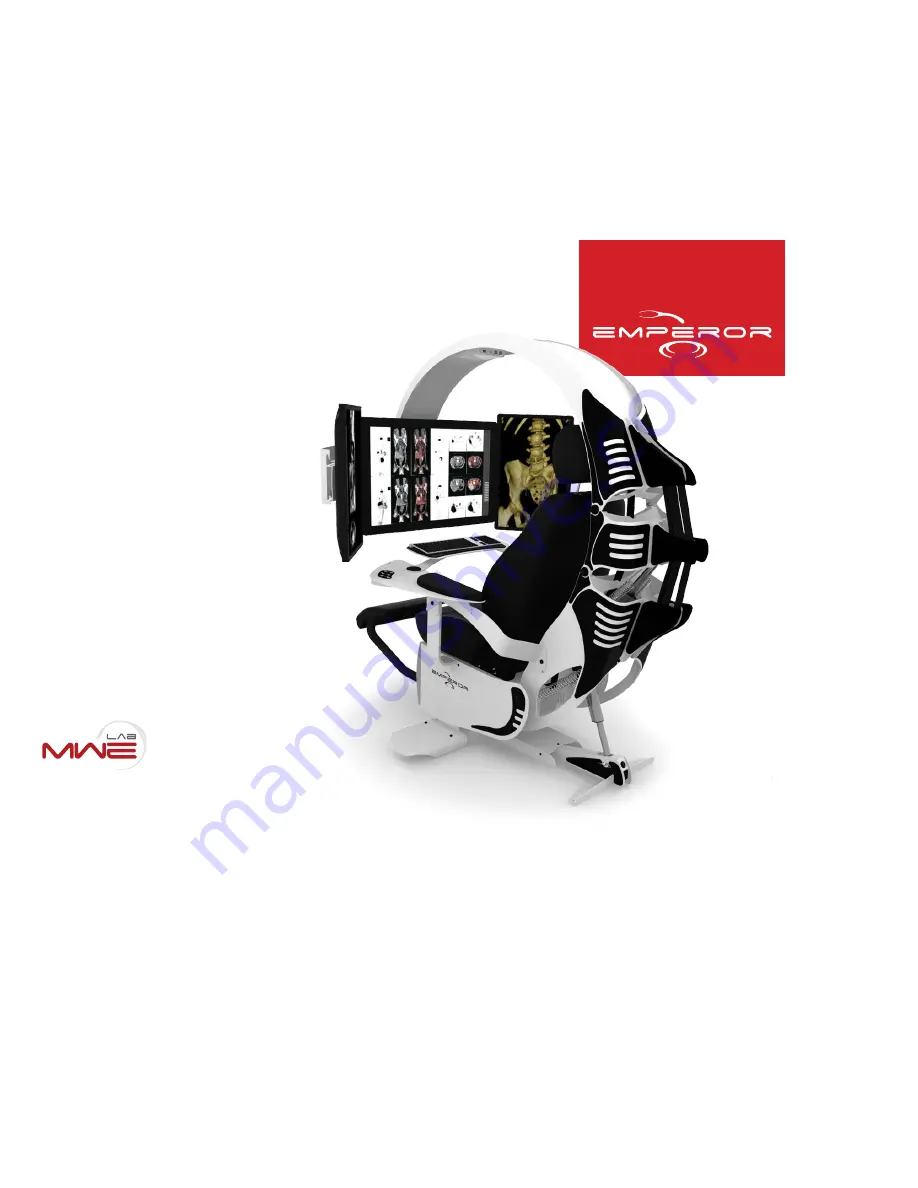
EMPEROR XT
USER MANUAL
MWE LAB
100A - 2205 Wilfrid-Hamel
Quebec, QC G1P 2H8
CANADA
www.mwelab.com
T
+1 418 688 7246
US & CANADA
1 800 652 5403
Страница 1: ...EMPEROR XT USER MANUAL MWE LAB 100A 2205 Wilfrid Hamel Quebec QC G1P 2H8 CANADA www mwelab com T 1 418 688 7246 US CANADA 1 800 652 5403...
Страница 2: ...re subject to copyright and other intellectual property rights of MWE Lab Inc This material may not be modified reproduced or copied in whole or in part without the prior written permission of MWE Lab...
Страница 3: ...OR 7 6 CENTER MONITOR 8 7 MONITOR MOUNT 8 8 CENTRAL SECTION IF APPLICABLE 10 9 ADJUSTING THE ARMRESTS 12 10 ADJUSTING THE LEG REST 13 11 LATERAL WINGS 14 12 TRIPLE MONITOR CONFIGURATION 14 13 CONNECTI...
Страница 4: ...Keep clear from all moving components when Emperor s upper section is in upward or downward motion and or when the workstation is tilting forward or backward Maximum user weight for the Emperor is 300...
Страница 5: ...C Sand texture polyester powder paint scratch resistant D 3 16 6 mm thick steel frame E Hidden subwoofer 2 3 5 4 7 8 6 9 11 1 14 16 10 15 13 A C D E B 12 1 Front plate logo 2 Front plate 3 Upper secti...
Страница 6: ...s Standard components Front plate A Monitor mount B Emperor black bag Screws and nuts Tools Lateral wings C Optional accessories Additional monitors mount D Additional VESA mount E Additional mounting...
Страница 7: ...y on the floor at least two feet 61cm from any wall fireplace refrigerator oven or other electric appliances Do not place the Emperor workstation on a stand Do not use these parts to move the Emperor...
Страница 8: ...screws Select the appropriate screw length Refer to your monitor user guide for more details about VESA mount installation 7 1 Hook up the top of the monitor mount on the designated indents located a...
Страница 9: ...ck strap and plastic hooks holding down the upper section to the base 7 5 Place a screw and nut to secure the mount in place 7 4 Make sure the mount is 100 vertical upright 3 16 X2 Installation of the...
Страница 10: ...This procedure may not apply to you if the cylinder is already secured in place You may temporarily untighten this screw to help you move the cylinder in place Do not use a cutter a knife or any sharp...
Страница 11: ...nuary 2017v1 EMPEROR XT USER MANUAL 11 8 5 Insert screws removed in Step 8 2 and tighten each one securely into place using provided tool Make sure to tighten each one as much as possible 8 4 Let go d...
Страница 12: ...turns to allow the metal plate to slide outward freely without scratching the surface 9 2 Repeat step 9 1 with the left armrest 9 3 Push gently armrests outward Do not removes screws 9 4 Align armres...
Страница 13: ...on the legrest Never move the Emperor with the leg rest it may damage the mechanism 10 ADJUSTING THE LEG REST 10 1 Untighten leg rest screws a few turns to allow the leg rest to move 10 2 Gently rotat...
Страница 14: ...s shown on both side Tighten screws in order to still be able to move the extenders 12 2 Install the VESA adapter on your right monitor using 4x M4 screws Select the appropriate screw length Refer to...
Страница 15: ...tails about VESA mount installation 12 5 Align and place the right monitor on the right extender as shown below 12 4 Make sure the brackets on the monitor are securely installed as shown below before...
Страница 16: ...r cable coming out the upper section to the provided power cord splitter 13 3 Connect the LEDs from the monitor mount to the upper section output LED cable 12 8 Repeat step 12 5 to 12 7 with the left...
Страница 17: ...the top left front plate hook into the top left monitor mount indent as shown below 14 3 Slide bottom plate into bottom monitor mount indent on both sides 14 2 Bend gently the front plate in order to...
Страница 18: ...ed cables video and USB to your computer 16 2 Connect your Emperor with provided power cable to wall electrical outlet 110 120V or 220 240V and turn ON your Emperor using main switch 16 OPERATING YOUR...
Страница 19: ...hich provide upward and or downward motion capability for the upper section monitors and forward and or backward tilting capability for the entire workstation are designed and built to be used for a m...
Страница 20: ...paint Paint Options Sand texture powder High gloss paint Controls Stainless steel switches IP67 Electrical Motion 12V linear actuators Accessories Laptop tray side table In the Box Emperor XT as reque...
Страница 21: ...R MANUAL January 2017v1 EMPEROR XT USER MANUAL 21 A H B C D E F G Inches mm A 61 3 4 1568 B Min Width 27 1 4 692 C 39 1 4 996 D 58 1473 Inches mm E 17 434 F 24 610 G 60 3 4 1542 H 76 3 4 1949 18 DIMEN...
Страница 22: ...Lab website at www mwelab com on a regular basis to check for possible safety notice releases If you need assistance please have both the serial number of your workstation and the date of purchase ava...