


1
2
3
4
Advanced F
ax Functions
Security Functions 4-51
Press [Security Rx].
3
Enter the protect passcode using the numeric keys, and press [Enter].
4
To delete one of the entered digits, press [Clear].
•
To delete all of the entered digits, press [All Clear].
•
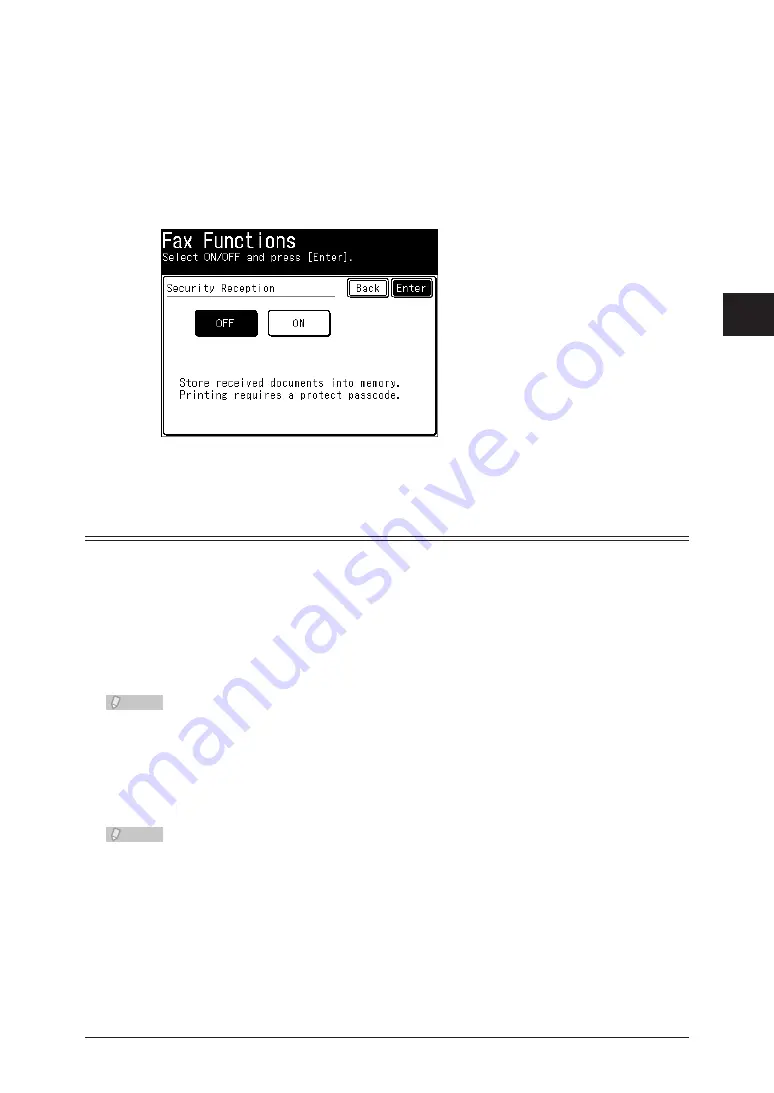
Select [OFF], and press [Enter].
5
The security reception documents are printed.
PIN Masking
To prevent unauthorized long-distance calls, some PBX (private branch exchanger)
systems require a PIN (personal identification number) entry when dialing a number.
Your machine’s PIN masking feature helps you keep that PIN private.
With PIN masking activated, you can dial a number plus a PIN, but the PIN will not
appear in the journal, error message printout, delayed command list or transmission
report. The PIN may contain up to eight characters including the * or # symbols. You can
enter them from the numeric keys.
Note
Set the PIN mode in advance. For details on setting the PIN mode, refer to Chapter 2,
“Activating the PIN mask” in the Administrator’s Guide.
Dialing in PIN
Mask Mode 1
Note
To set Mode 1, register the PIN to the fax number of the destination when registering
the destination.
Load the document, and press <Fax>.
1
Содержание MFX-2550 Guide
Страница 9: ...viii How to Read This Manual ...
Страница 85: ...2 52 2 52 ...
Страница 167: ...4 20 Various Fax Functions Press Print 44 Press Yes 55 Printing the Stored Document List Press Setting 11 Press List 22 ...
Страница 200: ...1 2 3 4 Advanced Fax Functions Security Functions 4 53 Use the numeric keys to enter the PIN number 44 and press Enter ...
Страница 229: ...4 82 4 82 ...
Страница 249: ...5 20 Confirming Specified Destinations ...
Страница 257: ...6 8 Managing the Communication History Press Fax Settings 33 Press Other Settings 44 Press Auto Print Journal 55 ...
Страница 265: ...6 16 Managing the Communication History ...