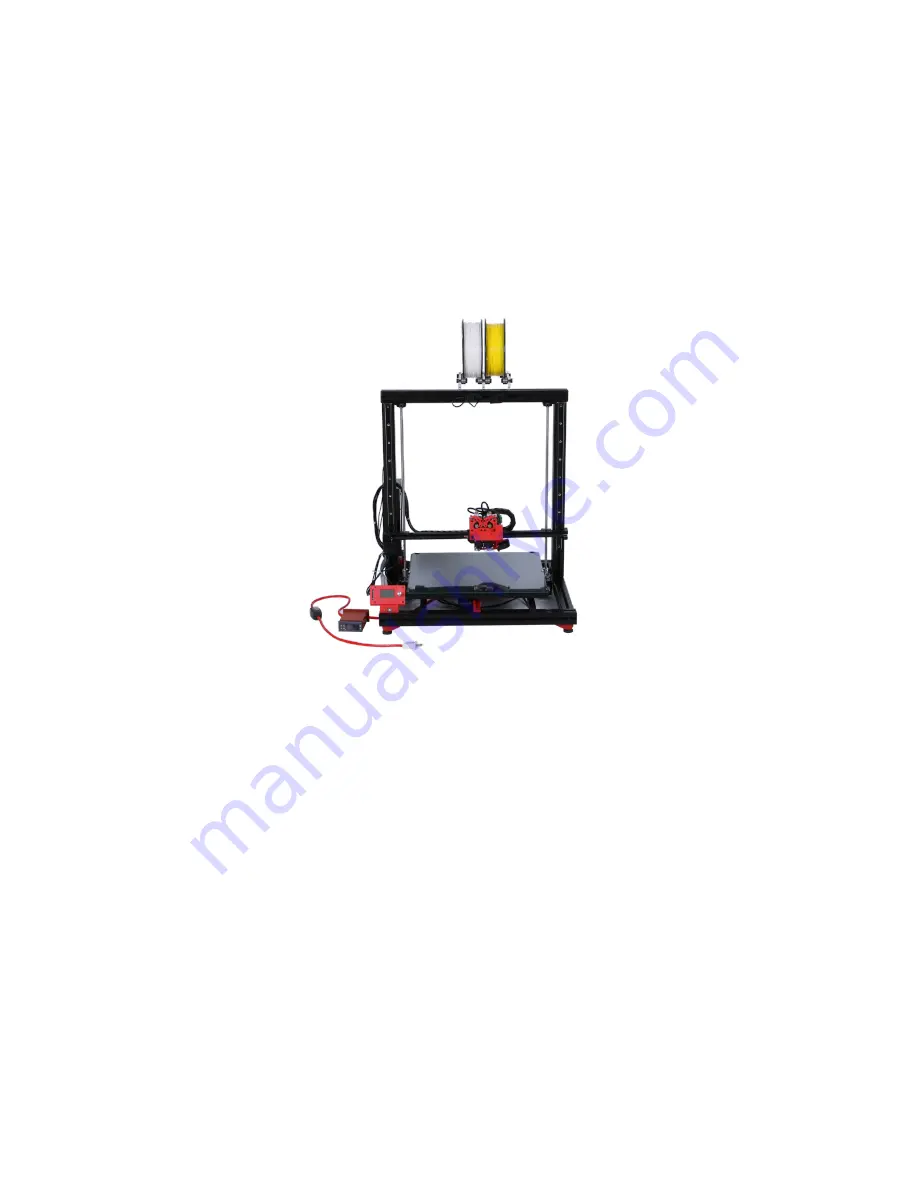
background image

Manual of multoo 3D printing

Accessories


Standard                                          Advance


Power Wire

    Y                                                                   Y


USB cable

                Y                                                                    Y


Wrench

                Y                                                                    Y


Single Extruder Kit

   Y                                                                    Y


Dual Extruder Kit

                Y                                                                    Y


Laser Engraving Kit

   N                                                                    Y


Protective Glasses

   N                                                                    Y


Filament Bracket 

   Y                                                                    Y


2 Rolls Filament

                Y                                                                    Y


Glue Stick

                Y                                                                    Y


SD card

                Y                                                                    Y

Содержание MT1

Страница 1: ...Accessories Standard Advance Power Wire Y Y USB cable Y Y Wrench Y Y Single Extruder Kit Y Y Dual Extruder Kit Y Y Laser Engraving Kit N Y Protective Glasses N Y Filament Bracket Y Y 2 Rolls Filament Y Y Glue Stick Y Y SD card Y Y ...

Страница 2: ... step shell be completed by two persons Products assembly specific operation as follows multoo 3d printer assembly only two sections pedestal and Z Aluminum frame As shown in the picture Pedestal Z Frame Next we start the assembly steps ...

Страница 3: ... and push printing plate to the forefront Fix Pedestal and Z frame Together Please assemble Z frame and bottom frame of Pedestal together First please put Z frame onto bottom frame then put T form screws into groove as bellow don t tigthen temporary the same operation on the other side can tighten Finally ensure both sides is fastening state ...

Страница 4: ...d adjust the distance is 290mm as below Note please do not pull wires fiercely or else it will lead to loose contact Power cable There are two relatively thick wires One has two wires and the other has three wires Please see the figure We give them a number A has two lines B has three lines So A brown Abrown A blue Ab B yellow By B blue Bb B brown Bbrown ...

Страница 5: ...nd Z Connect the shorter wires to Z axis limit switch connect the longer wires to Y axis limit switch Then connect wires to Y motor and Z motor respectively Extruder modules assembly Just put extruder or laser engraver onto pedestal of extruder then use screwdriver tightened All operations are simple Level plate Please level plate well when first printing Choose Prepare Plate Leveling in LCD Prepa...

Страница 6: ...nt to recepment them can printing them directly Hope you will enjoy 3D printing very much multoo Yiwu Mantuo Intelligent Technology Co Ltd Website www multoo com Email multoo multoo com Skype karenshi521 Add Liuqing District No 23 Yiwu City Zhejiang Province China ...

Отзывы: