TAP-125-U-W-X-Z
(YYYYYYYY)
Web Console Configuration
3-2
NOTE To use the TAP-125-U-W-X-Z (YYYYYYYY)’s management and monitoring functions from a PC host connected
to the same LAN as the TAP-125-U-W-X-Z (YYYYYYYY), you must make sure that the PC host and the TAP-
125-U-W-X-Z (YYYYYYYY) are on the same logical subnet. Similarly, if the TAP-125-U-W-X-Z (YYYYYYYY) is
configured for other VLAN settings, you must make sure your PC host is on the management VLAN.
The Moxa TAP-125-U-W-X-Z (YYYYYYYY)’s default IP is 192.168.127.253.
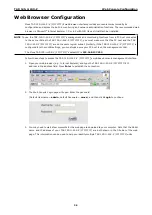
Web Browser Configuration
Moxa TAP-125-U-W-X-Z (YYYYYYYY)’s web browser interface provides a convenient way to modify its
configuration and access the built-in monitoring and network administration functions. The recommended web
browser is Microsoft
®
Internet Explorer 7.0 or 8.0 with JVM (Java Virtual Machine) installed.
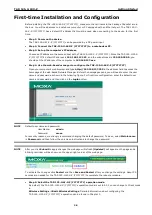
Follow these steps to access the TAP-125-U-W-X-Z (YYYYYYYY)’s web-based console management interface.
1.
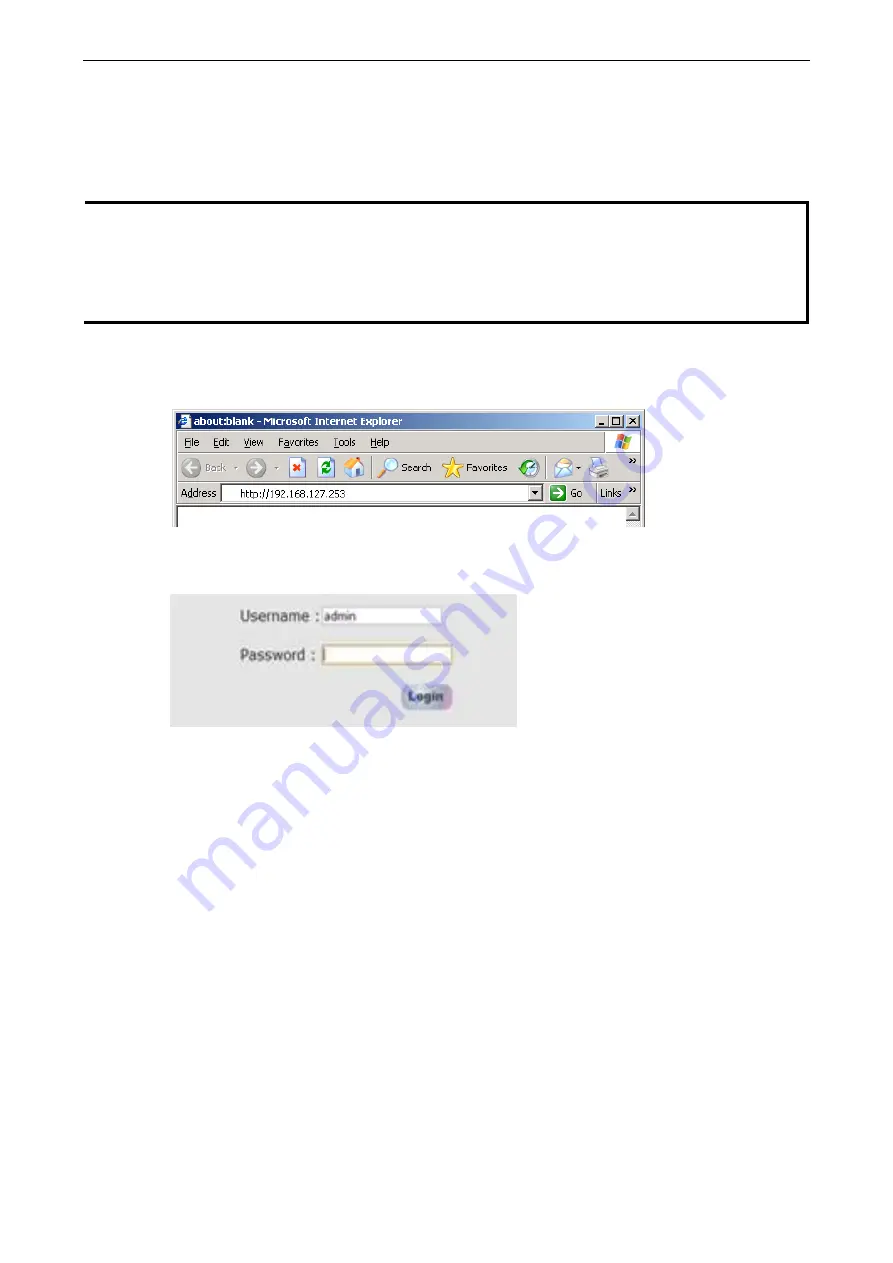
Open your web browser (e.g., Internet Explorer) and type the TAP-125-U-W-X-Z (YYYYYYYY)’s IP
address in the address field. Press Enter to establish the connection.
2.
The Web Console Login page will open. Enter the password
(Default Username = admin; default Password = moxa), and then click Login to continue.
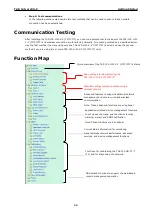
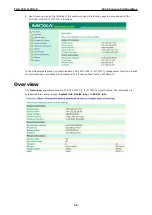
3.
You may need to wait a few moments for the web page to download to your computer. Note that the Model
name and IP address of your TAP-125-U-W-X-Z (YYYYYYYY) are both shown in the title bar of the web
page. This information can be used to help you identify multiple TAP-125-U-W-X-Z (YYYYYYYY) units.


