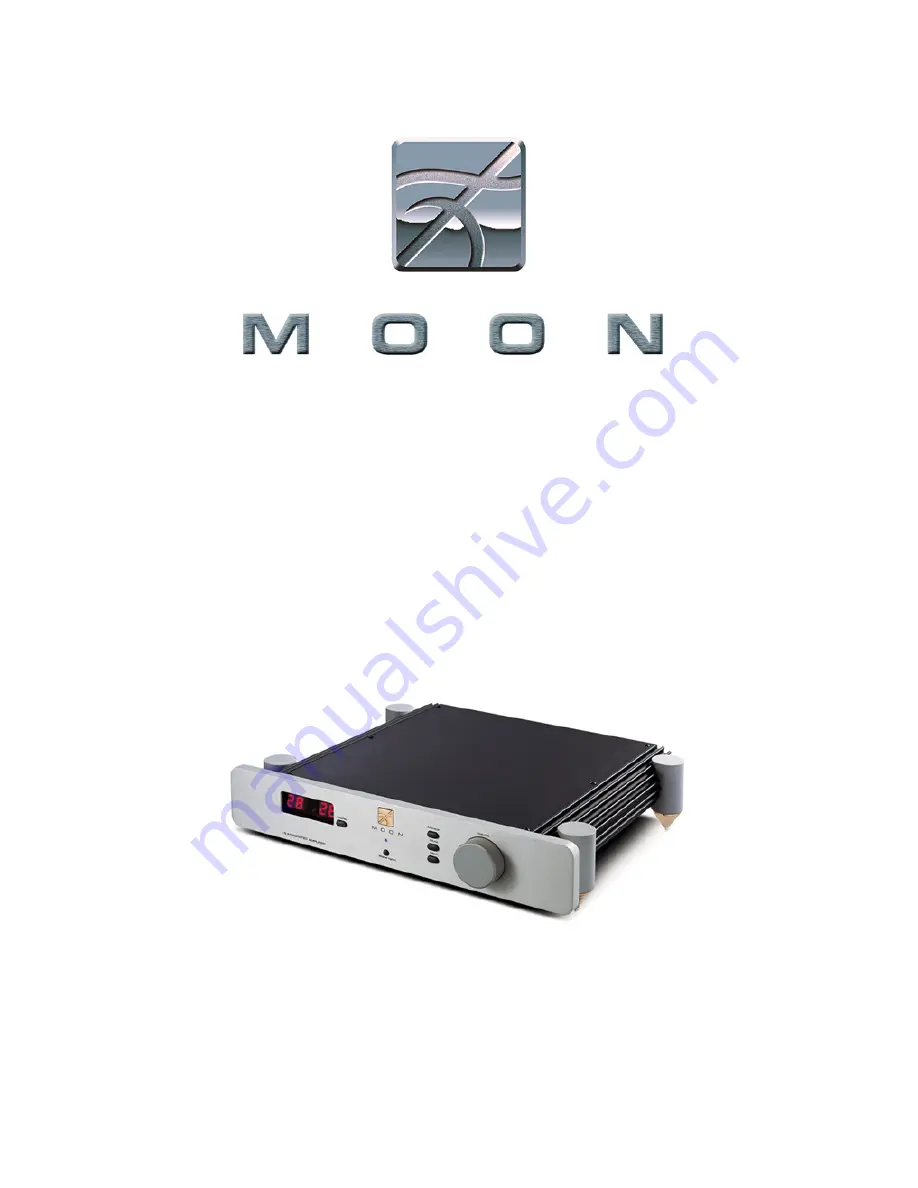
i-5
Integrated Amplifier
___________________________________________________________________________
Owner’s Manual
Страница 1: ...i 5 Integrated Amplifier ___________________________________________________________________________ Owner s Manual...
Страница 2: ...ntrols 7 Rear Panel Connections 9 Operating the i 5 10 Remote Control Operation 11 Specifications 12 Service and Warranty 13 www simaudio com IMPORTANT Please read this entire manual before using this...
Страница 3: ...experience is an important reason why MOON integrated amplifiers are so musically satisfying The performance of your i 5 will continue to improve during the first six weeks of use This is the result o...
Страница 4: ...g only fifteen inches in length from input RCA connectors to output binding posts for a faster transient response Class A preamplifier section circuit topology A gain section that uses a Crystal micro...
Страница 5: ...mplifier from potential damage that can arise when shipping such a product ________________________________________________________________ WARNING To reduce the risk of fire or electric shock do not...
Страница 6: ...re it s advisable to follow these instructions 1 Place your i 5 on a soft surface i e carpet and carefully turn it so that it rests on its side 2 Screw one tip onto each of the four cones 3 Carefully...
Страница 7: ...and turns off the digital display However when in Stand by mode all audio circuitry remains powered up to help maintain optimal performance When switching back from Stand by to the on mode both the in...
Страница 8: ...which selects a specific gain setting on a shunt to ground based microprocessor circuit This gain circuit known as RGB cs doesn t degrade the audio signal regardless of the setting unlike all potenti...
Страница 9: ...trol setting A second single ended pair if RCA connectors labeled Tape Out located next to the Pre Out connectors is intended as an input to a recording device such as a cassette tape deck or CD Recor...
Страница 10: ...st time make sure that every cable is properly connected to avoid any problems Then turn on your integrated amplifier in the following manner 1 Flick the main rocker switch labeled POWER to the 1 on p...
Страница 11: ...h the integrated amplifier to either Stand by or On mode The INPUT button performs in exactly the same way as the Input button located on the i 5 s front panel sequentially cascading through each of t...
Страница 12: ...04 Damping Factor 200 Gain Control RGB cs Shunt To Ground Gain 37dB Dynamic Headroom 6dB Signal to noise Ratio 97dB full power Maximum Output Voltage 23 5 Volts Slew Rate 20V s Maximum Current Peak 16...
Страница 13: ...i 5 integrated amplifiers are guaranteed against defective materials and workmanship for a period of THREE 3 years parts and labor to the original owner Upon receiving your registration card either b...