background image

1                        

PROFUSION iS BASIC CONNECTIVITY TROUBLESHOOTING 

MOOD:


ProFusion iS Basic Connectivity Troubleshooting


Note: Your ProFusion iS needs to remain on at all times in order for it to successfully connect for updates.  

Verifying the Ethernet Cable Is Properly Connected 

STEP 1   

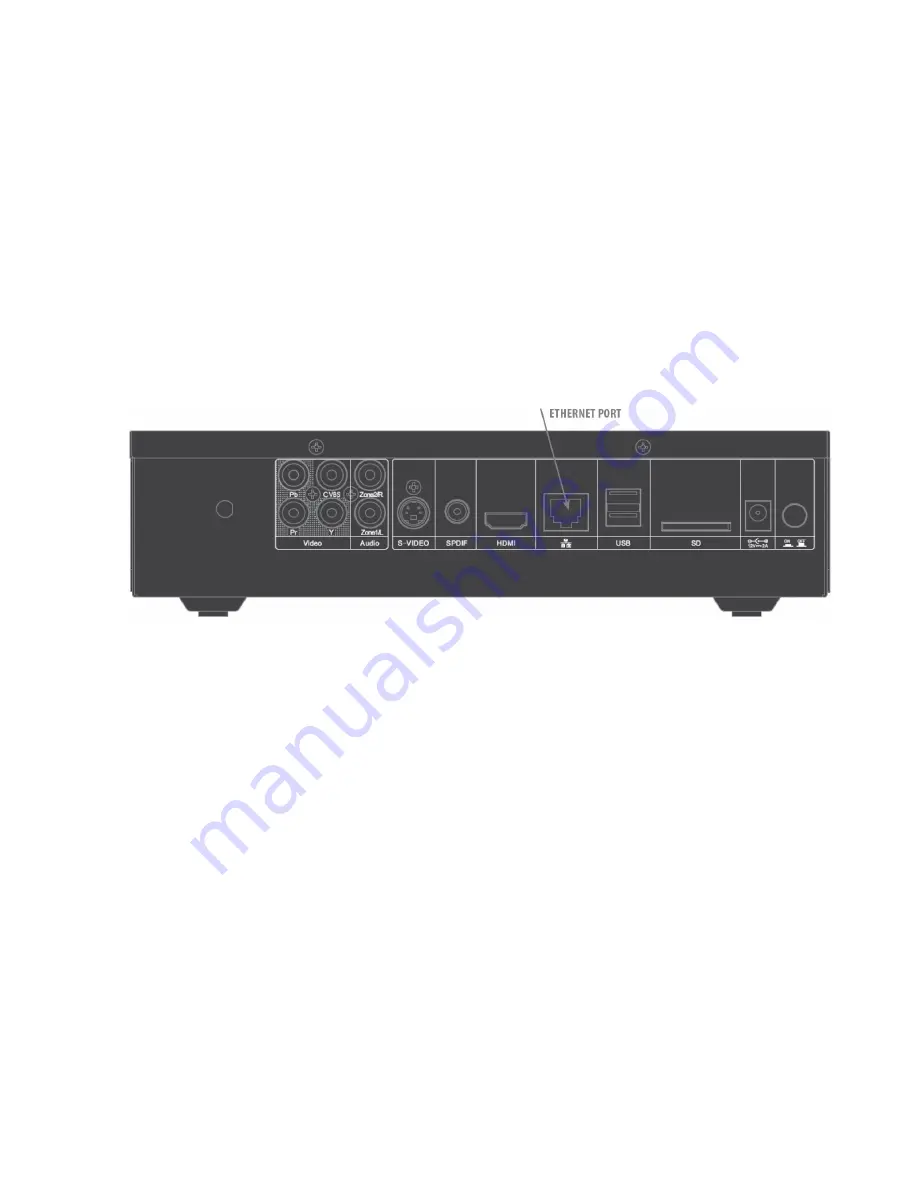
Verify there is an Ethernet cable properly connected to the Ethernet port, located on the rear of your ProFusion iS, and your 


 network equipment (router, hub, or switch). 


If there is not an Ethernet cable presently connected to the Ethernet port of your ProFusion iS and your network 


equipment, proceed to STEP 2.


If there is an Ethernet cable already connected to the Ethernet port of your ProFusion iS and your network equipment, 


skip to STEP 3.


STEP 2   

Connect one end of the CAT5 Ethernet cable to the Ethernet port of your ProFusion iS, and the other end of the 


 cable to your network equipment (router, hub, or switch). Once the cable has been connected, reboot your    


 ProFusion iS. 


Press the STANDBY button once (do not hold the button in).   


In approximately 10 seconds your ProFusion iS will enter a Pause Mode. At this time playback on 


the zones will stop.   


Once your ProFusion iS is in Pause Mode; press the STANDBY button one more time to 


complete the shutdown process. This will take approximately 20 seconds.   


Wait 15 seconds, then press the STANDBY button to power on you ProFusion iS


Once playback has started, proceed to STEP 3.


STEP 3   

Verify the LINK light, the green LED located on the front of the ProFusion iS, is illuminated.  


  If the LINK light is not on, proceed to STEP 4. 


 If the LINK light is on, skip to STEP 5.


STEP 4   

Replace the Ethernet cable (see STEP 2) and verify the LINK light on the front is illuminated.


 If the LINK light is on, proceed to STEP 5. 


 If the LINK light is still not on, confirm the network jack being used is live. If yes, contact Mood Media (See 


 “Contacting Mood”).


Содержание PROFUSION iS

Страница 1: ...nd of the cable to your network equipment router hub or switch Once the cable has been connected reboot your ProFusion iS Press the STANDBY button once do not hold the button in In approximately 10 seconds your ProFusion iS will enter a Pause Mode At this time playback on the zones will stop Once your ProFusion iS is in Pause Mode press the STANDBY button one more time to complete the shutdown pro...

Страница 2: ...tton to access the Control Panel menu system Press the NAVIGATION DOWN button until the current line indicator is on Network Control then press button Press the NAVIGATION DOWN button until the current line indicator is on View Settings then press button Press the NAVIGATION DOWN button to scroll through the settings Note If your ProFusion iS did not obtain an IP address Unavailable will be displa...

Страница 3: ...the NAVIGATION DOWN button until the current line indicator is on Update Configuration then press the button to initiate a connectivity test Note If your ProFusion iS did not obtain an IP address Unavailable will be displayed Press the NAVIGATION LEFT button to return to the previous menu option and the NAVIGATION RIGHT button to exit to the title artist information screen Update Ended No Error If...

Страница 4: ...ATION DOWN button until the current line indicator is on Set Configuration then press button if option is locked see Contacting Mood Press the NAVIGATION DOWN button until the current line indicator is on Set Protocol then press button Press the NAVIGATION UP DOWN button until the current line indicator is on desired protocol then press button If your firewall configuration has been changed to all...

Страница 5: ...front of the device The Device ID for your ProFusion iS STEP 1 Press the button to access the Control Panel menu system STEP 2 Press the NAVIGATION DOWN button until the current line indicator is on Device Information then press the button STEP 3 The following information will be displayed Device ID software version configuration version and device description Worldwide Customer Support Centers 1 ...

Отзывы: