42
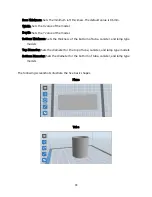
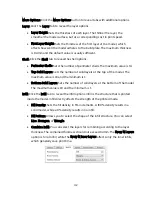
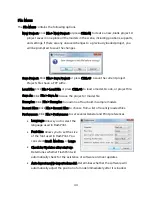
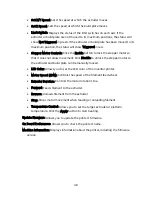
More Options: Click the More Options button to reveal tabs with additional options.
Layer: Click the Layer tab to reveal the layer options.
Layer Height: Sets the thickness of each layer. The thinner the layer, the
smoother the model surface, but at a corresponding cost in print speed.
First Layer Height: Sets the thickness of the first layer of the model, which
affects how well the model adheres to the build plate. The maximum thickness
is 0.4mm and the default value is usually sufficient.
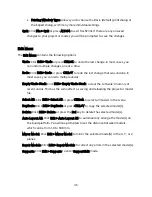
Shell: Click the Shell tab to reveal the shell options.
Perimeter Shells: Sets the number of perimeter shells. The maximum value is 10.
Top Solid Layers: Sets the number of solid layers at the top of the model. The
maximum value is 30 and the minimum is 1.
Bottom Solid Layers: Sets the number of solid layers at the bottom of the model.
The maximum value is 30 and the minimum is 1.
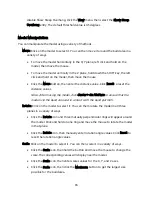
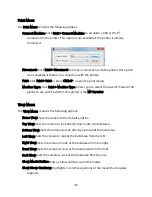
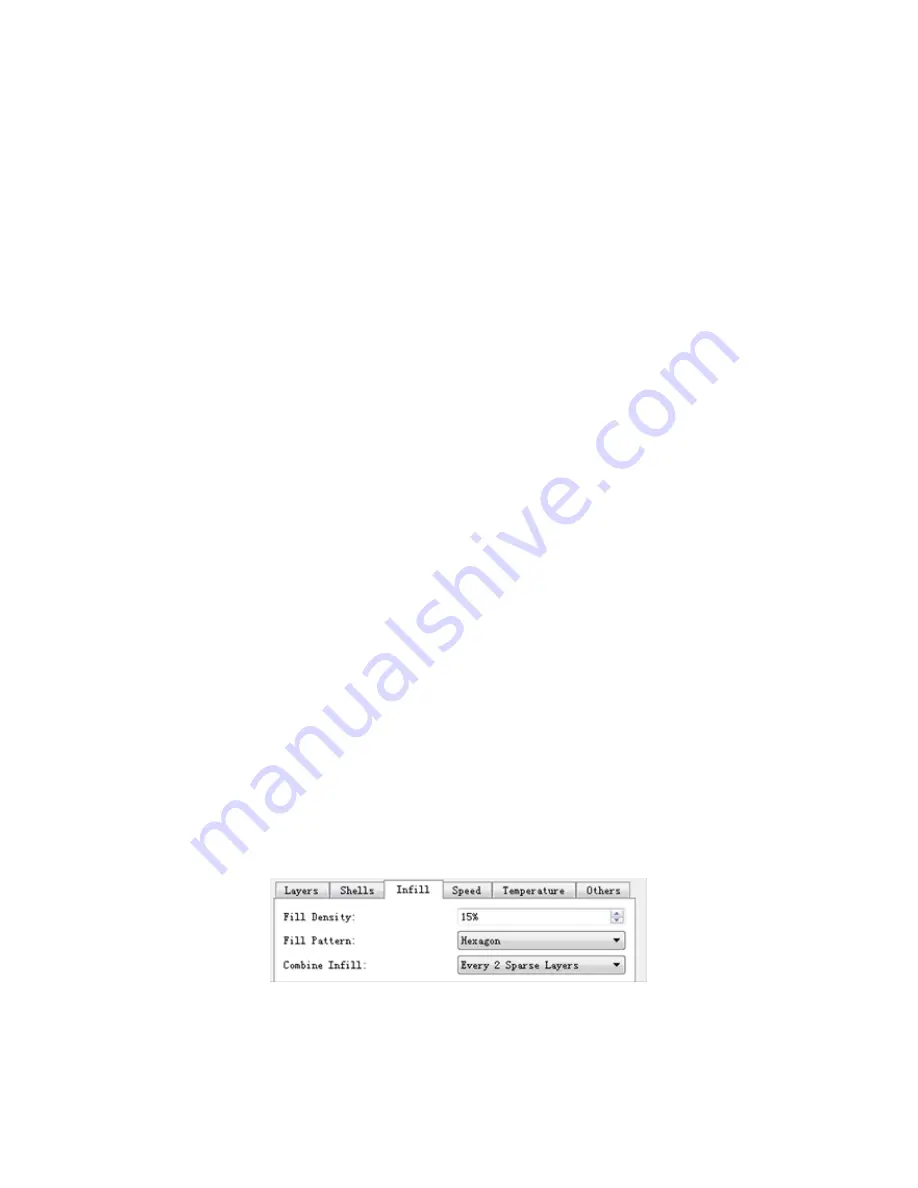
Infill: Click the Infill tab to reveal the infill options. Infill is the structure that is printed
inside the model. Infill directly affects the strength of the printed mode.
Fill Density: Sets the fill density in 5% increments. A 100% density results in a
solid model, while a 0% density results in no infill.
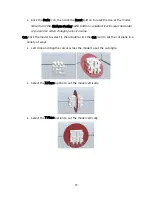
Fill Pattern: Allows you to select the shape of the infill structure. You can select
Line, Hexagon, or Triangle.
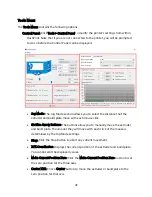
Combine Infill: You can select the layers for combining according to the layer
thickness. The combined thickness should not exceed 0.4mm. The Every N Layers
option is for all infill, while the Every N Inner Layers affects only the inner infills,
which generally save print time.
Содержание 30526
Страница 1: ...MP Education Inventor 3D Printer P N 30526 User s Manual ...
Страница 34: ...34 Canister Lamp Seal ...

