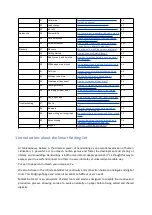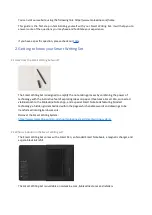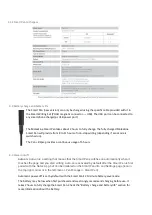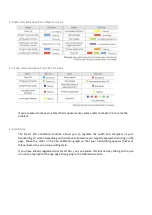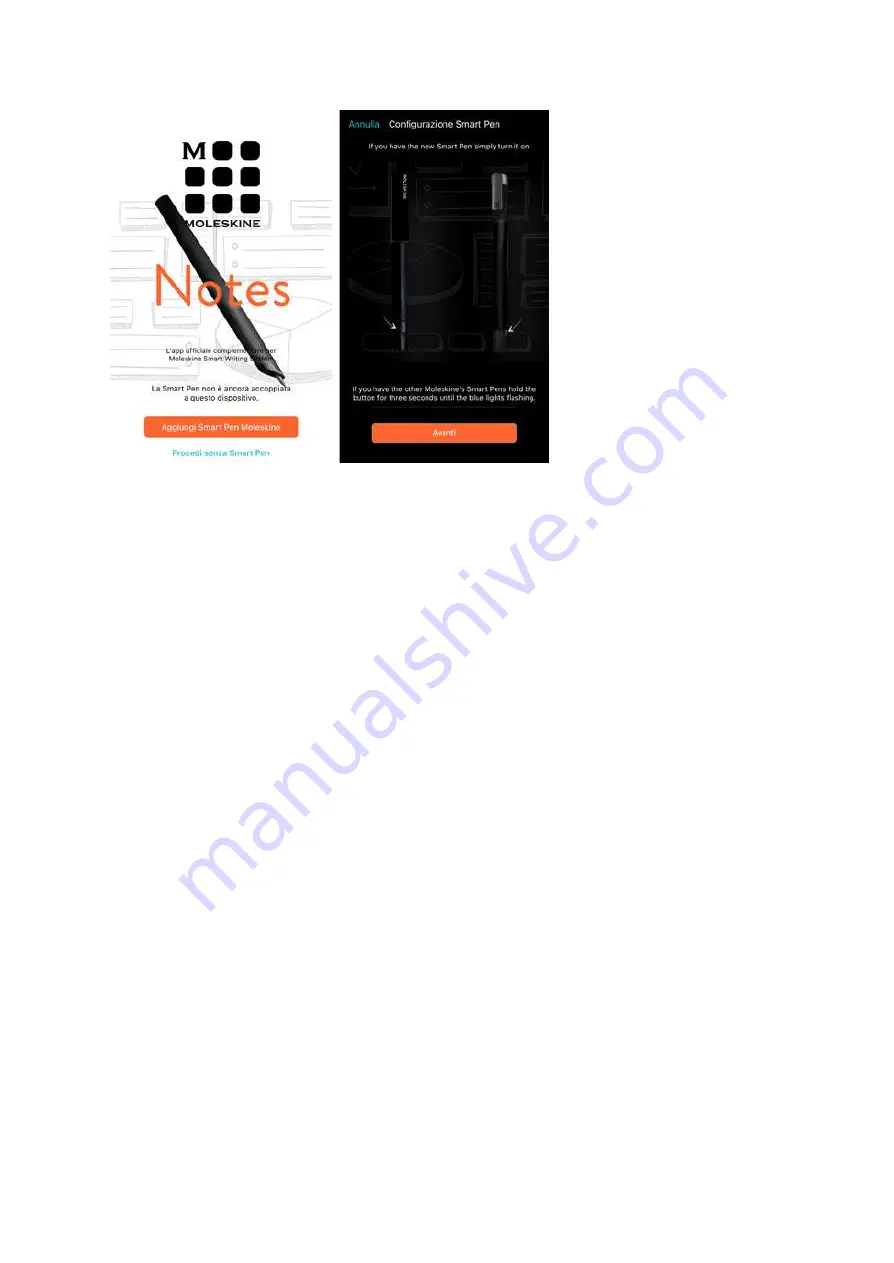
Screenshots of the Moleskine Notes App to help you set up your new Smart Pen.
Once the Smart Pen is recognized by the Notes App, you can tap on the pen icon to proceed. The
next steps allow for personalization: you can give your Smart Pen a name and add a passcode.
If your Smart Pen is already connected, tapping on the icon will open the Smart Pen settings menu
with options such as calibration and stats regarding the battery and memory.
3.7 Sync
The Smart Writing Set allows you to sync your notes at any time, even if the Notes App is not opened
on your device.
If the Notes App is not running, make sure your Moleskine Smart Pen is turned on when taking notes.
The light on your Smart Pen should be blue while connecting to your device and then green when it
is ready to be used.
Your work is automatically saved when the Smart Pen is paired to the Notes App. If you are writing
with the Smart Pen switched on but when the Notes App is not running, your notes will be saved to
your device as soon as you activate the Notes App.
Make sure that your smart device and operating system are compatible.
Ensure that the Moleskine Smart Pen firmware and Notes App software are updated to the latest
versions. To check which version you’re currently using, please go to the Support section in the Notes
App.
3.7.1 Firmware
You can update your firmware in the Notes App by tapping the Smart Pen Settings icon (top right
corner) > Firmware > Update
Make sure you have activated the Smart Pen connection icon in the top right corner (the icon glows
when activated) when syncing your notes.


