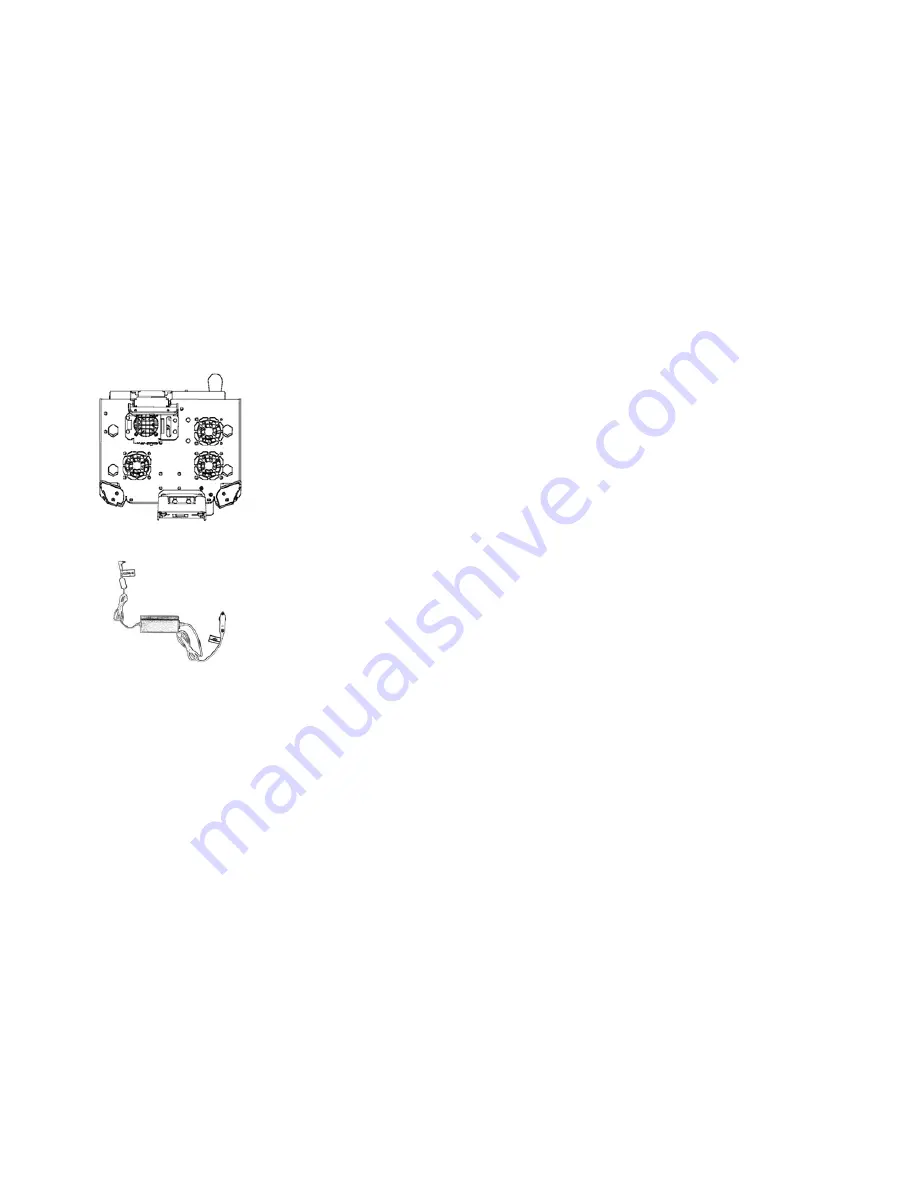
Vehicle Cradle
The xTablet T8600™ vehicle cradle mounts
inside a vehicle, is rugged, durable, and
withstands harsh user environments.
Vehicle Cradle with Communications Module
XTB-VMT5
Auto / Cigarette Lighter Adapter
500-104
Key
Features
•
Sliding lock mechanism holds the xTablet
securely in the cab.
•
Adjustable for best visibility and use.
•
Integrated fans cool the xTablet, turn off when
the lever arm is raised, and can be manually
turned off using a master fan switch.
•
Communications module provides charging
power and communications to peripherals and
other devices, such as printers.
•
Lever arm can also be used with tablets built
with integrated scanners.
•
Clear tubular stylus holder near the master fan
switch holds the stylus while the xTablet is
secured in the cradle.
1
General Guidelines
•
A video version of this user guide is on the
MobileDemand web-site - tech support section.
•
Install the vehicle cradle in a non-obstructive,
safe location within the vehicle cab.
•
Avoid obstructing the following:
•
Vehicle operation
•
Visibility through windows
•
Safe entry or exit
•
Safety devices such as air bags
•
Firmly secure the cradle to stay in place despite
vibrations, shocks, bumps, or vehicle accidents.
•
The communications module on the cradle must
only be powered by the tablet auto / cigarette
lighter adapter.
•
Do not use this or any computer system while
operating a motor vehicle.
User Guidelines
To place the xTablet in the cradle
1. Turn the key clockwise.
2. Push the knob for the sliding lock mechanism
to the right to unlock the lever arm.
3. Raise the lever arm up to its open position.
4. Position the briefcase handle on the xTablet to
the front to clear the lever arm.
5. Carefully position the xTablet into the two
bottom corner “cups” and above the
communications module.
Note: The communications module, with its
gold contact pins, is spring-loaded and sinks as
the tablet is put in place. The spring action of
the module plus the spring-loaded contact pins
put force against the surface contacts on the
tablet to ensure a solid connection.
6. Press down, slightly push the xTablet
backwards and hold in place, then lower the
lever arm and press it firmly into place.
7. Push the knob to the left to lock the xTablet.
8.
(Optional)
Turn the key counterclockwise.
9.
(Optional)
Remove the key to fully secure.
2
To do electrical/communication connections
1. Using the tablet auto adapter, insert its
cigarette lighter connector end into the
bottom power socket on the right side of the
cradle.
Use the top socket for other devices,
such as a cell phone.
2. Insert the other end of the tablet auto adapter
in the power connector on the bottom of the
communications module.
Note:
The plug contains an 8-Amp, 3 AG fuse.
To replace this fuse when necessary
1. Unscrew the tip of the plug.
2. Remove the fuse from the plug.
3. Carefully insert the spare fuse – be
sure to keep its spring intact.
Note:
The total current used must not exceed 8
Amps or you shorten the life of the plug.
The total current used by the vehicle
cradle, xTablet, communications module,
and fans is about 4 Amps.
If you power another device with the other
socket, make sure the device does not
use any more than 2 Amps.
The last 2 Amps protect against surges.
To verify proper communication connections
When power is applied to the vehicle cradle, the
left LED lights a steady green. When the xTablet
is locked into the cradle, the right LED blinks
three times, then lights a steady green.
The two green communications module LEDs
stay lit until either the xTablet is removed from
the cradle or until power is removed from the
communications module.
At the same time, the xTablet’s power/charger
LED, second from bottom on the front / left
corner of the tablet, lights a steady orange or
green.
This indicates that the xTablet is correctly
connected to data and battery charge lines.
3


