8,000 Portable Air Conditioner
KY-80
Operating Instructions
© 2010 Soleus Air International
Страница 1: ...8 000 Portable Air Conditioner KY 80 Operating Instructions 2010 Soleus Air International ...
Страница 2: ... please read this owner s manual carefully Store this manual in a safe place for future reference 1 Always place the unit on a level surface 2 Never use or store gasoline or other flammable vapor or liquid near this unit unless instructed by this manual 3 Maintain at least 10 inches 25 cm clearance space around this unit Do not block or cover air inlet or outlet grilles 4 The unit must be connecte...
Страница 3: ...Air Conditioner Exhaust Hose 1 Exhaust Hose Adapter 1 Window Kit Adapter 1 Hose Adapter 1 Remote Control AAA Batteries 2 batteries Window Kit 3 Sliding Panels 4 screws 1 single hose panel 2 extension panels Drain Hose Assembly drain pipe clamp hose clip rubber plug screw Owner s Manual Model KY 80 Power Supply Ph V Hz 1 115 60Hz Dehumidifying Capacity Pints Day 28 8 Rated Cooling Capacity BTU h 8 ...
Страница 4: ...unded and they must be considered a shock hazards if exposed The cord shield must not be connected to ground or to any exposed metal The test and reset buttons on the LCDI Plug are used to check if the plug is functioning properly To test 1 Plug power cord into wall outlet 2 Press TEST Button circuit should trip cutting power to the air conditioner 3 Press RESET button for use If a test is perform...
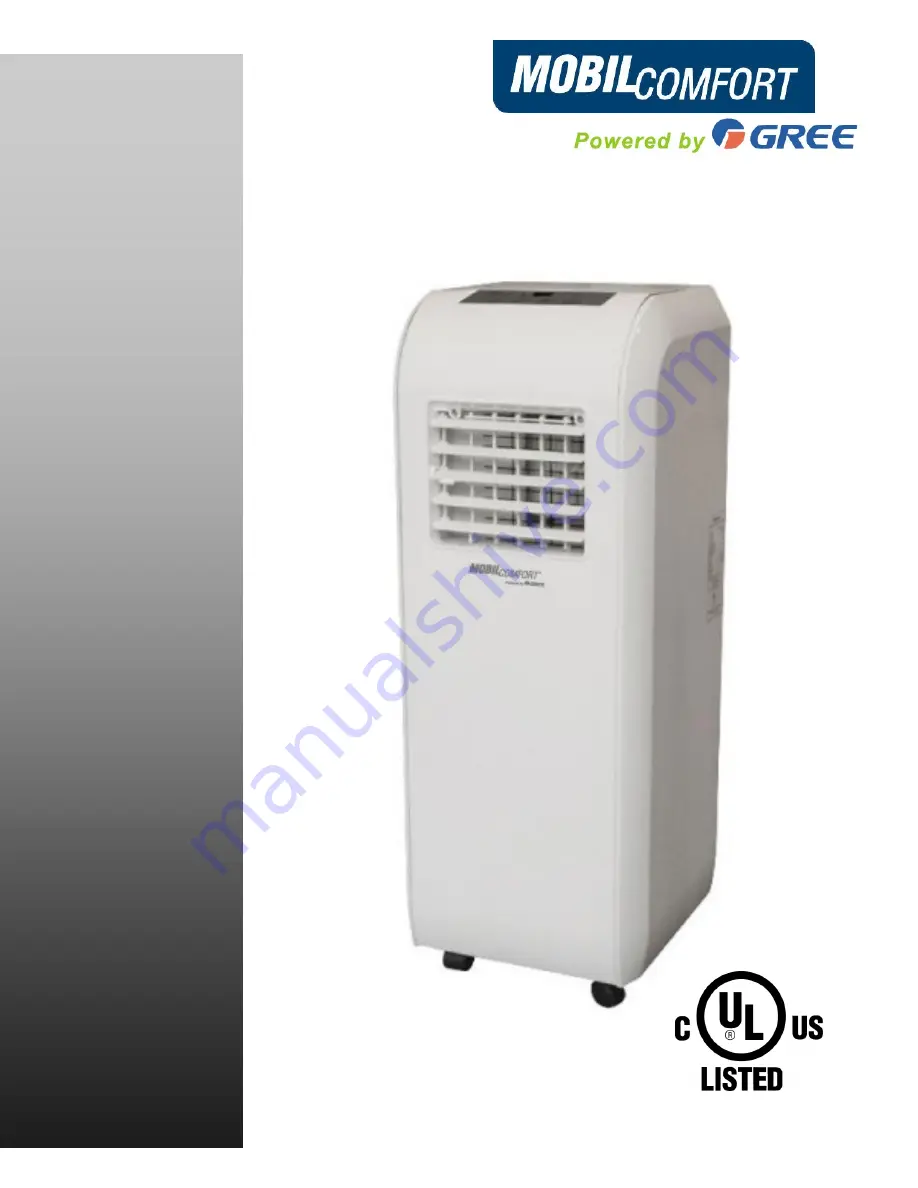
Страница 5: ...5 PRODUCT DIAGRAM Control Panel Louvers Louver Guides Casters Power Cord Filters Upper Air Intake Lower Air Intake Remote Control Holder Air Exhaust Vent ...
Страница 6: ...itable location near a grounded electrical outlet and suitable window or door Remove packaging and locate components Extend both ends of the exhaust hose approximately 6 inches Screw the window kit adapter onto one end of the exhaust hose clockwise Screw the hose adapter onto the other end of the exhaust hose clockwise Mount the exhaust hose onto the back of the unit by locking the hose adapters i...
Страница 7: ...t as flat as possible The less angles and bends in the hose the better the unit will perform If bending or an angle is necessary use single 90 angles like the pictures above Multiple bends will decrease performance and efficiency This installation is OK The is a poor installation 22 26 ...
Страница 8: ...r mode When using the unit as a fan it is not necessary to keep the exhaust hose and window kit connected to the unit 3 Temperature Select the desired temperature by pressing either or key when using the unit in cooling mode The digital thermostat will display the set temperature 4 Louver Direction This unit has 4 Way directional louvers Use the louver guides to direct air where cooling or fanning...
Страница 9: ...ecrease accordingly Hold the buttons for two seconds to rapidly increase or decrease the temperature 5 Auto on Timer When the air conditioner is off it can be set to automatically turn on in 30 minutes to 24 hours at the previous set mode and fan setting To set the Auto on Timer press the TIMER button on the unit or remote control Each touch of the buttons on the remote will change the timer setti...
Страница 10: ...ate air When the room temperature is between 68 F 73 F the air conditioner will operate in Fan mode if it was previously selected or dehumidifier mode if another mode was used previously to remove humidity from the air as well as some cooling to help lower the room temperature When the room temperature is between 74 F 79 F the air conditioner will always operate in dehumidifier mode When the room ...
Страница 11: ...e instructions below 1 Remove the pre installed Drain Cap from the unit See Below 2 Attach the Clamp with the provided Screw See Below 3 Attach the Drain Hose to the Drain Port using the Drain Hose Clip Insert the Drain Plug into the free end of the Drain Hose and guide the Drain Hose through the Clamp Once finished the unit can be easily drained by removing the drain plug and guiding the drain ho...
Страница 12: ...y dried 4 If the filter is torn or unusable order a new filter by calling the customer service number on the warranty page of this manual Clean the unit Housing 1 Keep the unit from being exposed directly to the sun to prevent color fading 2 Clean the surface with a damp cloth and dry it with a soft towel Storing the Unit for an Extended Period of Time or Transporting the unit 1 Empty any excess w...
Страница 13: ...itioner and contact a qualified service technician TROUBLESHOOTING The Air Conditioner does not cool as it should Airflow is restricted The temperature control may not be set correctly The air filter is dirty The room may be too warm Cold air is escaping The Evaporator is frozen Make sure there are no curtains blinds or furniture blocking the front of the air conditioner Lower the set thermostat t...
Страница 14: ...Unplug for 10 minutes and then turn on the unit If E5 is still dis played contact customer service TROUBLESHOOTING CONT The LCD Display is showing H8 The backup water tank is full Drain the water tank If the H8 I still displayed after the water tank has been emptied con tact customer service ...
Страница 15: ...ppearance parts caused by wear Damage caused by repairs or alterations of the unit by anyone other than those authorized by Soleus Interna tional Inc Freight and Insurance cost for the warranty service ALL WARRANTIES INCLUDING ANY IMPLIED WARRANTY OF MERCHANT ABILITY ARE LIMITED TO ONE YEAR DURATION OF THIS EXPRESS LIMITED WARRANTY SOLEUS INTERNATIONAL INC DISCLAIMS ANY LIABILITY FOR CONSEQUENTIAL...