3Installing the option devices
Installation of hand tube
3-49
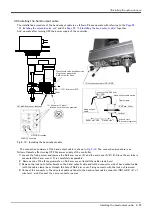
3.2 Installation of hand tube
The installation procedure of the hand tube is as follows. In use of solenoid valve set and hand input cable
optional, please operate with referring to the
Page 44, "3.1 Installing the solenoid valve set"
Installing the hand input cable"
together.
And, operate after turning OFF the power supply of the controller.
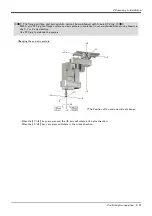
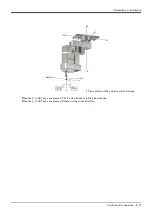
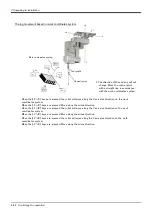
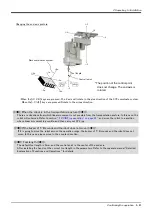
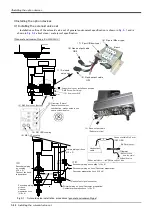
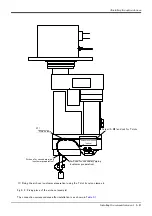
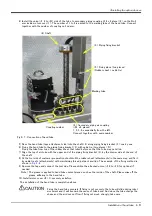
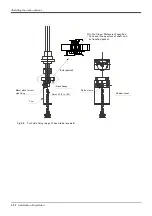
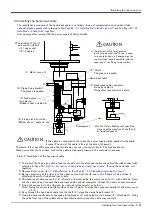
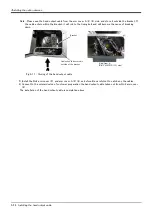
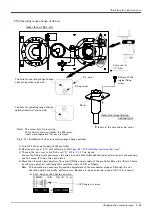
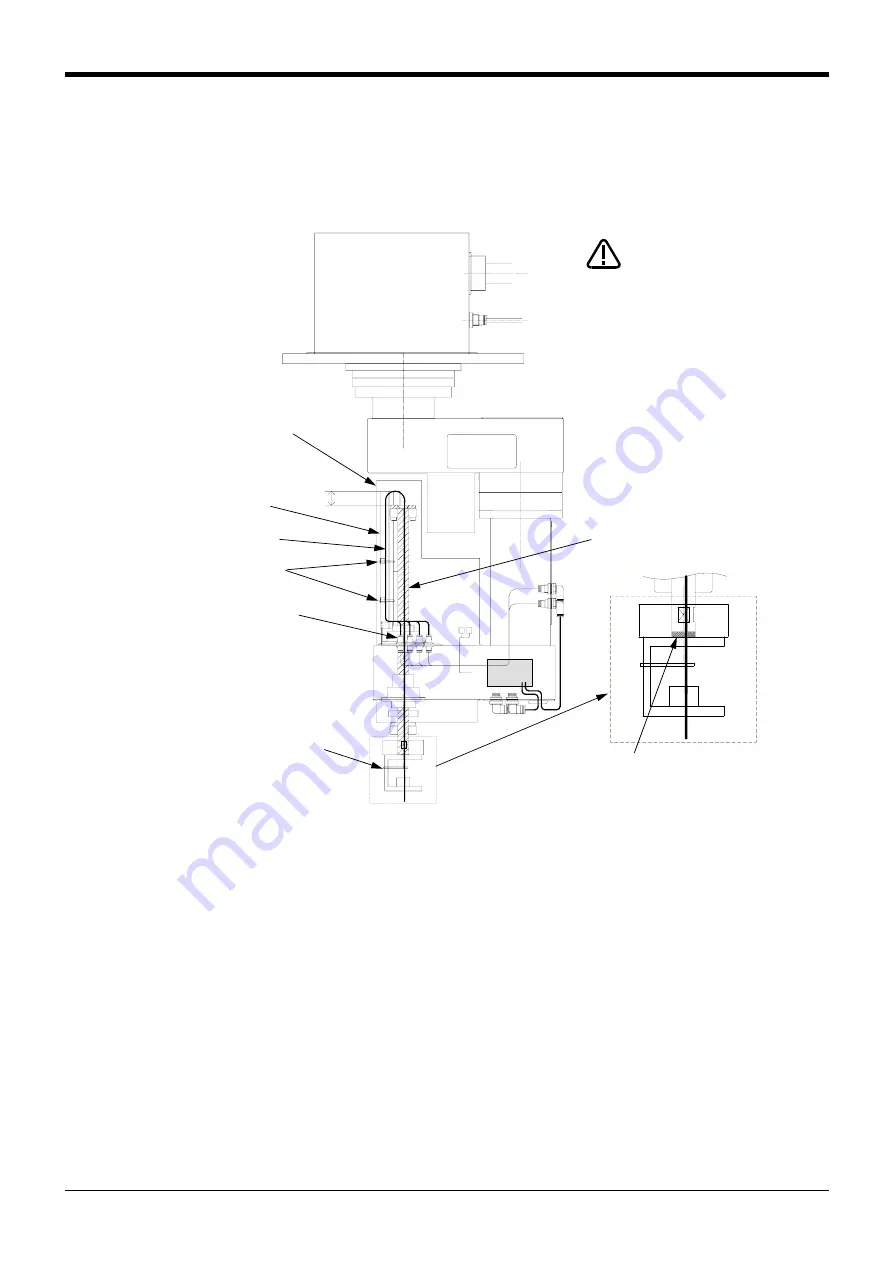
Fig.3-5 : Installation of the hand tube
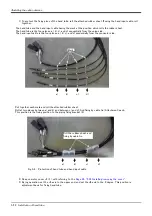
The procedure is shown below.
<1> Motor cover J3
Hand tube
<3> Piping fixing bracket
The grease is applied.
<2> Secondary piping air coupling
(φ4 x 4 places)
Insert the union installation side.
<4> Shaft
The grease is applied.
<5> Fixing place (two places)
(Rubber sheet + cable tie)
*1
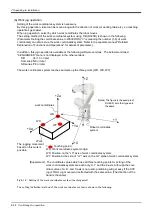
*The position of the J3 axis
and the J4 axis
J3 = upper end
J4 = 0 degree
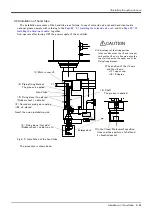
*1) Adjustment of the fixing position
In the condition that the J3 axis is upper
limit and the J4 axis is 0 degree, align the
top of air tube with the upper end of the
Piping fixing bracket.
CAUTION
<6> Fixing place (tool side)
(Rubber sheet + cable tie, etc)
Enlargement
*On the Clean/ Waterproof specifica
-
tions seal the aperture of shaft end
by liquefied gasket.
Содержание MELFA RH-3SDHR3512C
Страница 2: ......
Страница 112: ...Appendix 102 Configuration flag 6Appendix...
Страница 113: ......


