background image

<ORIGINAL>

Prior to use, thoroughly read the instructions in this manual to use the product correctly. 

Retain for future reference.

Make sure that all the included manuals are passed on to any future users.

To ensure safety and proper operation of the remote controller, the remote controller should 

only be installed by qualified personnel.

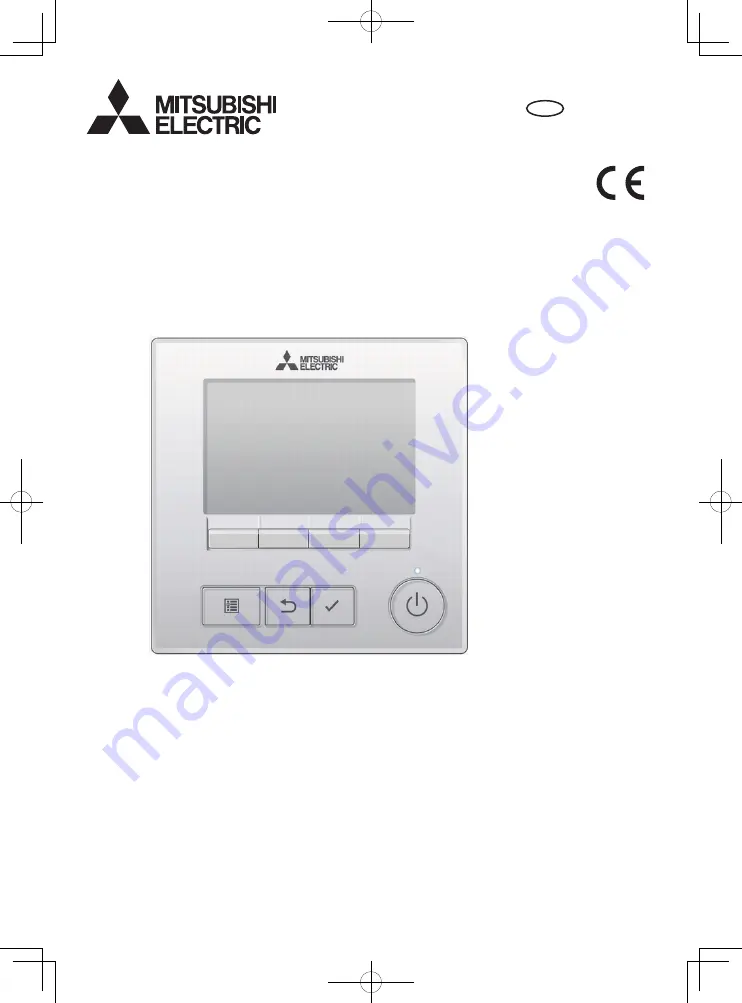
CITY MULTI Control System  

and Mitsubishi Mr. SLIM Air Conditioners

MA Remote Controller

PAR-40MAA

Instruction Book

en

WT09014X01

Содержание CITY MULTI PAR-40MAA

Страница 1: ...ke sure that all the included manuals are passed on to any future users To ensure safety and proper operation of the remote controller the remote controller should only be installed by qualified personnel CITY MULTI Control System and Mitsubishi Mr SLIM Air Conditioners MA Remote Controller PAR 40MAA Instruction Book en WT09014X01 ...

Страница 2: ...e the switches buttons or touch other electrical parts with wet hands When disinfecting the unit using alcohol ventilate the room adequately The fumes of the alcohol around the unit may cause a fire or explosion when the unit is turned on To reduce the risk of injury or electric shock before spraying a chemical around the controller stop the operation and cover the controller To reduce the risk of...

Страница 3: ... use of this controller for with other systems or for other purposes may cause malfunctions This appliance is not intended for use by persons including children with reduced physical sensory or mental capabilities or lack of experience and knowledge unless they have been given supervision or instruction concerning use of the appliance by a person responsible for their safety Children should be sup...

Страница 4: ...Controller components Controller interface Function buttons ...

Страница 5: ...Press to change the operation mode Menu screen The button function varies with the screen The functions of the function buttons change depending on the screen Refer to the button function guide that appears at the bottom of the LCD for the functions they serve on a given screen When the system is centrally controlled the button function guide that corresponds to the locked button will not appear M...

Страница 6: ...d in two different modes Full and Basic The factory setting is Full To switch to the Basic mode change the setting on the Main display setting Full mode Basic mode 2 5 k 3 4 i l j a b n cde f g h 0 8 7 9 6 m 1 All icons are displayed for explanation 1 m n 2 3 4 5 ...

Страница 7: ...hile the units are operated in the energy save mode Will not appear on some models of indoor units Appears while the outdoor units are operated in the silent mode Appears when the built in thermistor on the remote controller is activated to monitor the room temperature a appears when the thermistor on the indoor unit is activated to monitor the room temperature Indicates the vane setting Indicates...

Страница 8: ... made unless the correct password is entered Indicates settings that can be made only from the main remote controller ON Indicates settings that can be changed only while the units are in operation OFF Indicates settings that can be changed only while the units are not in operation Indicates settings that can be changed only while the units are operated in the Cool Heat or Auto mode Indicates func...

Страница 9: ...N Press the ON OFF button The ON OFF lamp will light up in green and the operation will start When LED lighting is set to No the ON OFF lamp will not light up OFF Press the ON OFF button again The ON OFF lamp will come off and the operation will stop ...

Страница 10: ...de In this case the rest of the unit in the same group can only be operated in the same mode Auto dual set point mode When the operation mode is set to the Auto dual set point mode two preset temperatures one each for cooling and heating can be set Depending on the room temperature indoor unit will automatically operate in either the Cool or Heat mode and keep the room temperature within the prese...

Страница 11: ...t temperature will be displayed either in Centigrade in 0 5 or 1 degree increments or in Fahrenheit depending on the indoor unit model and the display mode setting on the remote controller Auto dual set point mode 1 The current preset temperatures will appear Press the F2 or F3 button to display the Settings screen Operation mode Room temperature Refer to the Installation Manual Preset temperature...

Страница 12: ...preset temperatures varies with the models of indoor units connected is met If preset temperatures are set in a way that does not meet the minimum temperature difference requirement both preset temperatures will automatically be changed within the allowable setting ranges Settable preset temperature range Operation mode Preset temperature range Cool Dry 19 30 ºC 67 87 ºF Heat 17 28 ºC 63 83 ºF Aut...

Страница 13: ...t Clock setting is required Not valid when the On Off timer is enabled 1ºC increments OU silent mode Use to set the time periods in which priority is given to quiet operation of outdoor units over temperature control Set the Start Stop times for each day of the week Select the desired silent level from Normal Middle and Quiet Clock setting is required Night setback Use to make Night setback settin...

Страница 14: ...htness Language selection Use to select the desired language Service Initialize remote controller Use to initialize the remote controller to the factory shipment status Remote controller information Use to display the remote controller model name software version and serial number Maintenance Error information Use to check error information when an error occurs Error code error source refrigerant ...

Страница 15: ...Navigating through the Main menu Button operation Accessing the Main menu Press the Menu button on the Main display The Main menu will appear Item selection Press F2 to move the cursor left Press F3 to move the cursor right Cursor ...

Страница 16: ...Off timer OU silent mode Night setback Weekly timer Energy saving If a given system has no system controllers the clock time will not automatically be corrected In this case periodically correct the clock time 2 Move the cursor to Basic setting with the F1 or F2 button and press the SELECT button 3 Select Clock with the F1 or F2 button and press the SELECT button ...

Страница 17: ...red item with the F1 or F2 button out of year month date hour or minute Increase or decrease the value for the selected item with the F3 or F4 button and press the SELECT button A confirmation screen will appear Navigating through the screens To go back to the Main menu MENU button To return to the previous screen RETURN button ...

Страница 18: ...system controller disable this setting to keep the correct time At the beginning and the end of daylight saving time the timer may go into action twice or not at all This function will not work unless the clock has been set Button operation 1 Select Clock from the Basic setting menu and press the SELECT button 2 Move the cursor to Daylight saving time with the F1 or F2 button and press the SELECT ...

Страница 19: ... F4 button Date End 1 2nd page Set the day of the week week number and month with the F3 or F4 button The default setting is Sun 5th Oct End time 2nd page Set the end time for daylight saving time with the F3 or F4 button Backward to 2nd page Set the time when the clock is to be set backward to at the end time above with the F3 or F4 button 1 If 5th is selected for the week number and the 5th week...

Страница 20: ...glish French German Spanish Italian Portuguese Swedish Russian Greek Turkish Dutch Czech Hungarian and Polish Button operation 1 Select Display setting from the Initial setting menu and press the SELECT button 2 Move the cursor to Language selection with the F1 or F2 button and press the SELECT button ...

Страница 21: ...n the power is on for the first time the Language selection screen will be displayed Select a desired language The system will not start up without language selection A screen will appear that indicates the setting has been saved Navigating through the screens To go back to the Main menu MENU button To return to the previous screen RETURN button ...

Страница 22: ...ler Button operation 1 Error code error unit refrigerant address unit model name date and time on which an error occurred and serial number will appear The model name and serial number will appear only if the information have been registered Press the F1 or F2 button to go to the next page Contact information dealer s phone number will appear if the information have been registered ...

Страница 23: ...tton to reset the error that is occurring Errors cannot be reset while the ON OFF operation is prohibited Select OK with the F4 button A confirmation screen will appear Navigating through the screens To go back to the Main menu MENU button ...

Страница 24: ... occurring page 2 2 of the error information can be viewed from the menu operation Select Maintenance menu from the Main menu and press the SELECT button To display the error information screen select Error information from the Maintenance menu Errors cannot be reset ...

Страница 25: ...clean or replace the filters when this sign appears Refer to the indoor unit Instructions Manual for details Button operation 1 Select Filter information from the Maintenance menu and press the SELECT button 2 Press the F4 button to reset filter sign Refer to the indoor unit Instructions Manual for how to clean the filter ...

Страница 26: ... filter cleaning timing for each unit may be different depending on the filter type The icon will appear when the filter on the main unit is due for cleaning When the filter sign is reset the cumulative operation time of all units will be reset The icon is scheduled to appear after a certain duration of operation based on the premise that the indoor units are installed in a space with ordinary air...

Страница 27: ... The product at hand is based on the following EU regulations Electromagnetic Compatibility Directive 2014 30 EU HEAD OFFICE TOKYO BLDG 2 7 3 MARUNOUCHI CHIYODA KU TOKYO 100 8310 JAPAN MANUFACTURER MITSUBISHI ELECTRIC CORPORATION Air conditioning Refrigeration Systems Works 5 66 Tebira 6 Chome Wakayama city 640 8686 Japan ...

Отзывы: