Spirolab
Rev.1.8
Page 49 of 60
•
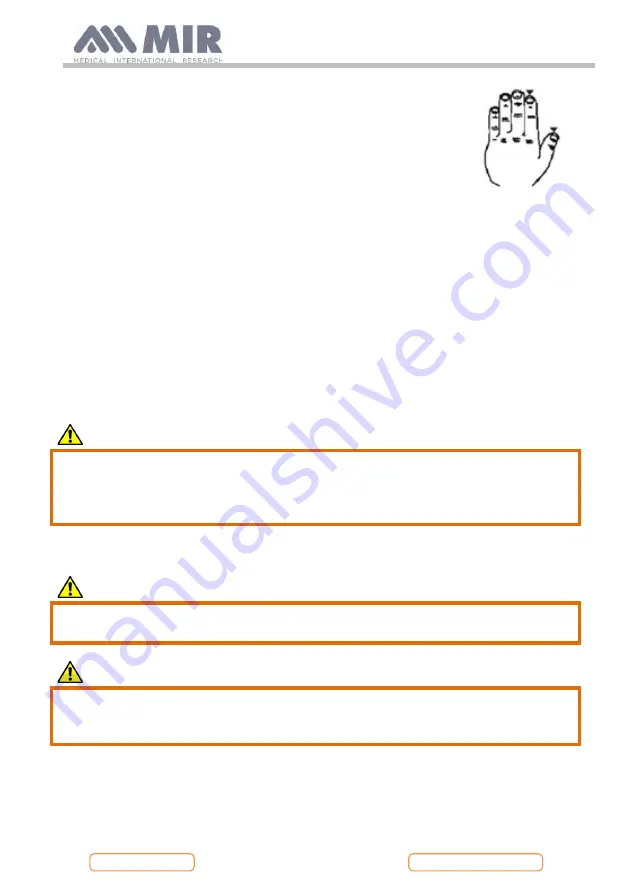
Choose a suitable site for application on the
patient's finger or toe that will allow the light
source to line up directly with the detector. The
preferred sites are the index finger or thumb.
•
Remove any nail polish or false nails.
•
Position the patient's finger in the sensor with the nail face up and place the pad
of the finger over the detector. An imaginary line through the middle of the sensor
should pass through the tip of the finger.
•
Apply the adhesive tape to under part of the finger taking care not to cover the
nail
•
Fold the upper part of the sensor over the finger making sure that the light source
is directly in line with the detector below it. Run the wire along the palm of the
hand or sole of the foot and, if necessary, tape it in place.
•
Connect the sensor to the device: insert the connector with the arrow (stamped on
the connector) facing up and make sure that everything is working properly as
described previously.
WARNING
Do not twist the sensor cable without reason or use excessive force when using,
connecting, disconnecting or putting away the oximeter sensor.
If the sensor is fitted too tightly, it may create inaccurate saturation readings.
We recommend using a sticking plaster to fix the sensor wire to the wrist.
3.
DATA TRANSMISSION
WARNING
Before beginning data transmission, read the instructions carefully and make sure
you have fully understood them.
WARNING
Bluetooth communication is considered ad additional function. In the event of an
interruption in transmission, we recommend the use of a more reliable USB port
technology.
3.1
Data transmission via Bluetooth
Spirolab
can be connected as a "slave device" to any other "master device
”
. Therefore,
you can connect
spirolab
to a PC or a mobile phone and control it using special
applications.


