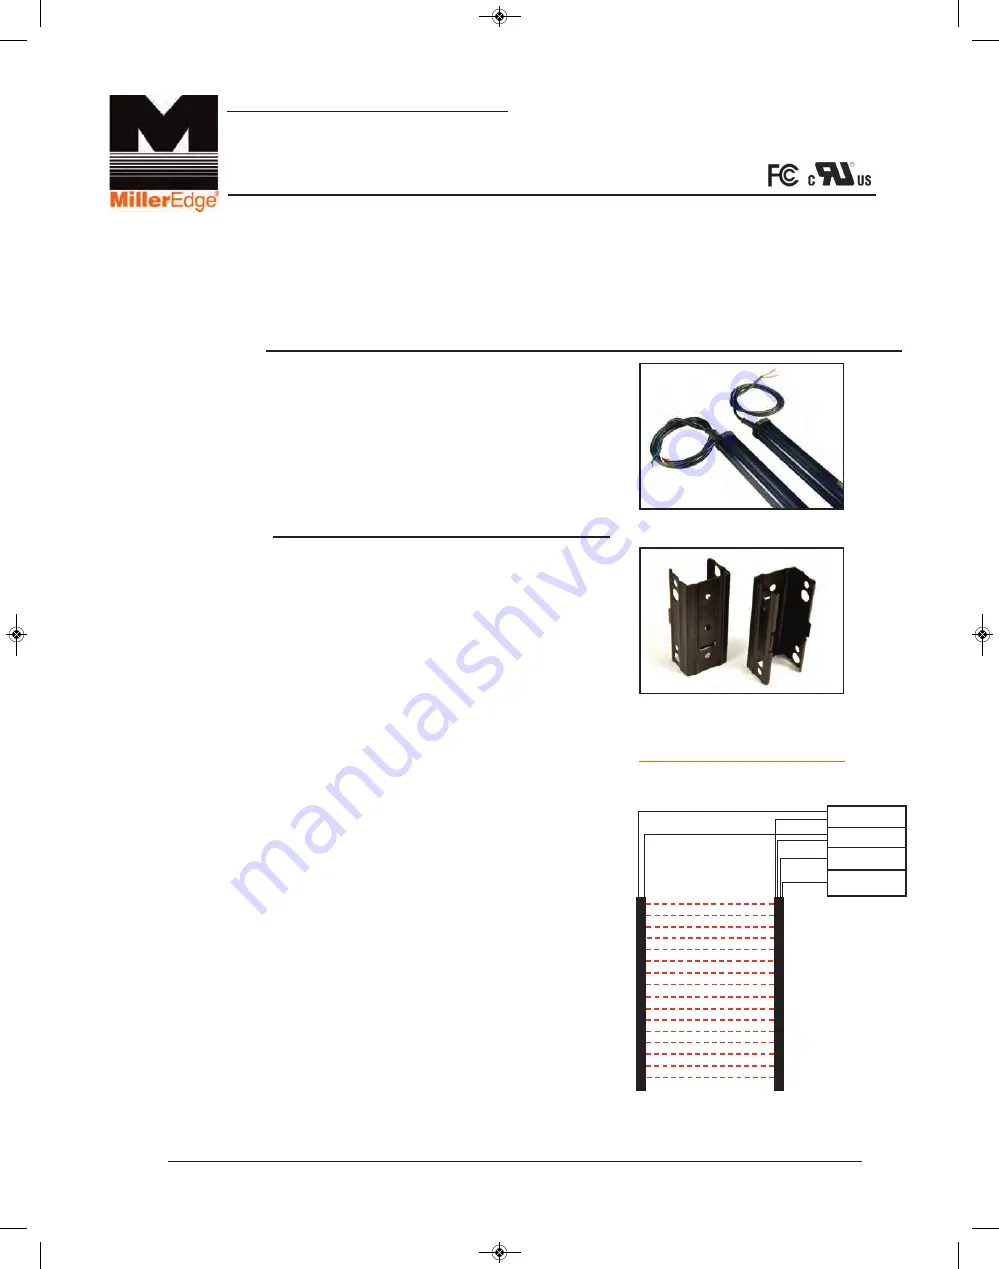
2-1. Unpack the tube and identify which stick is the Emitter (2
wires) and which is the Receiver (4 wires). The Receiver
typically mounts on the same side as the operator.
2-2. Identify the preferred location, usually close to the door
tracks on the inside of the door opening.
2-3. Attach the brackets to any available mounting points, using
the screws provided or other appropriate hardware. One
bracket should go approximately 6” below the top and another
6”above the bottom of the sticks. For the 6-foot sticks, an
additional bracket should be added in the middle.
2-4. Make sure the brackets are all in-line. The functional
operating distance between Emitter and Receiver is
between 6 feet and 33 feet.
2-5. Press the sticks into the brackets. The flat surface should
be facing across the door opening so that the sticks are
pointing at each other and the bottoms are resting on the floor.
2-6. Wire the sticks to the operator. A total of six (6) wires need to
connect at the operator, 2 run from the Emitter and 4 from the
Receiver. The black and red wires from both sticks will connect
to the accessory power (usually 24VAC or 12VDC). The
Green and White wires will connect to the photo-eye input (ex:
LMEP & Common).
Refer to the electrical connection diagram.
2-7. Note that only one device can be connected to the photo-eye
input on the operator.
2-8. Confirm that the Green LED is ON at the bottom of both sticks.
2-9. The Red LED on the receiver indicates either an obstruction or
a mis-alignment. The light curtains have a wide acceptance
angle and should align easily. Test proper operation of the
sticks by standing in the opening and observing the Red LED
turning ON.
2-10. Test for proper operation with the operator and door.
P.O. Box 159 • West Grove, PA 19390 • 800-220-3343 • 610-869-4422 • Fax: 610-869-4423 • www.milleredge.com
6809 South Harl Ave., Suite A • Tempe, AZ 85283 • 800-887-3343 • 480-755-3565 • Fax: 480-755-3558
MLC-K36/K72_Inst_20150521
Model # MLC-K36/K72
INSTALLATION INSTRUCTIONS
IMPORTANT:
READ AND UNDERSTAND ALL INSTRUCTIONS BEFORE BEGINNING INSTALLATION.
Parts List
Kit Contents:
1. Light Curtain Emitter: 36” or 72”
2. Light Curtain Receiver: 36” or 72”
3. Four or Six Mounting Brackets
4. Hardware Bag
5. Installation Instructions
1-
PART NUMBER MLC-K36 / MLC-K72
2-
Installation
The MLC-K36/K72 Light Curtain is a UL approved light curtain that can be used in place of a monitored photo-eye.
It provides additional protection for the area above the floor, protecting people and vehicles more effectively than
a single-beam eye.
Monitored Light Curtain
Receiver (left) Emitter (right)
Mounting Brackets
Emitter
Receiver
ELECTRICAL CONNECTION:
Light Curtain
12/24 VAC/DC
12/24 VAC/DC
Photo Eye
Low Volt.
Common
Red
Black
Green
White
Red
Black
Operator
MLC-K36_K72_Inst_20150521.qxp_WPE Instuctions 5/21/15 8:57 AM Page 1


