


Содержание KJR-120X/TFBG-E
Страница 51: ......
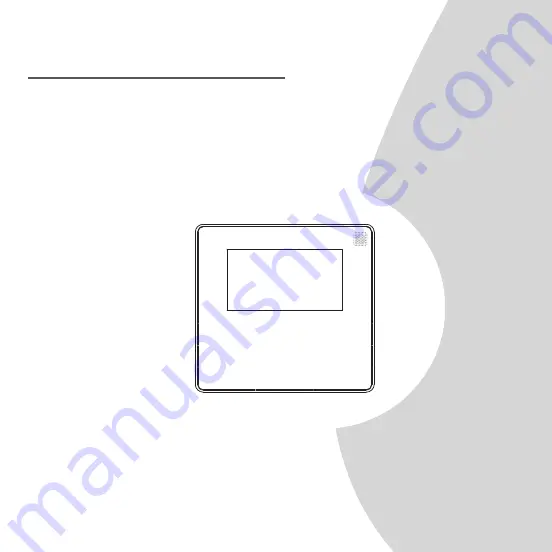
Midea KJR-120X/TFBG-E - высококачественный продукт для вашего дома. На нашем сайте вы можете бесплатно загрузить Руководство по установке и эксплуатации для этого устройства. Не забудьте загрузить его с manualshive.com, чтобы узнать все функции и возможности этого удивительного продукта.
Страница 51: ......


