~
mi
co.so.
verde
THANKYOU
FOR PURCHAslNG VERA3 BY MI CAS A VERDE!
TO GET STARTED
Use the larger power adapter
marked "Sunny" to power Vera3
.
Conneet Vera's WAN port to
your home network
with
the included
Ethernet
cable (preferred),
or con neet using Wi-Fi
(instructions
below).
The battery pack comes with a cable to con neet to Vera3 and a cable to
re-charge the battery pack. Charge the included
battery pack with the power adapter that has
red and green indicators
.
You may need to use it to power Vera3 during the inclusion process
if you have previously instalied devices, such as a door loek.
NOW THAT VERA ~SPOWERED ON V'S'T
http://micasaverde.com/vera3
The set-up wizard will automatically
find Vera3 on your network, and then guide you, step-by-
step, through
setup. If you're prompted
to upgrade your firmware,
please follow the instruc-
tions for the free upgrade.
Running the newest firmware
ensures you have access to all the
latest features.
SETTING UP VERA3 AS THE MAIN ROUTER OR
CONNECTING TO AN EXISTING ROUTER
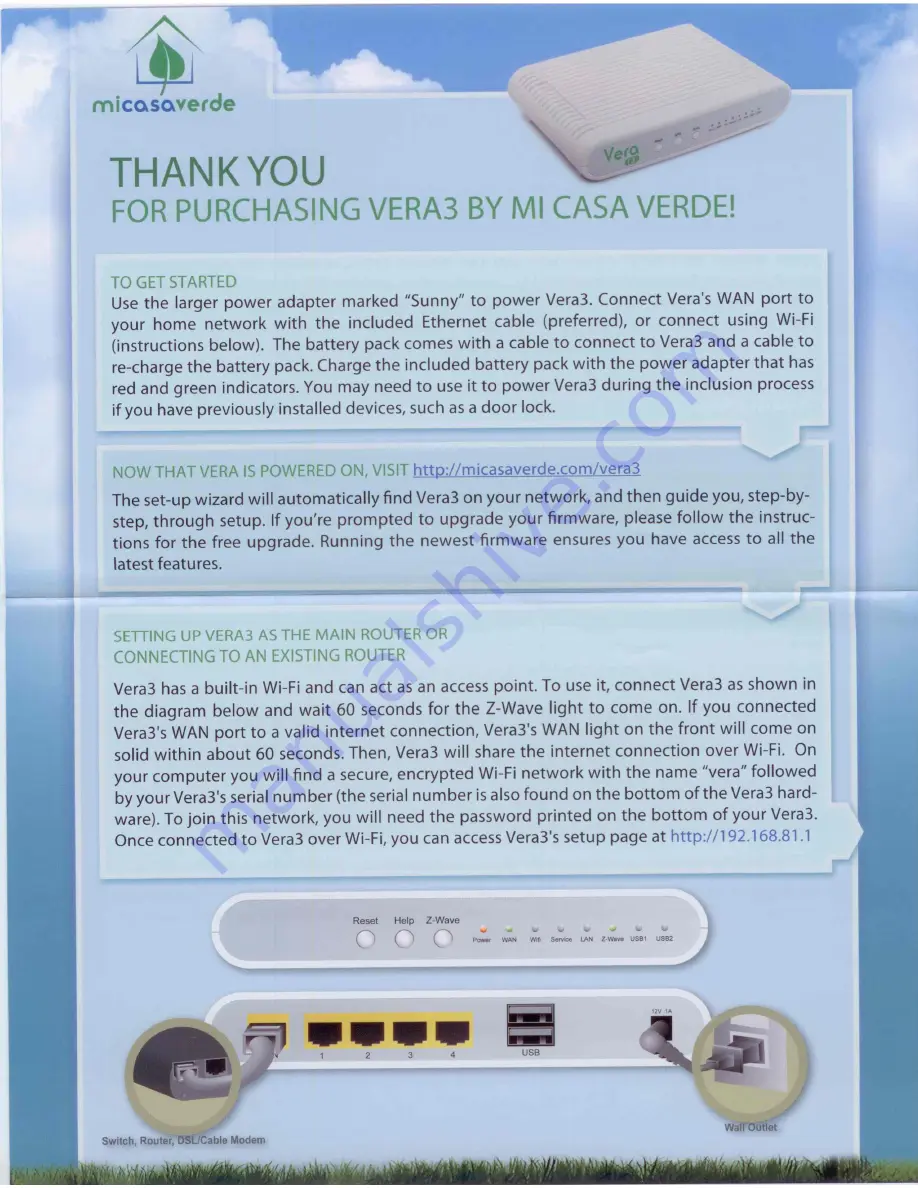
Vera3 has a built-in Wi-Fi and can act as an access point. To use it, conneet Vera3 as shown in
the diagram
below and wait 60 seconds for the Z
-
Wave light to come on. If you connected
Vera3's WAN port to a valid internet
connection,
Vera3's WAN light on the front will come on
solid within
about 60 seconds. Then, Vera3 will share the internet
connection
over Wi-Fi. On
your computer
you will find a secure, encrypted
Wi-Fi network with the name "vera" followed
by your Vera3's serial number (the serial number is also found on the bottom
ofthe Vera3 hard-
ware). To join this network, you will need the password printed
on the bottom
of your Vera3.
Once connected
to Vera3 over Wi-Fi, you can access Vera3's setup page at
http
:
//192.168
.
81.1
_
.,;
__
'-
__
oiÎ
Power
WAN
WIfi
SeMOe
LAN
Z-W
a
ve
U
S
B
1
USB2
USB
WalfOutlet
Switch
,
Router, DSUCable
Modem


