


Mesa Labs Smart-Well Model 1710 Operation Manual - 9153 Rev E
31
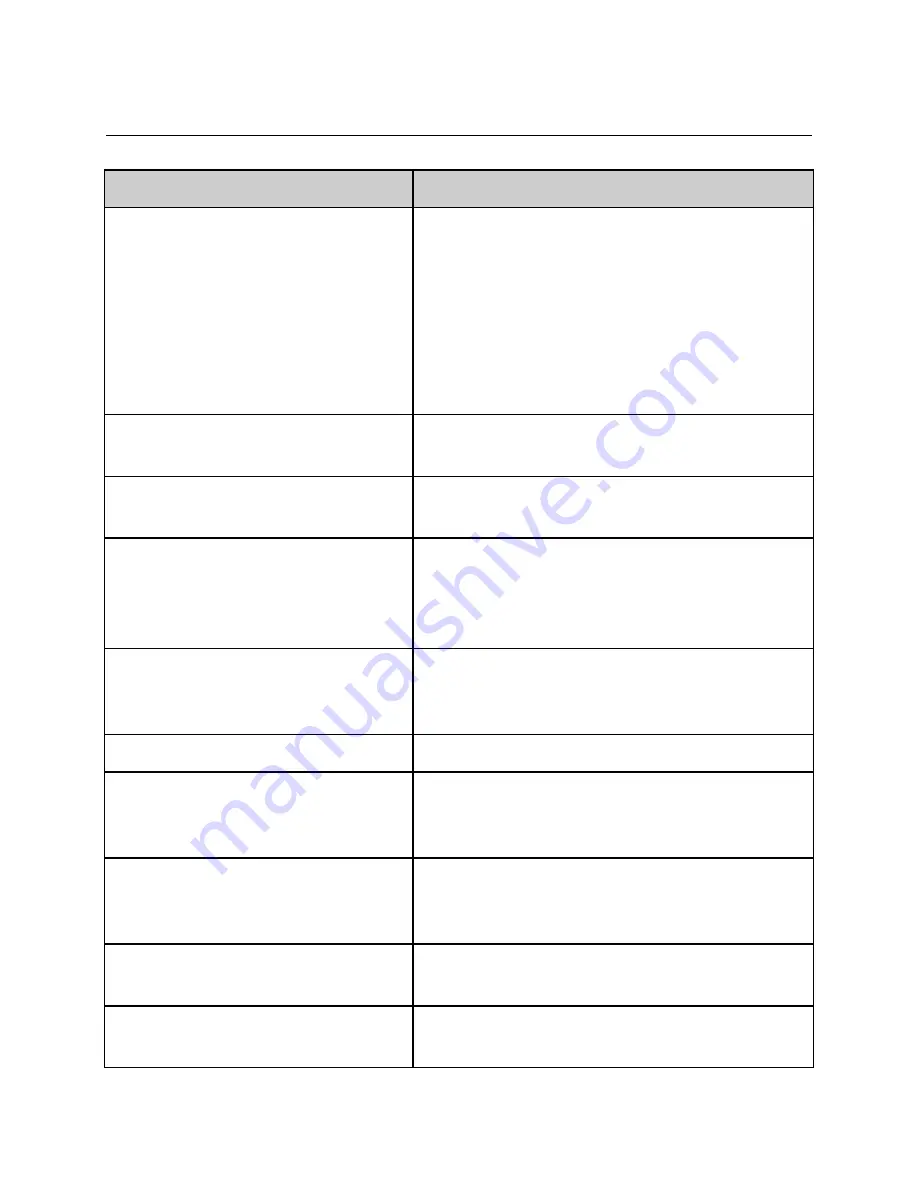
PRINTER TROUBLESHOOTING
Problem
Solution
Printer will not print;
SEL
light is on.
Verify that the data cable is connected properly to both
the printer and the Smart-Well incubator. The printer
port on the Smart-Well incubator is rightmost from the
rear.
Turn printer power off, then on, using the slide switch on
the side of the printer. This can unfreeze the printer if the
printer power cable was plugged in while AC power was
applied.
Printer will not print,
SEL
light is off.
Press the
SEL
button until the
SEL
light turns on indicating
that the printer is online and ready to print.
Printer will not print;
SEL
light blinks at 1/2
second intervals.
The printer is nearly out of paper. Replace the paper roll
and press the
SEL
button twice.
Printer will not print;
SEL
light blinks at 1/4
second intervals.
A mechanical problem such as a paper jam is preventing
the printer from printing. Fix the problem (e.g. clear
paper jam and reload the paper) and press the
SEL
button
twice.
Printer will not print;
SEL
and POWER lights
blink simultaneously at 1/10 second
intervals.
The printer is likely in need of repair. Contact Mesa Labs.
Print quality is poor and difficult to read.
Replace the ribbon cassette.
LF
button does not work.
The
LF
button does not work when the printer is online.
Press the
SEL
button until the
SEL
light turns off, then
press the
LF
button. When finished, press the
SEL
button.
Printout is too small to read
Verify the Printer switch settings in the Printer Setup
section.
Verify that the correct paper is installed.
Printout is partially or all symbols
Verify the Printer switch settings in the Printer Setup
section.
Printout is too light
Replace the Printer ribbon. Refer to instructions in the
Printer Setup section.


